Gluten Free BLT with a fried egg

Today is my birthday and it felt like a BLT with Fried egg kind of day.

The kids are all at school… and I am home alone enjoying the peace and quiet. Gonna make a BLT with a Fried egg for breakfast…. yep, it is so far a good morning!
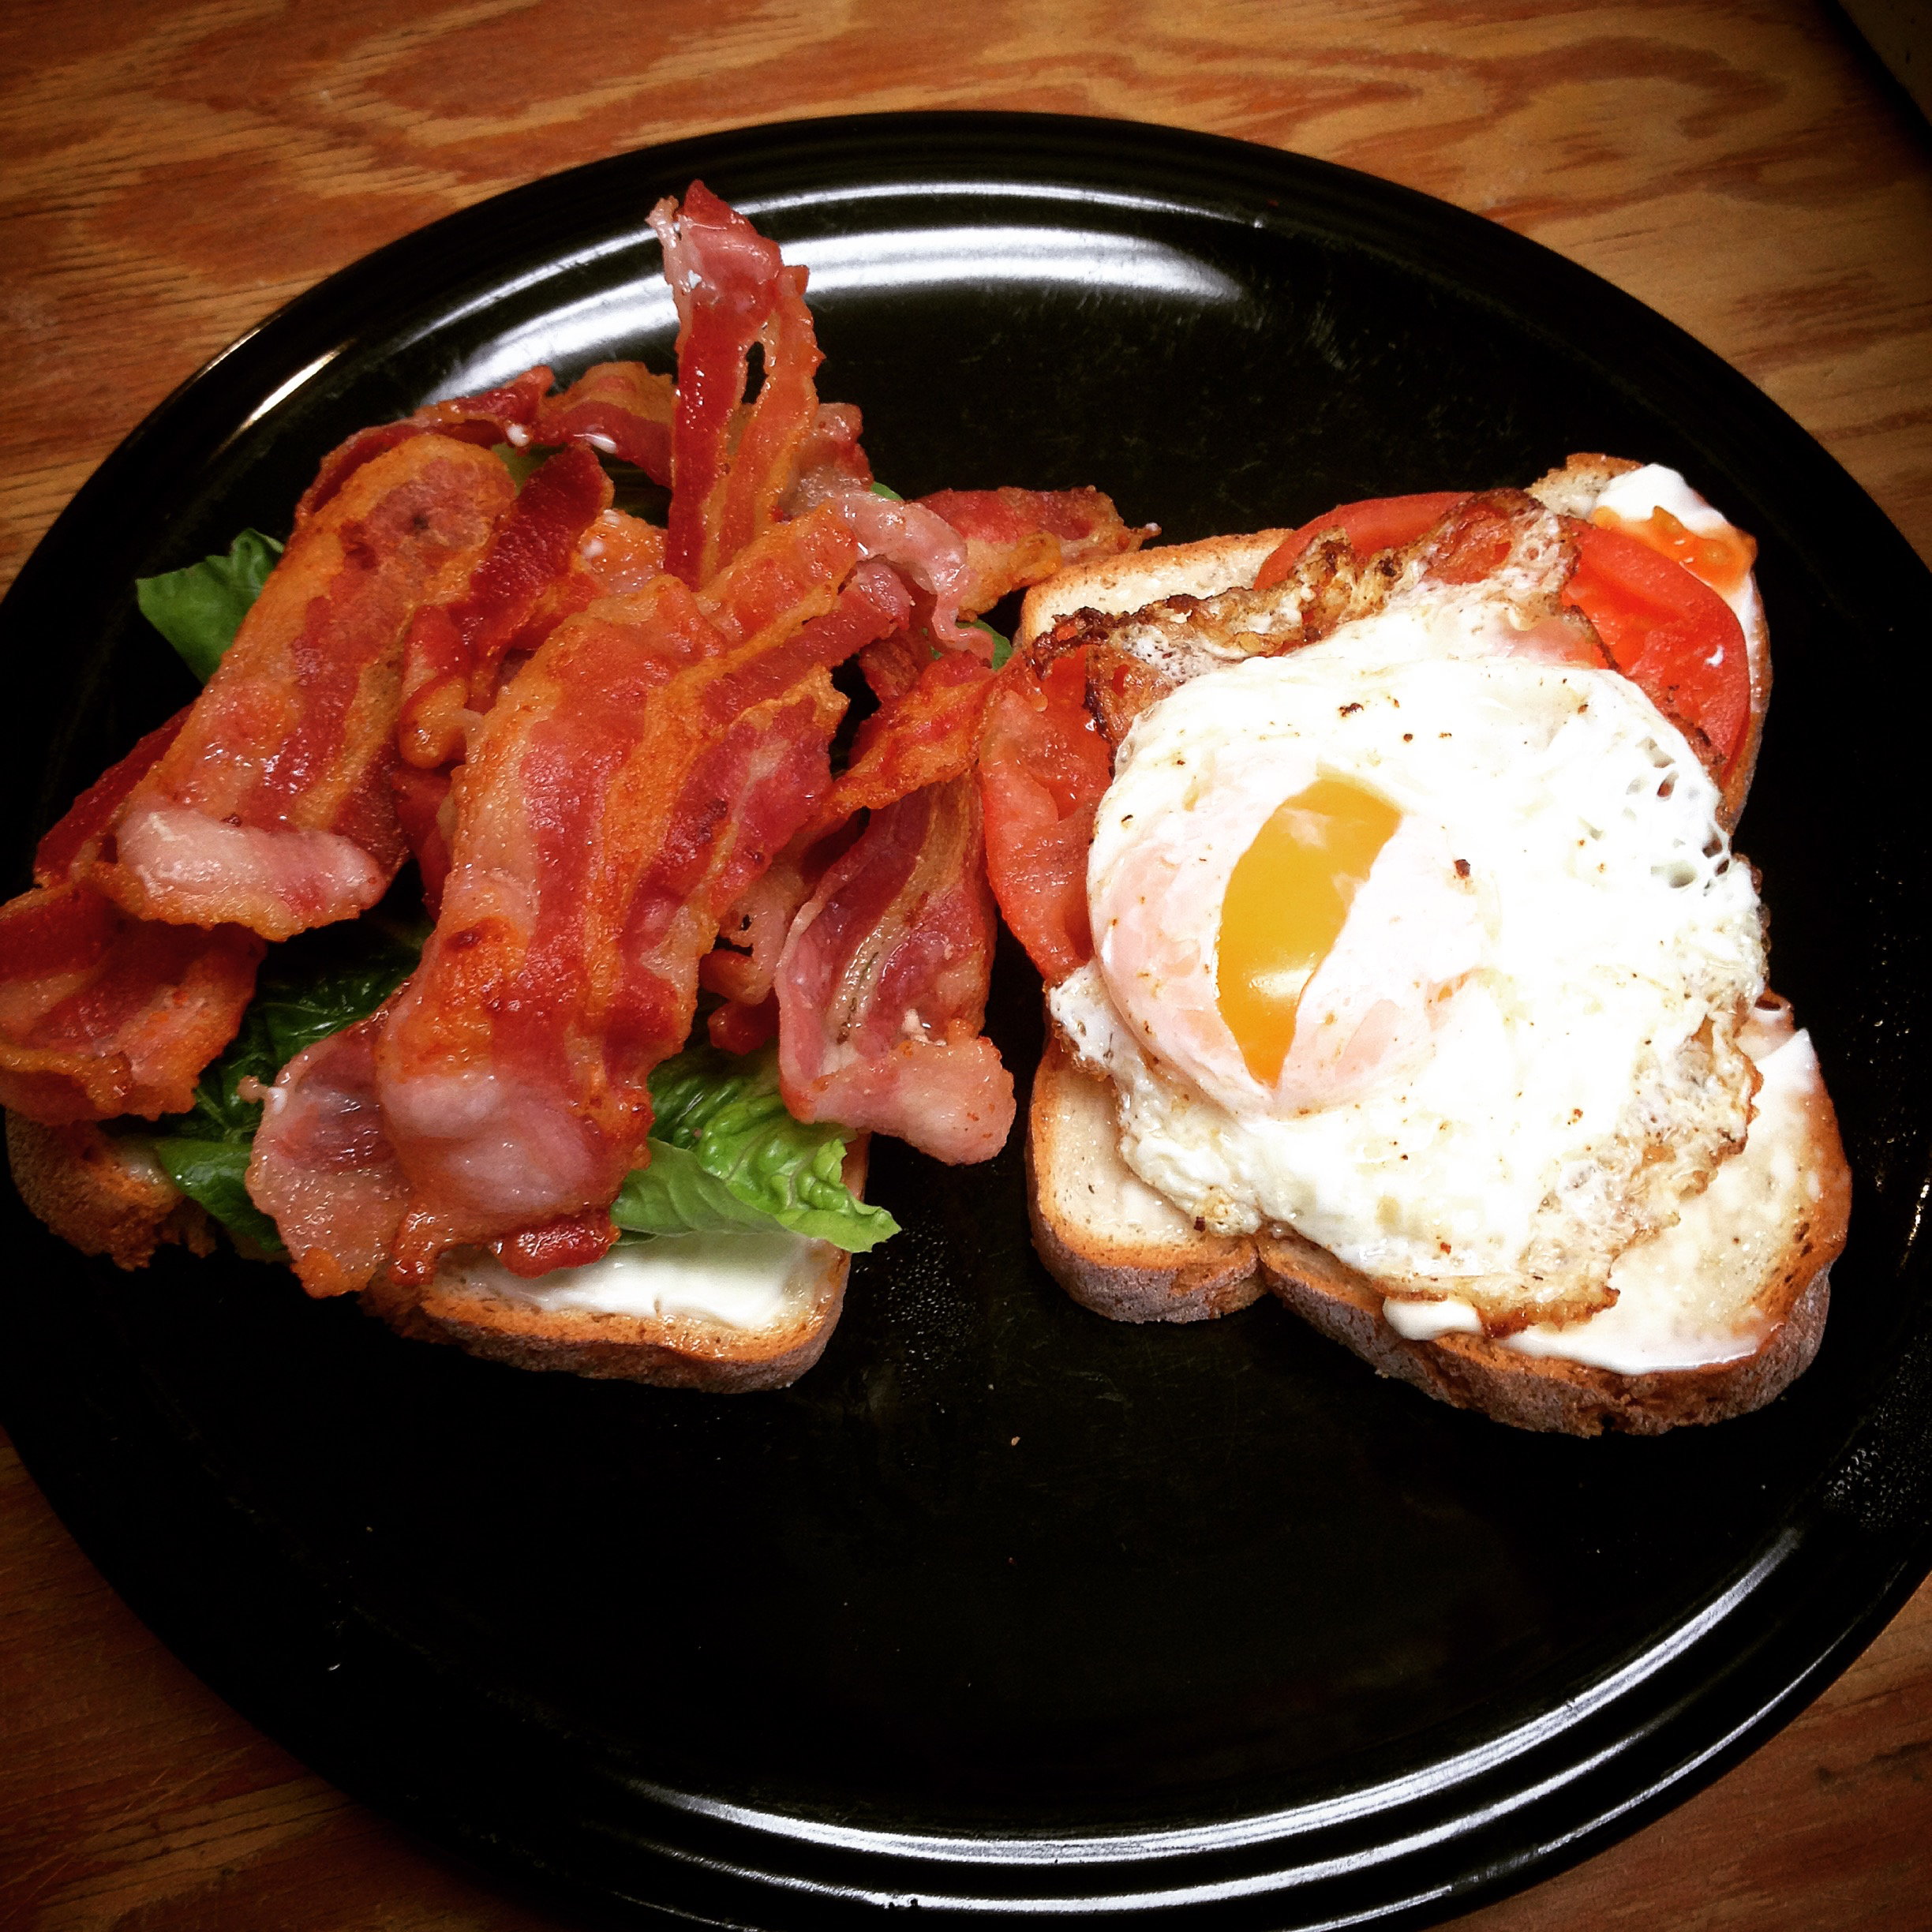
Gluten Free BLT with fried Egg | Small Town Living in Nevada

My parents are in town visiting so when my father comes into town he always brings me the fruits of his garden regardless if I have a garden going or not. But this trip he brought me vine ripened tomatoes out of his garden. A nice little addition to my sandwich!

Since my husband is allergic to sodium nitrates and msg I don’t fry up bacon practically ever. However, I do always keep a box on hand for when I get a craving. And of course today was the day and ohhhhhh, was it worth it!

Gluten Free BLT with a fried egg

Ingredients:

  • 6 thick slices of bacon
  • 2 slices of gluten free bread, toasted – I used Udi’s
  • 1-2 tablespoons mayonnaise – I used Best Foods
  • 3 tomato slices – garden fresh!
  • 2 leaves of green leaf lettuce
  • 1 large egg — I used fresh out of the chicken coop!
  1. In a skillet, cook the bacon over moderate heat, turning, until crisp, about 8 minutes. Transfer to paper towels to drain.
  2. Spread the mayonnaise on both slices of toast, then top with the bacon, tomato and lettuce.
  3. In the same skillet that the bacon was fried, add the egg and fry over moderate heat, turning once, until crisp around the edge, about 3 minutes; the yolk should still be runny. Slide the egg onto the lettuce; close the sandwich and eat right away.
Advertise

Please email stlnevada@gmail.com for questions and inquiries.

About Small Town Living in Nevada

My kids, husband and I have a lot of food allergies but it doesn’t stop us from eating well or from having fun! In June 2014 I launched Small Town Living in Nevada originally via Facebook to share my Gluten Free Recipes and my zany family adventures. Since my blog is so very specific with mainly Gluten Free recipes, I have been delighted with the response as my blog now has been visited by over 1000 people since June 2014. In addition to sharing my crafts, activities, and recipes here on my blog, I am an avid user of Pinterest (1,000+ pins and 67 followers), in addition to building a great community on Facebook (433 fans).

Founded via Facebook on June 17, 2014.

Moved blog to WordPress: September 2014.


Metrics for Small Town Living in Nevada (since September 2014)
300 page views per month from 16+ Countries
1.5 views per visitors per month 
67 followers on Pinterest 
433 fans on Facebook

Opportunities with Small Town Living in Nevada

Advertising
125×125 pixel sidebar ads | $50/mo
300 x 250 pixel sidebar ads | $125/mo
Banner ads embedded in posts | $175/mo

All ads are subject to review and approval and must be appropriate for Small Town Living in Nevada’s readers.

Reviews
I am quite selective about the product reviews I accept. It must be a product I’m interested in and also a good fit for my specific audience. I do not charge for editorial reviews, nor do I promise inclusion or meet any deadlines. I will be candid about my experience and opinions. If you want me to guarantee inclusion or have key message points that would like me to share with my audience, you may want to consider a sponsored post.

Giveaways
Giveaways include a 125 px ×125 px sidebar ad for the month, and I charge a $100 administrative fee unless special arrangements are made. I offer one entry for a relevant comment and additional optional entries for following the brand on Twitter or subscribing to newsletters, etc. I do not offer entries for “likes” on Facebook, since it violates Facebook’s TOS. Please DO NOT mail giveaway items to me. They must be mailed from the sponsored company to the winner. Sponsoring brands must handle fulfillment.

Please send all inquiries to stlnevada@gmail.com. Thank you for your interest in supporting Small Town Living in Nevada!

So much that has gone on since Friday

I have been planning a birthday party for my two sons. Their birthdays are 5 days apart so every year since the youngest has been one, the boys have been having a combo-birthday together. This year they were celebrating 6 years old and 4 years old  birthdays together. I know eventually they will want separate birthdays but for now I like combining the two together.

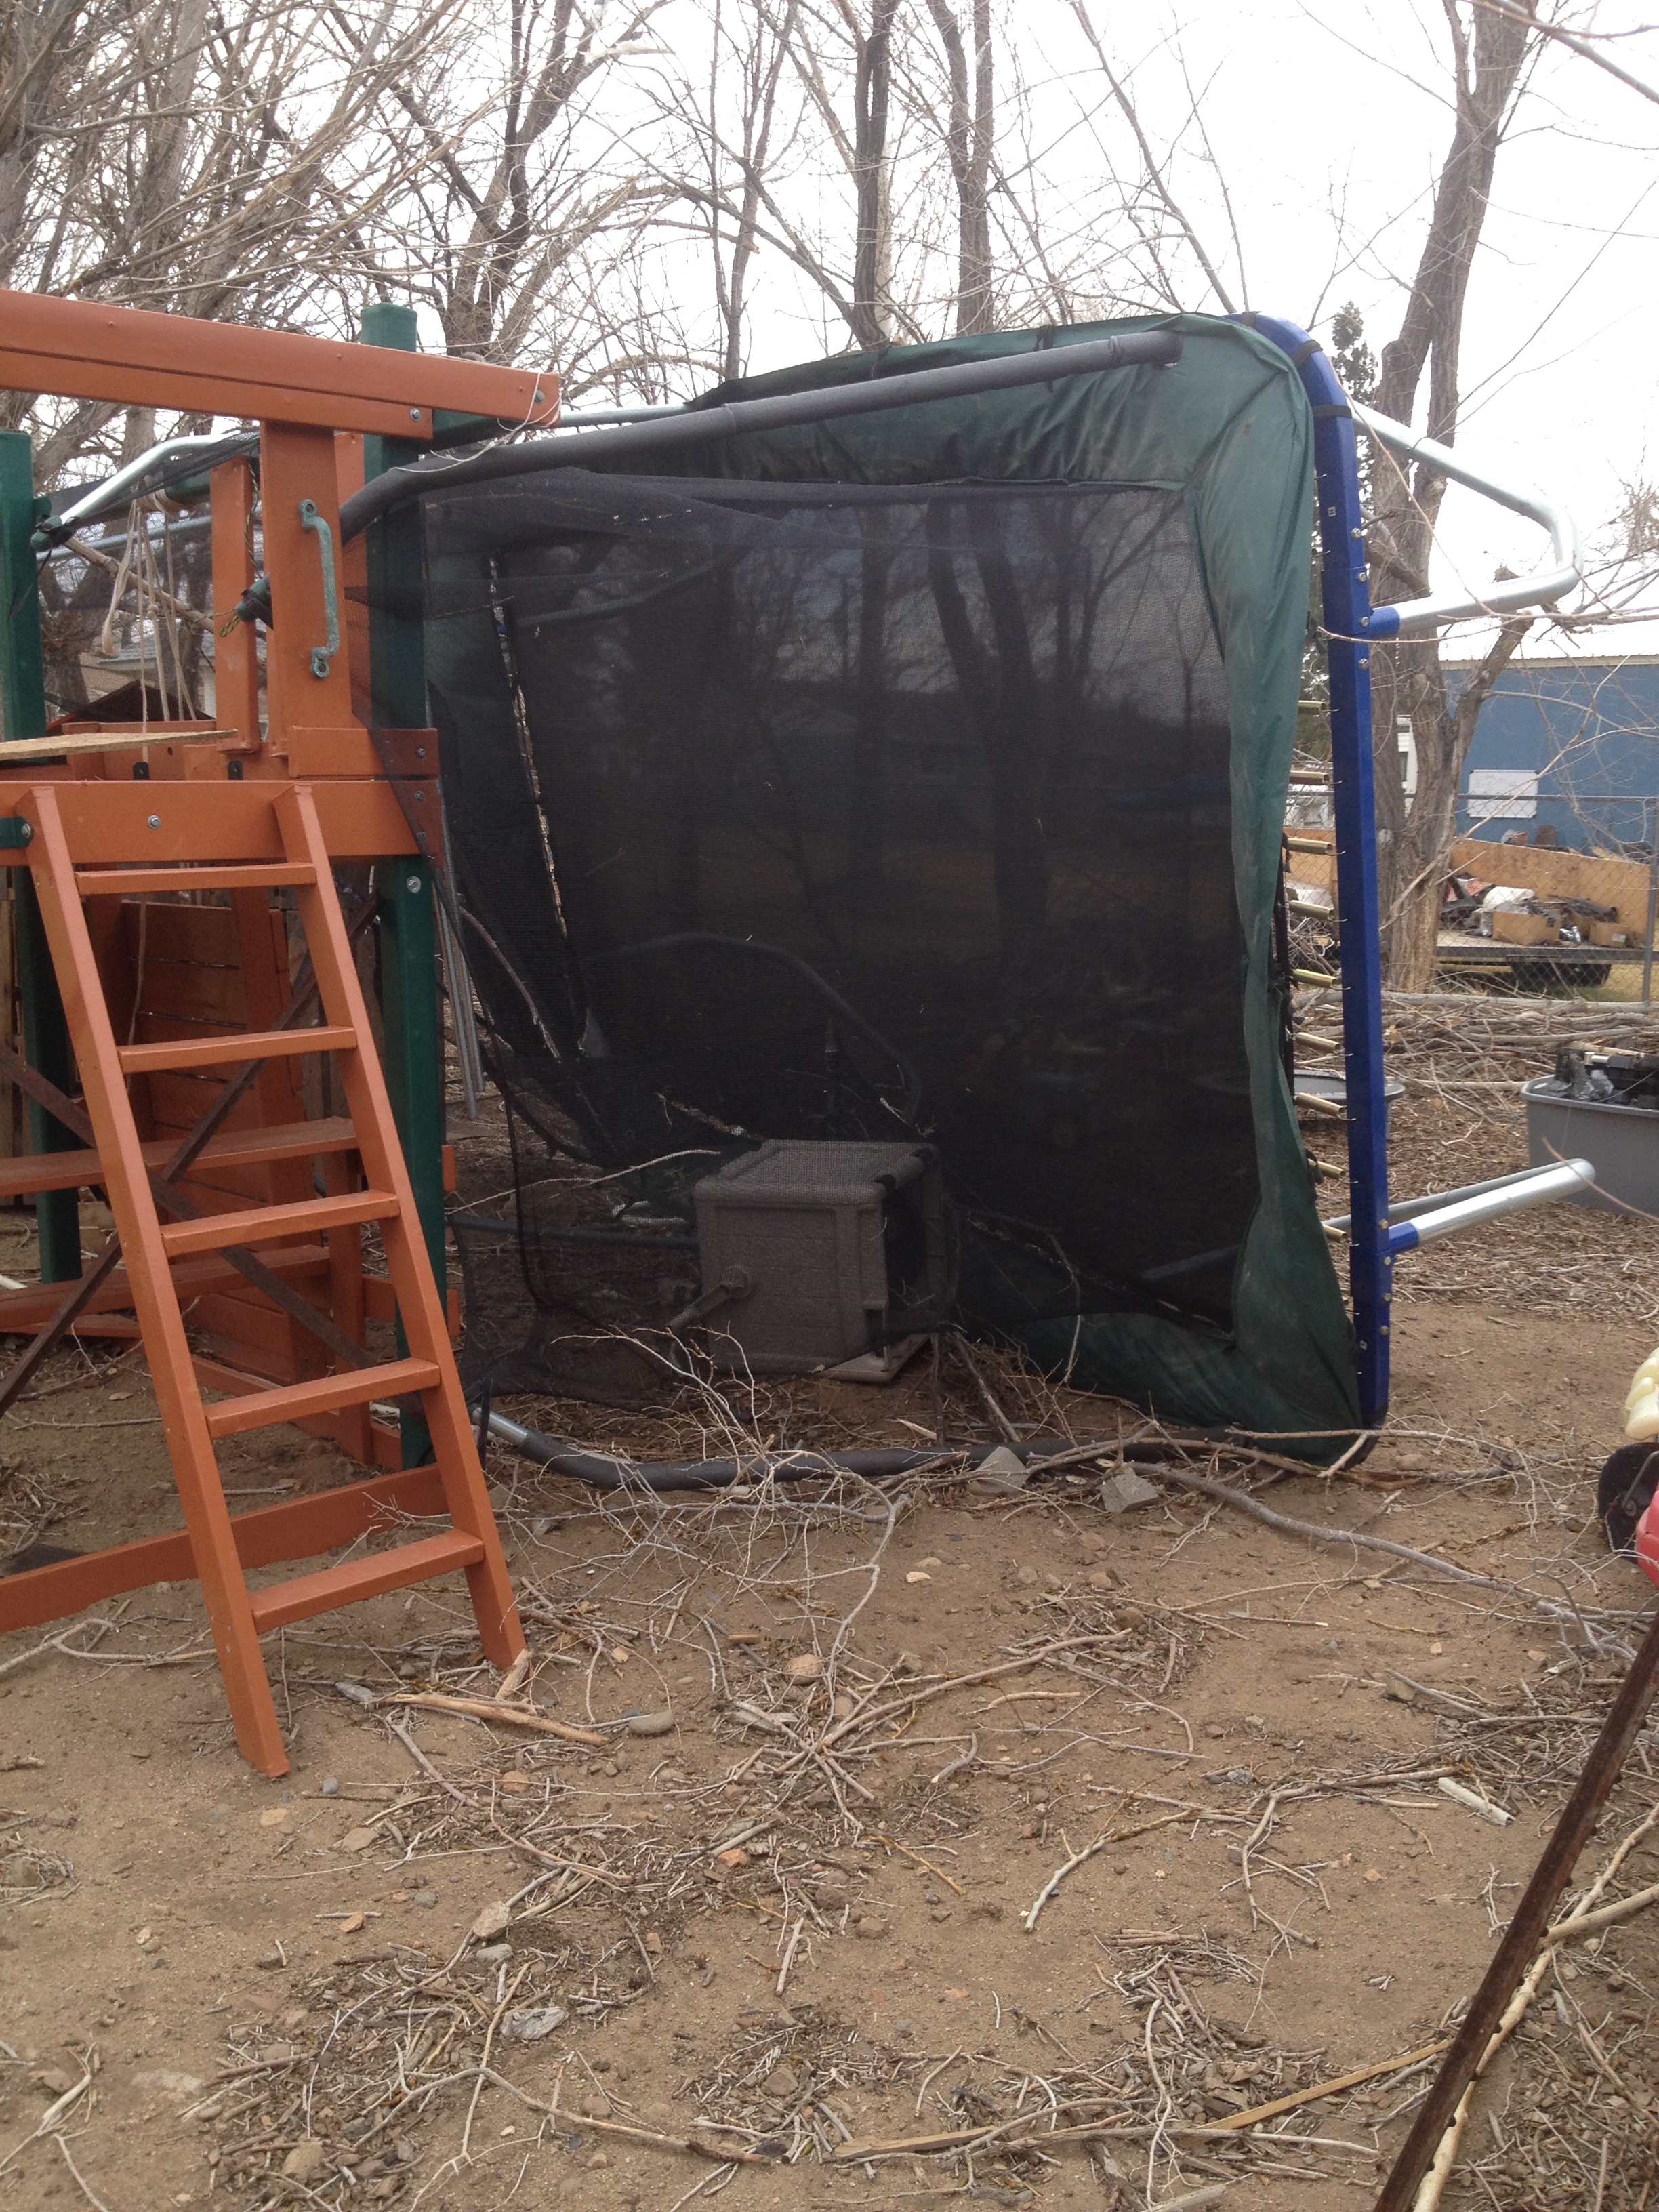
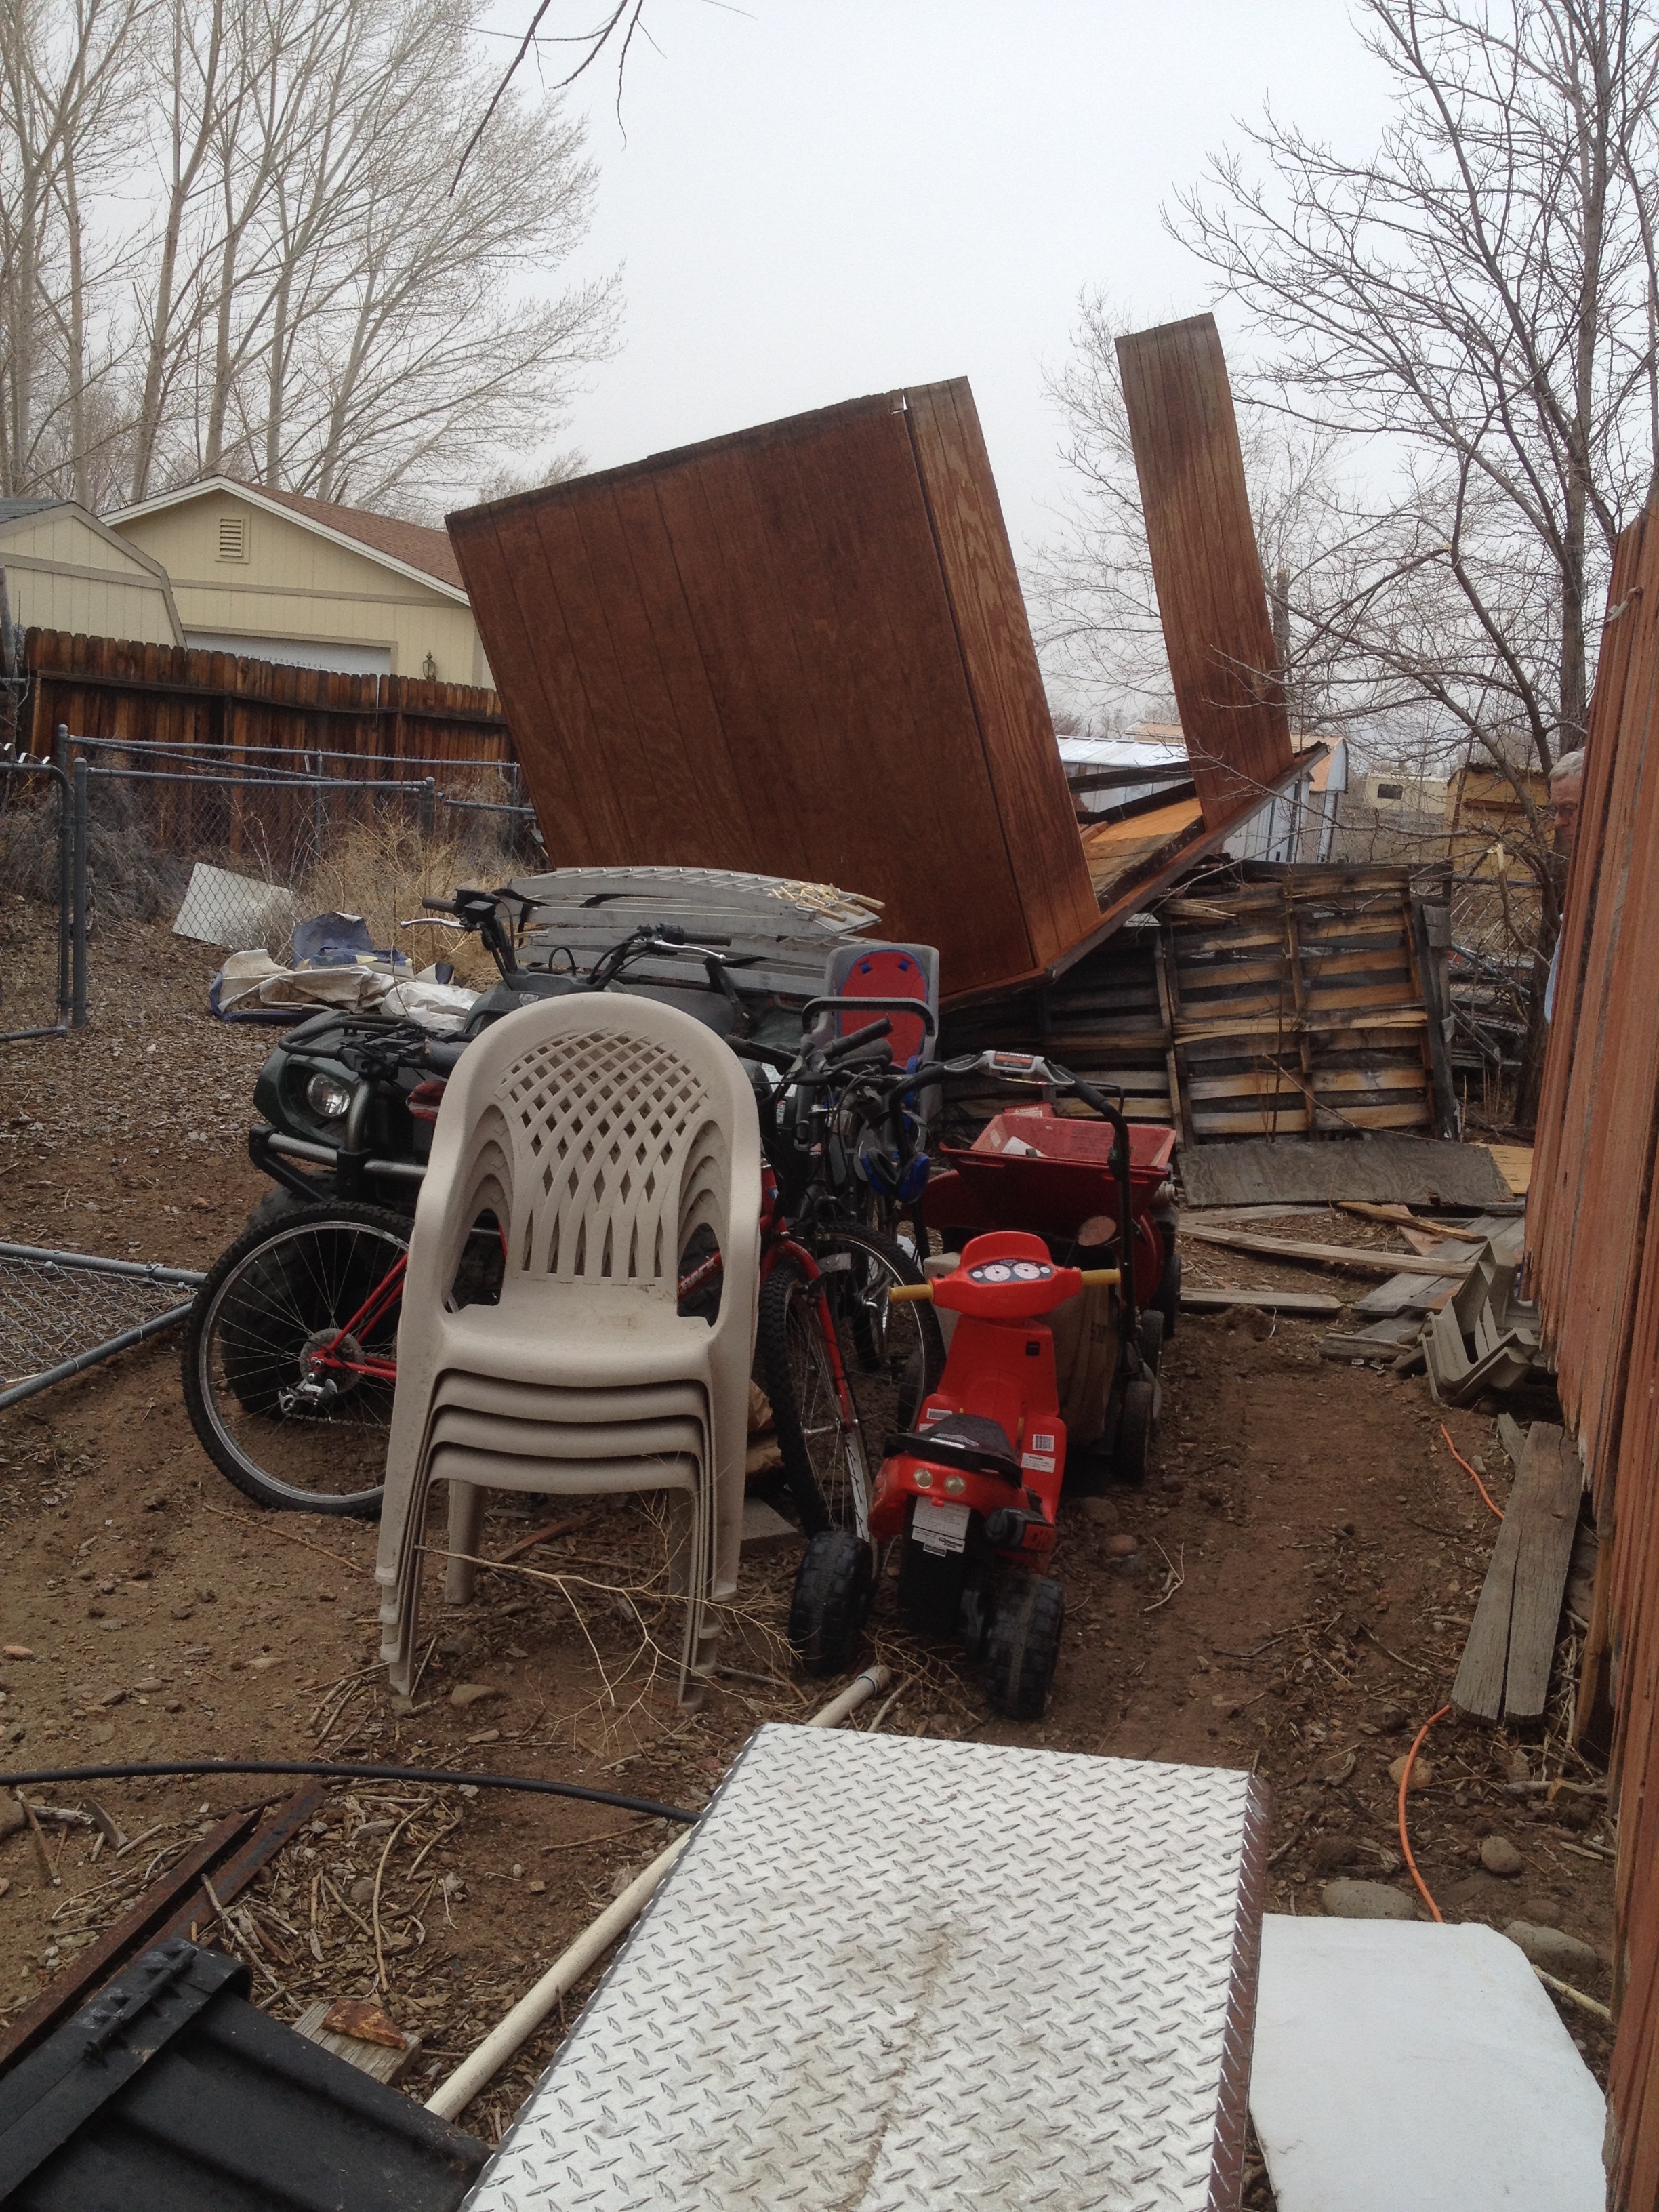
Unfortunately, we had a storm hit us on Friday – the night before the party. This storm was worse than the one that hit us in December. Weird thing is — our area has never experienced such destruction like this ever from windstorms or rain prior to the December Windstorm.

This time — our Trampoline that takes several adults to lift to move was flung by the 90 mph winds like it was a feather. Our neighbors tree was uprooted and toppled over nearly missing our fence. Our tent trailer’s roof popped open and my father and I were out in the gust for nearly 30 minutes trying to get the roof down and latched. And then another 15+ minutes trying to gather up the chickens and put them in the coop and praying the coop wouldn’t blow over. Then while I was gathering the chickens my father yells, “The Shed!!” I turn around and our shed that the ATV was in blew over and teetered upside down and almost over the fence into our other neighbors yard. And of course, now I have been suffering with massive sinus congestion and a stuffed up nose since being in the wind. And I was just starting to feel better after being sick for 6 weeks with bronchitis.

IMG_0210 IMG_0212

Continue reading →

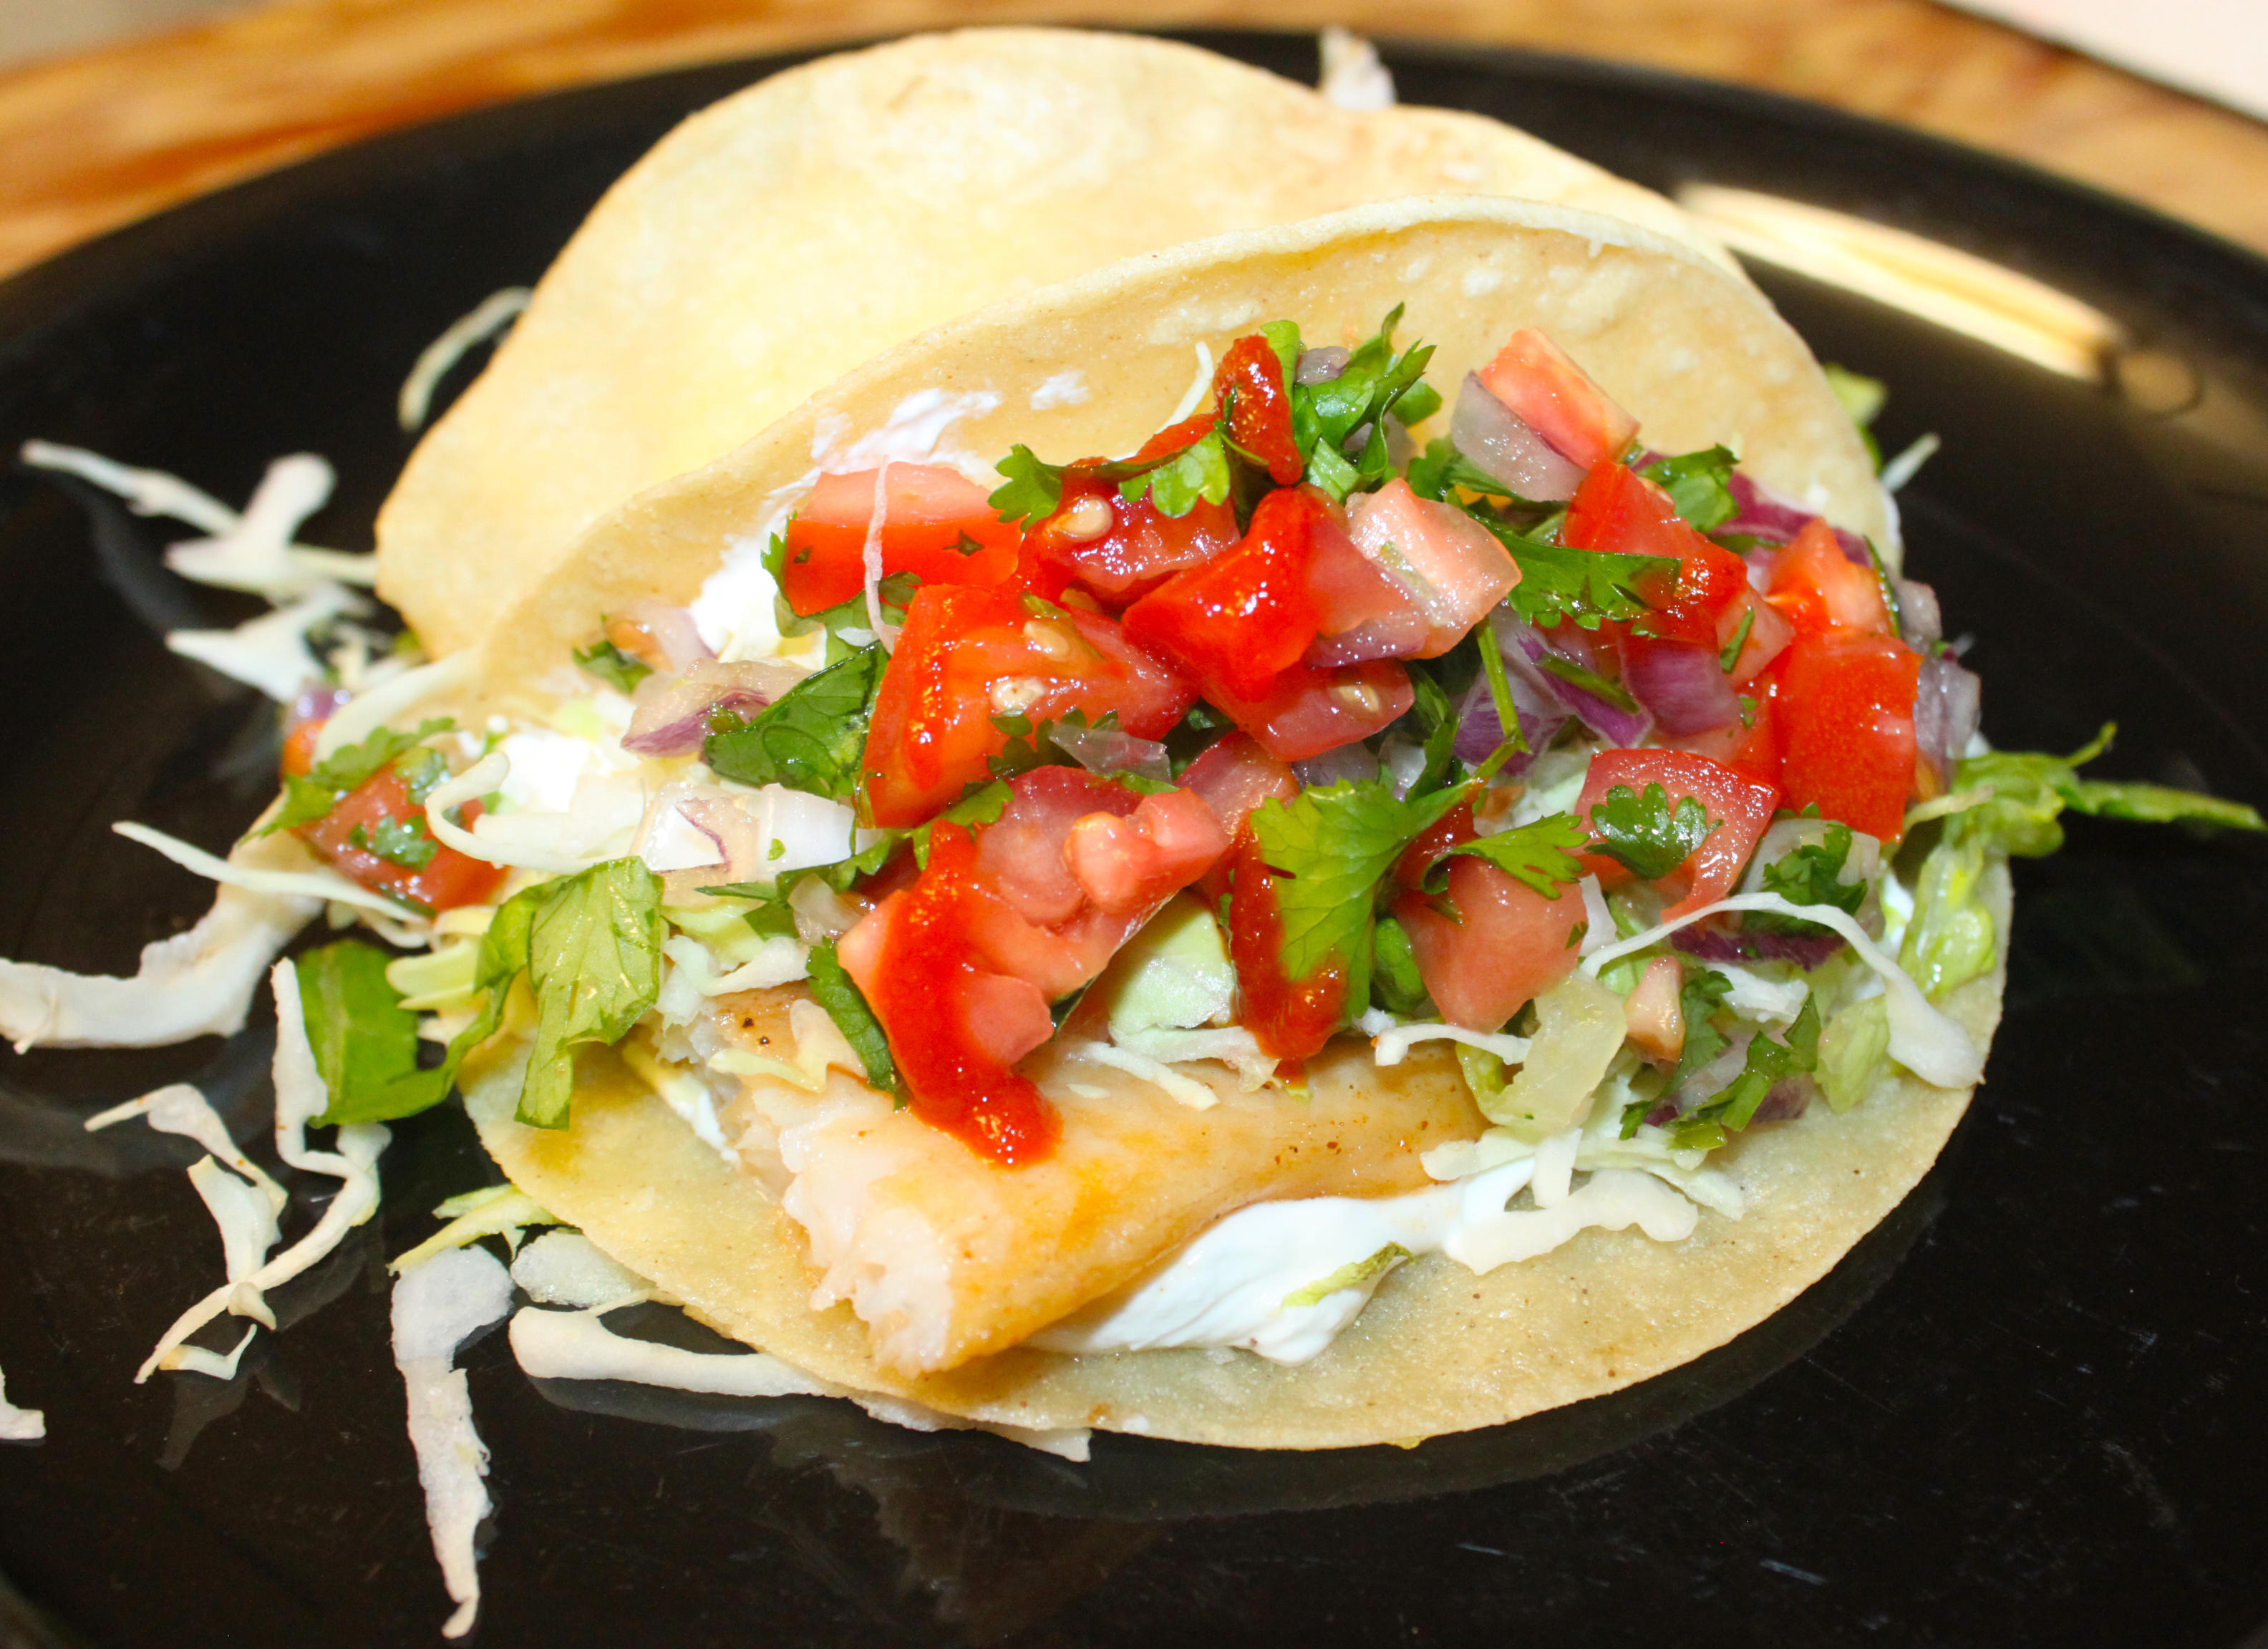
Gluten Free Grilled/Barbecued Fish Tacos

My kids love tacos and they love fish — so the combination of a Fish Taco is always a Dinner success at my house.

Unfortunately, it took me many years to even try a fish taco. And this is coming from a California girl who grew up only 45 minutes from the beaches of Santa Cruz as well as the bay side city of San Francisco. Nevertheless, once I tried a fish taco, I was HOOKED! Haha, pun intended!

These tacos are relatively on the healthy side and boast a lot of flavor. They are easy on your wallet, and extremely fast and simple to pull together. Instead of deep-frying the fish for these fish tacos, we coat the fish with a flavor-packed rub and grill them for just 3-5 minutes per side.

I used affordable swai white fish, and rubbed it with a generous amount of Kinder’s Mild BBQ Rub. The fish was then thrown on the barbecue for several minutes until it was cooked to perfection. The Swai was then topped with a perfect mixture of tomatoes, onions, cilantro, cabbage and a dash of Sour Cream and Sriracha sauce all inside a nice warm, crunchy tortilla.

BBQ Grilled Fish Tacos | Small Town Living in Nevada

Continue reading →

Stabilized Whipped Cream Frosting

Starting at the end of January til the 2nd week of Feb, my family celebrates three birthdays one after another! Both my son’s and then followed by my birthday. My daughter’s b-day is in November and my husband’s birthday is in December. So from November through February I call it birthday season!! Thank goodness birthday season is coming to an end and life as we know it will be back to normal… cause you know what — all those birthdays revolve around Christmas — so it is just one thing after another. Time for a long rejuvenating nap, please!

I have never made stabilized whipped cream frosting before and decided to finally give it a try. Especially since my husband over the course of 17 years has always been a fan of whipped cream frosting and well me a total buttercream frosting kinda gal. However, if I am making the cake it is gonna be buttercream so I have never made a whipped cream frosting until today. And I have to say it was fairly simple to make!

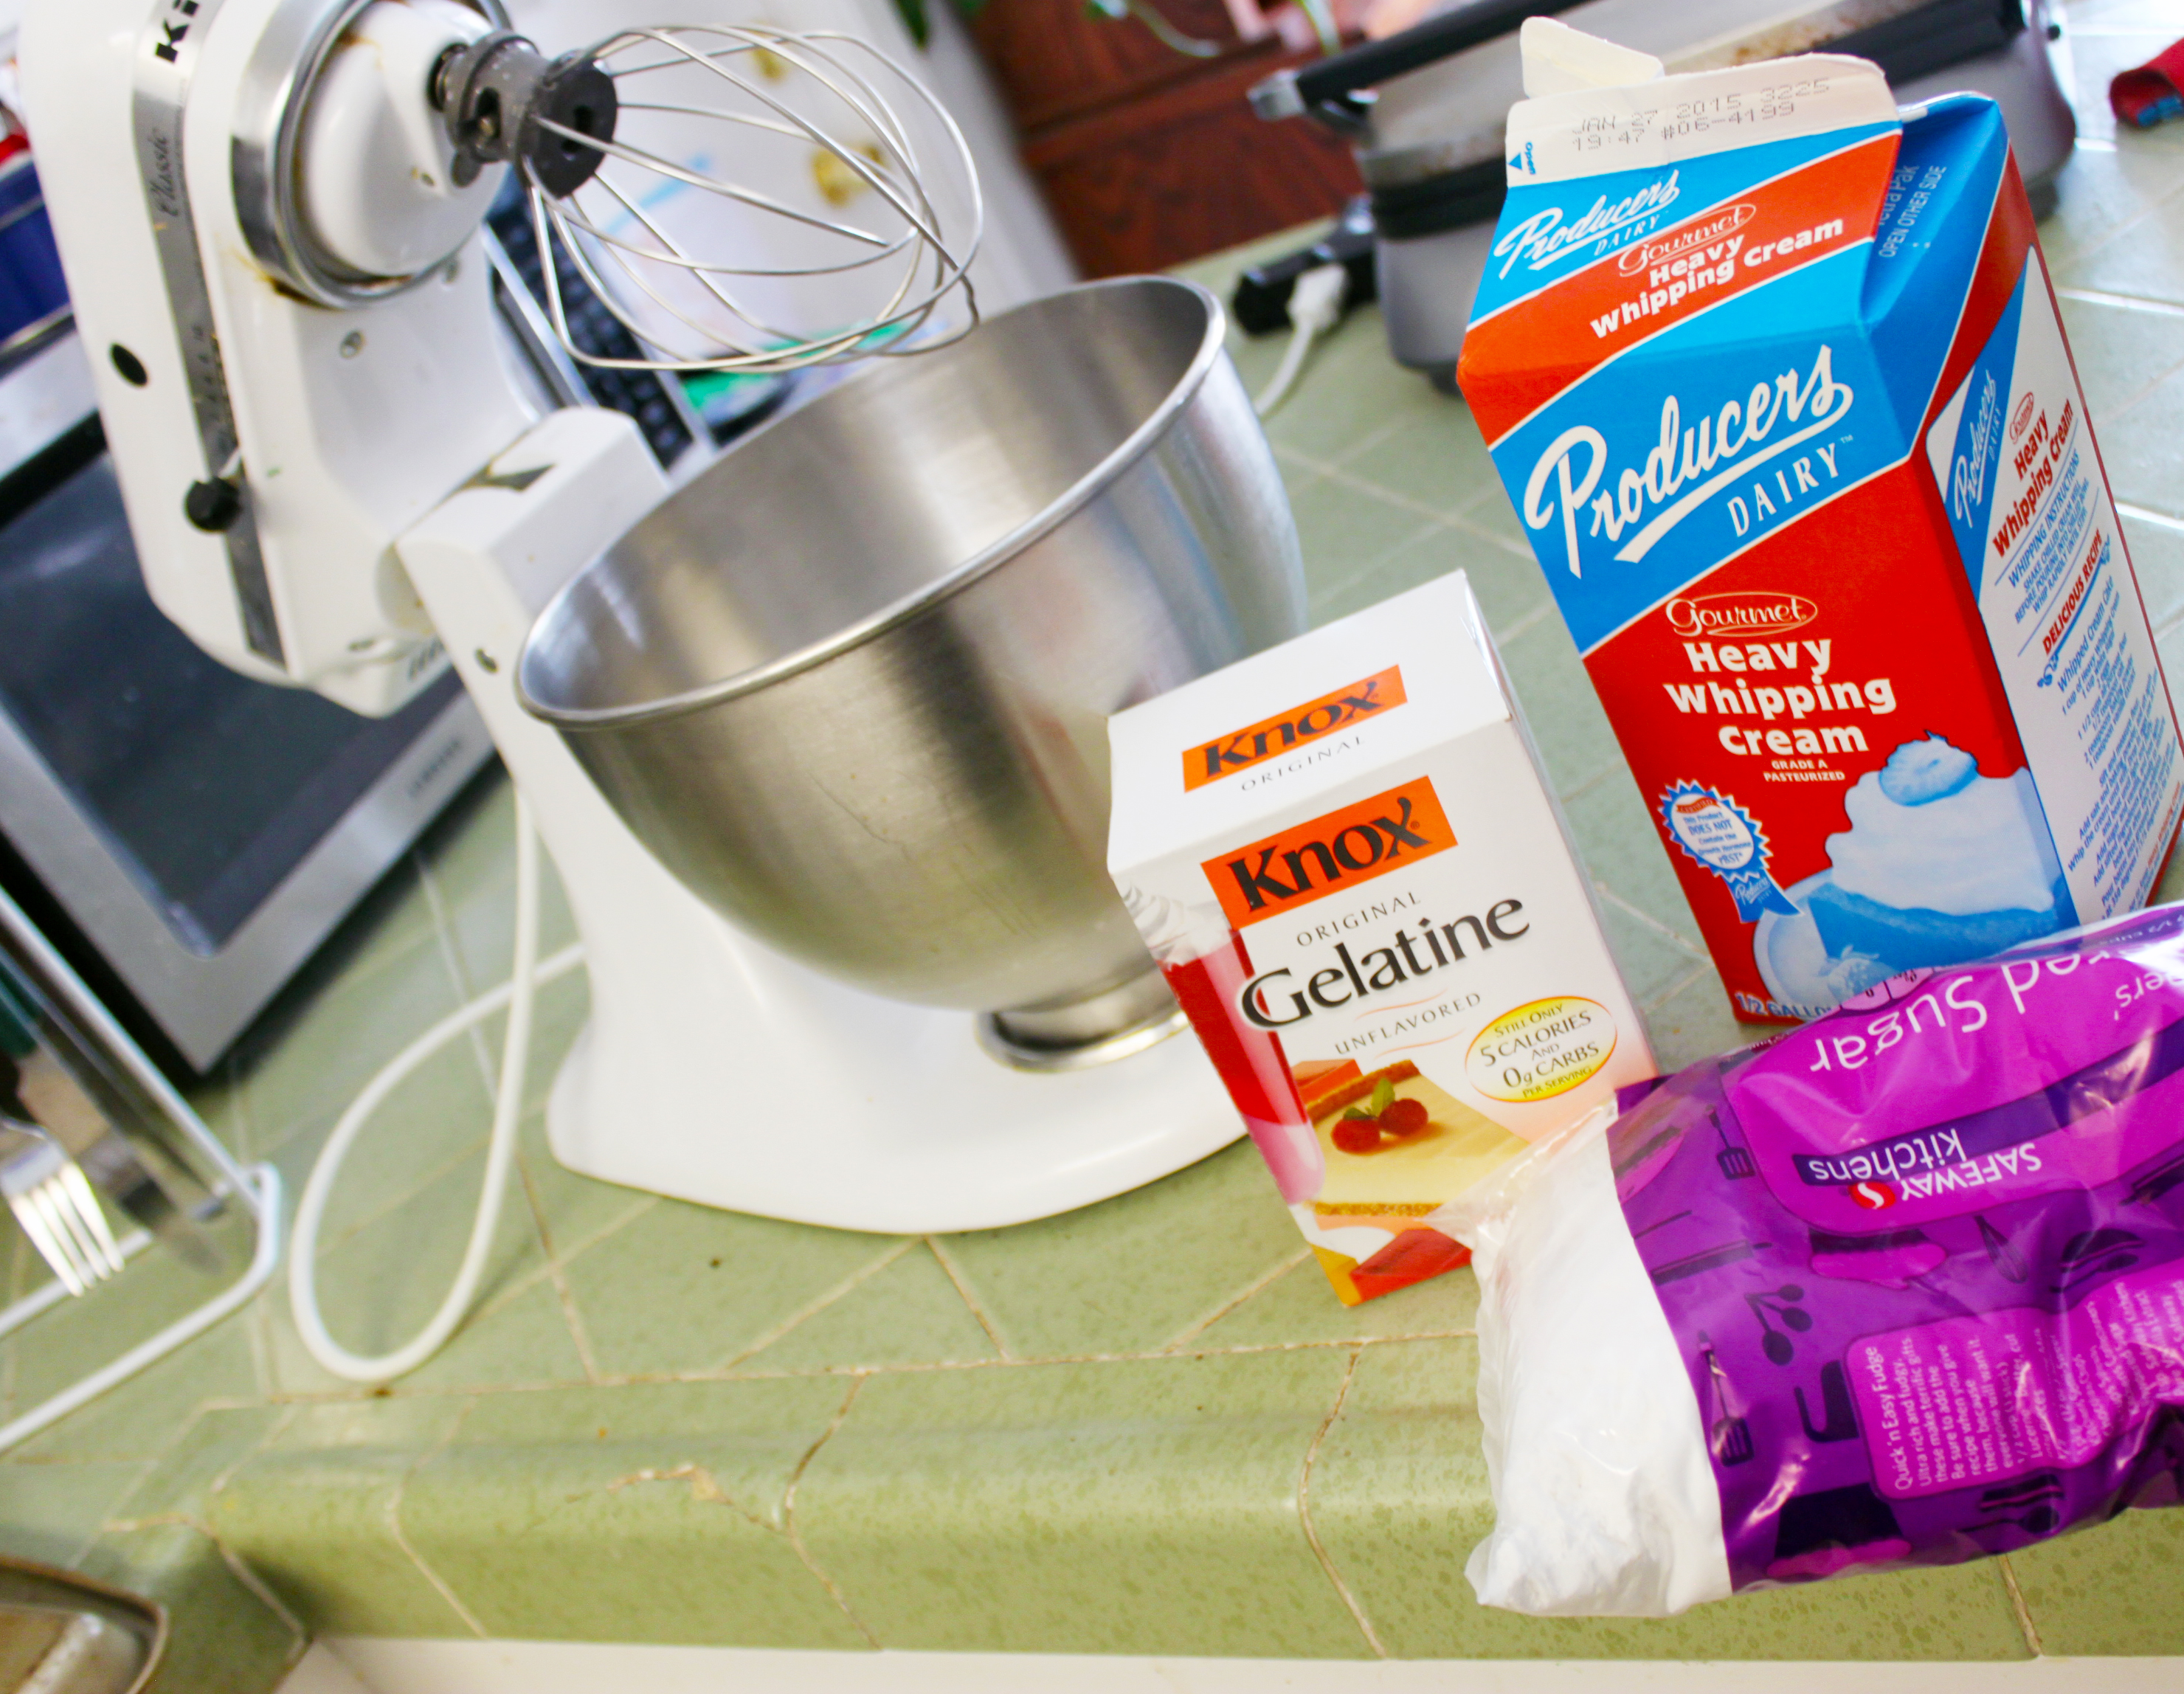
Stabilized Whipped Cream Ingredients

The technique I’m using uses unflavored gelatin. Which is a very simple stabilizer for the cream and, unlike some other methods, doesn’t change the taste or color of your whipped cream at all.

The whipped cream really firms up nicely and you can actually pipe it and it won’t sag or weep. I was able to use my trusty Wilton decorating piping tips and the frosting stood up beautifully!

Stabilized Whipped Cream Frosting

Continue reading →

Homemade Crockpot Yogurt

Homemade Yogurt | Small Town Living in Nevada

My kids love yogurt, me not so much. But they eat yogurt so much that we buy boat loads. OK, probably not that much, but it just seems like it.

My husband decided he wanted to try his hand at making homemade yogurt in the crockpot. Well, our first batch was over-cooked and turned into Feta Cheese. AND that Feta Cheese was WONDERFUL!

TAKE TWO: After doing more research and hitting the next town over’s Beer Making Shop we came across a Y5 Sweet Yogurt culture packet that contained Acidophilus and Bifidobacterium (the most Probiotic). We have been making Soda Kefir and were buying bottles at the shop when we came upon the culture. Glad we stopped in and of course the Kefir will be another post later on.

Anyhow, the process was easier with the culture and fairly simple using the crockpot but it took about 4 hours to make using the crockpot.

Take a gallon of whole milk and pour it into the crockpot and get it heated up to 185º F. And then have it hold at that temp for around 20-30 minutes. This will prepare the whey proteins which are largely responsible for the thickening of the yogurt body.

The next step is to cool the milk quickly back down to 112º F to complete the fermentation.

When the milk reaches the proper temperature for inoculation, is time to add the yogurt culture.

Your next step will be to incubate the cultured milk for the required time in an insulated container (we used two large insulated thermos jugs).

This will then need to set quietly for 8-10 hours and will determine the thickness and texture of the final yogurt as well as the final acidity.

Your final step will be to chill the yogurt quickly as possible once you find the texture and acidity is to your liking. When cooled it will have a much more solid texture.

My husband drained the yogurt through cheese cloth to give it more of a “Greek Style” texture and it provides a more concentrated yogurt flavor and a rich creamy texture for mixing with fruit or jelly.

This morning for breakfast we mixed the yogurt with frozen berries and I have to say for me the flavor was nice and mild and not so tangy — I think the tang is what I don’t like about yogurt.

Next we took the remainder of yogurt and placed it in small containers with a large dollop of Flavored Jelly — Raspberry, Peach and Cherry — into the container and then topped with the yogurt.

Continue reading →

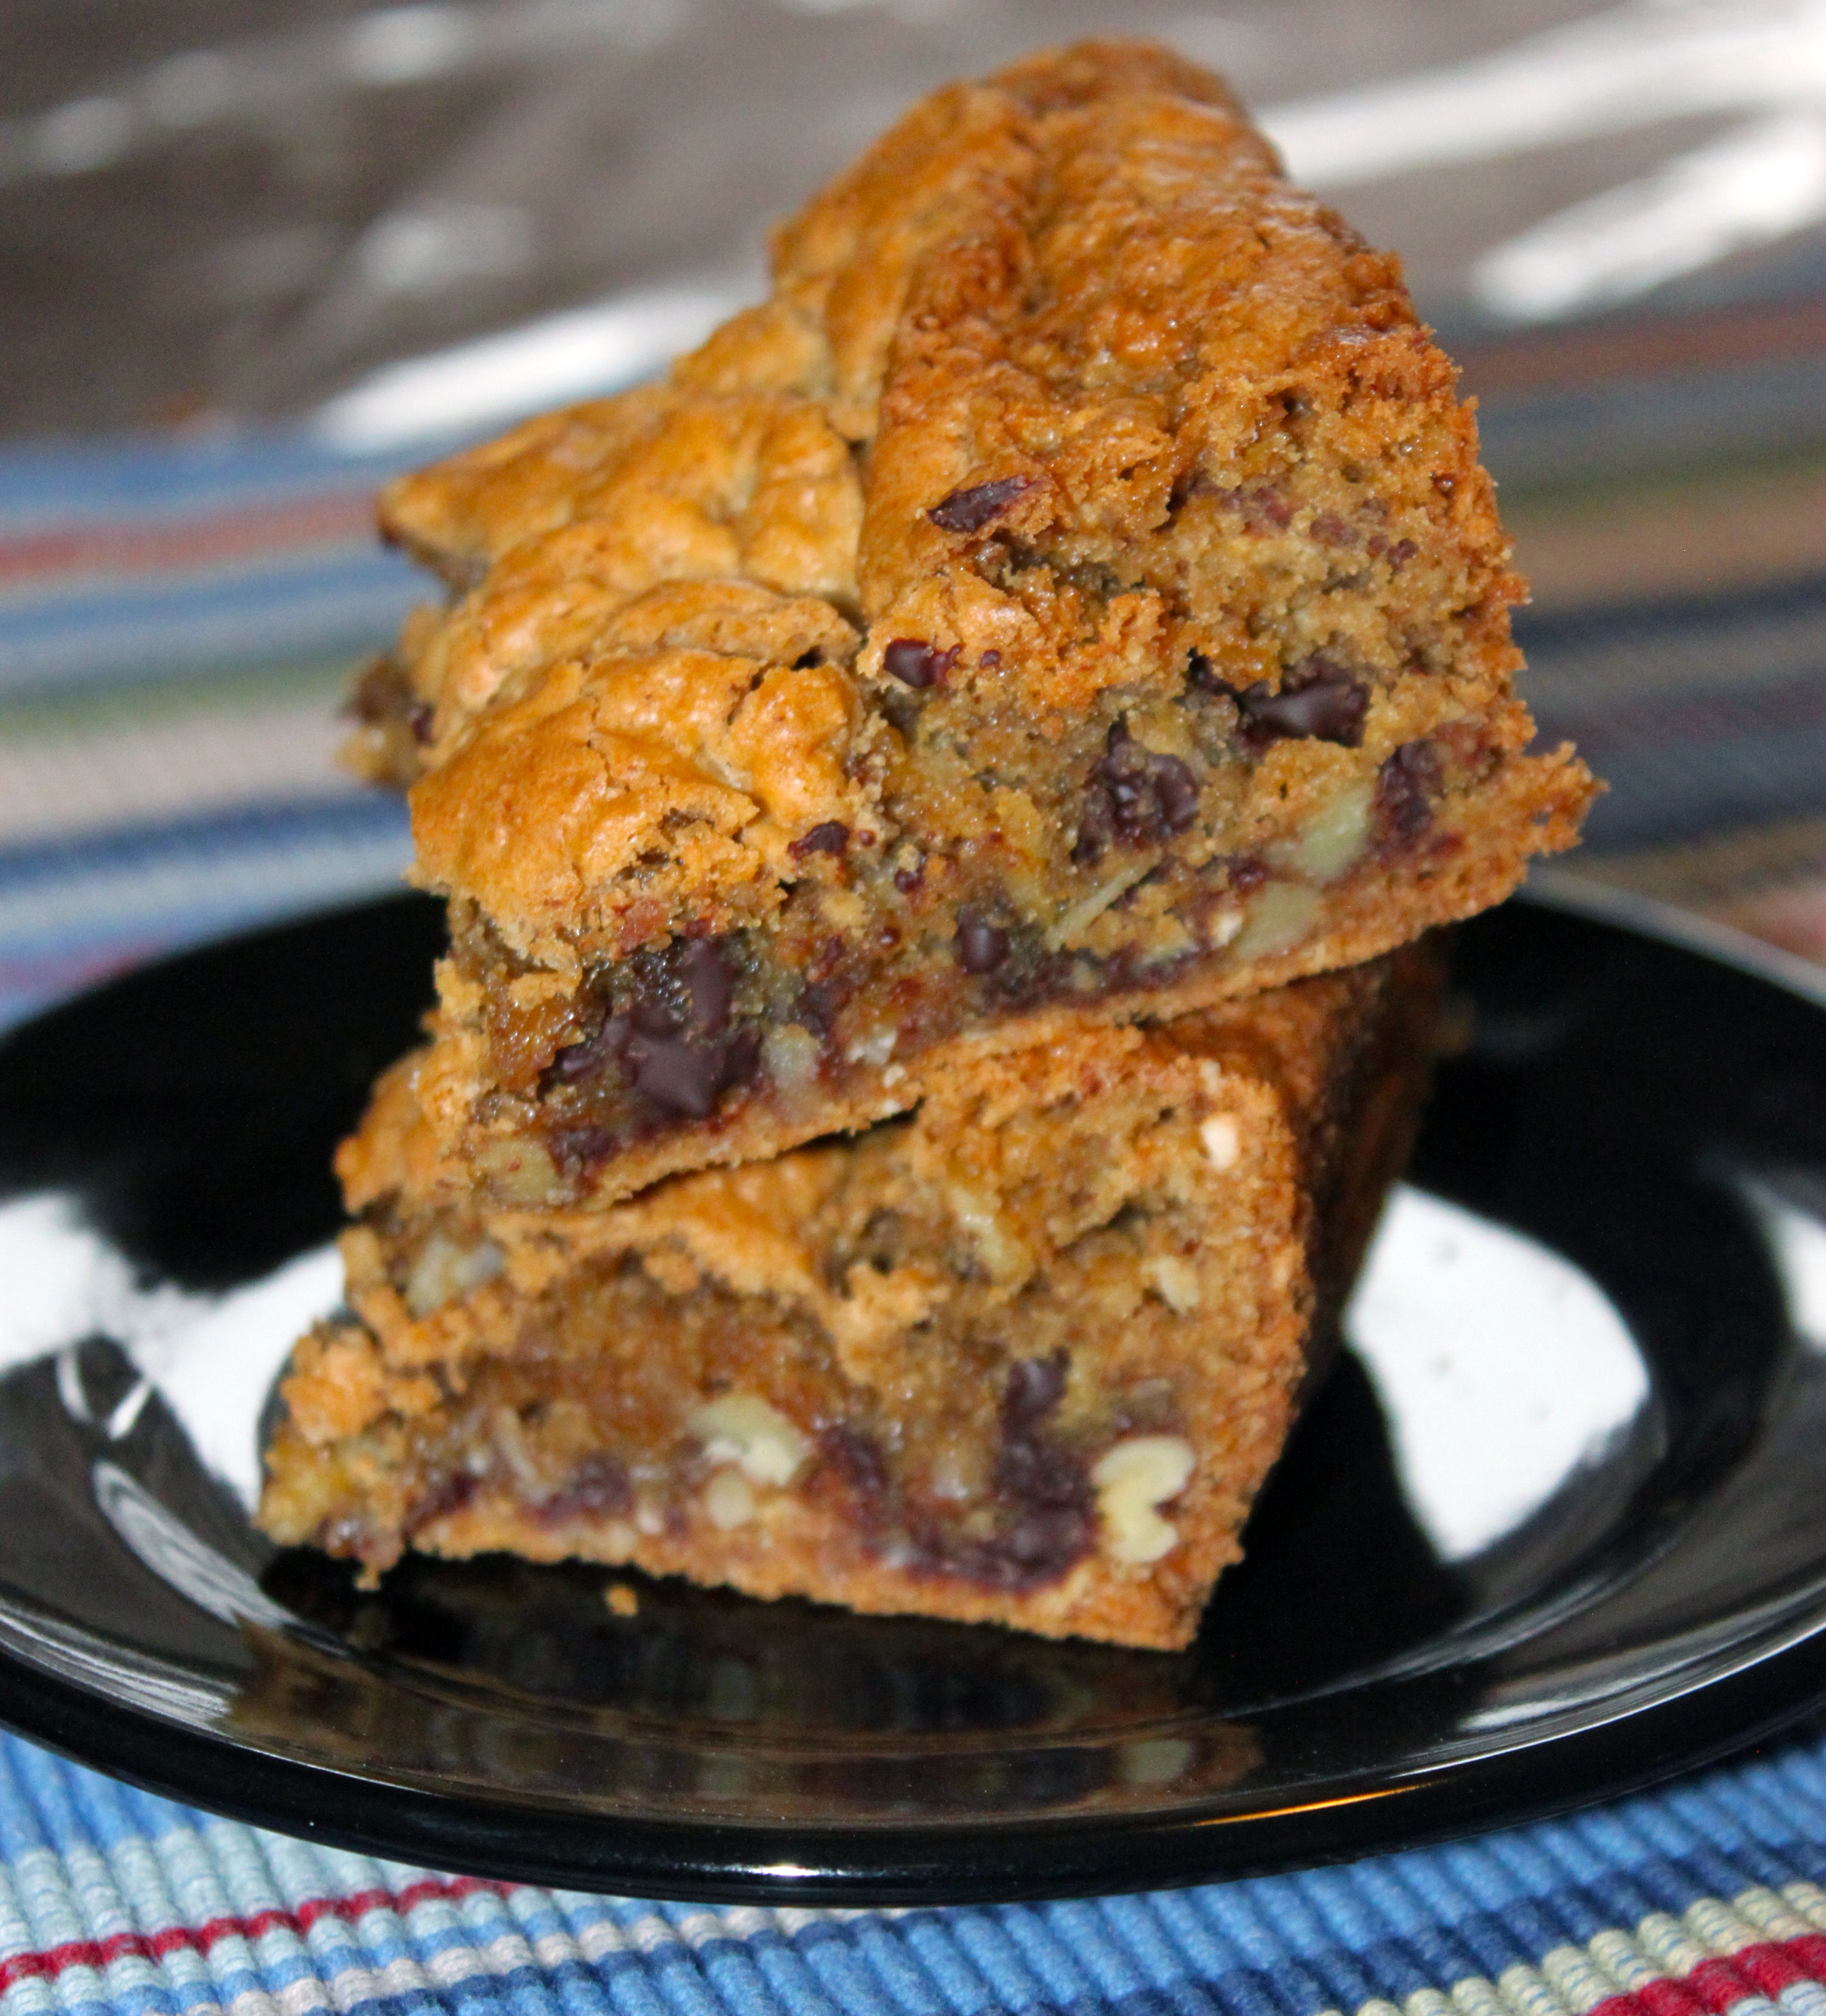
Gluten Free Chewy Cake Bars

I have no idea why it is called chewy cake, it is more like a cookie bar than anything else. Nevertheless, my husband has  been hinting for me to make these bars for awhile now and I finally gave in, LOL.

These bars are really for the sweet-tooth-a-holic…. it has one pound of brown sugar in them and are so good you can’t just eat one and you’ll probably be eating the crumbs up as well.

Gluten Free Chewy Cake | Small Town Living in Nevada

Continue reading →

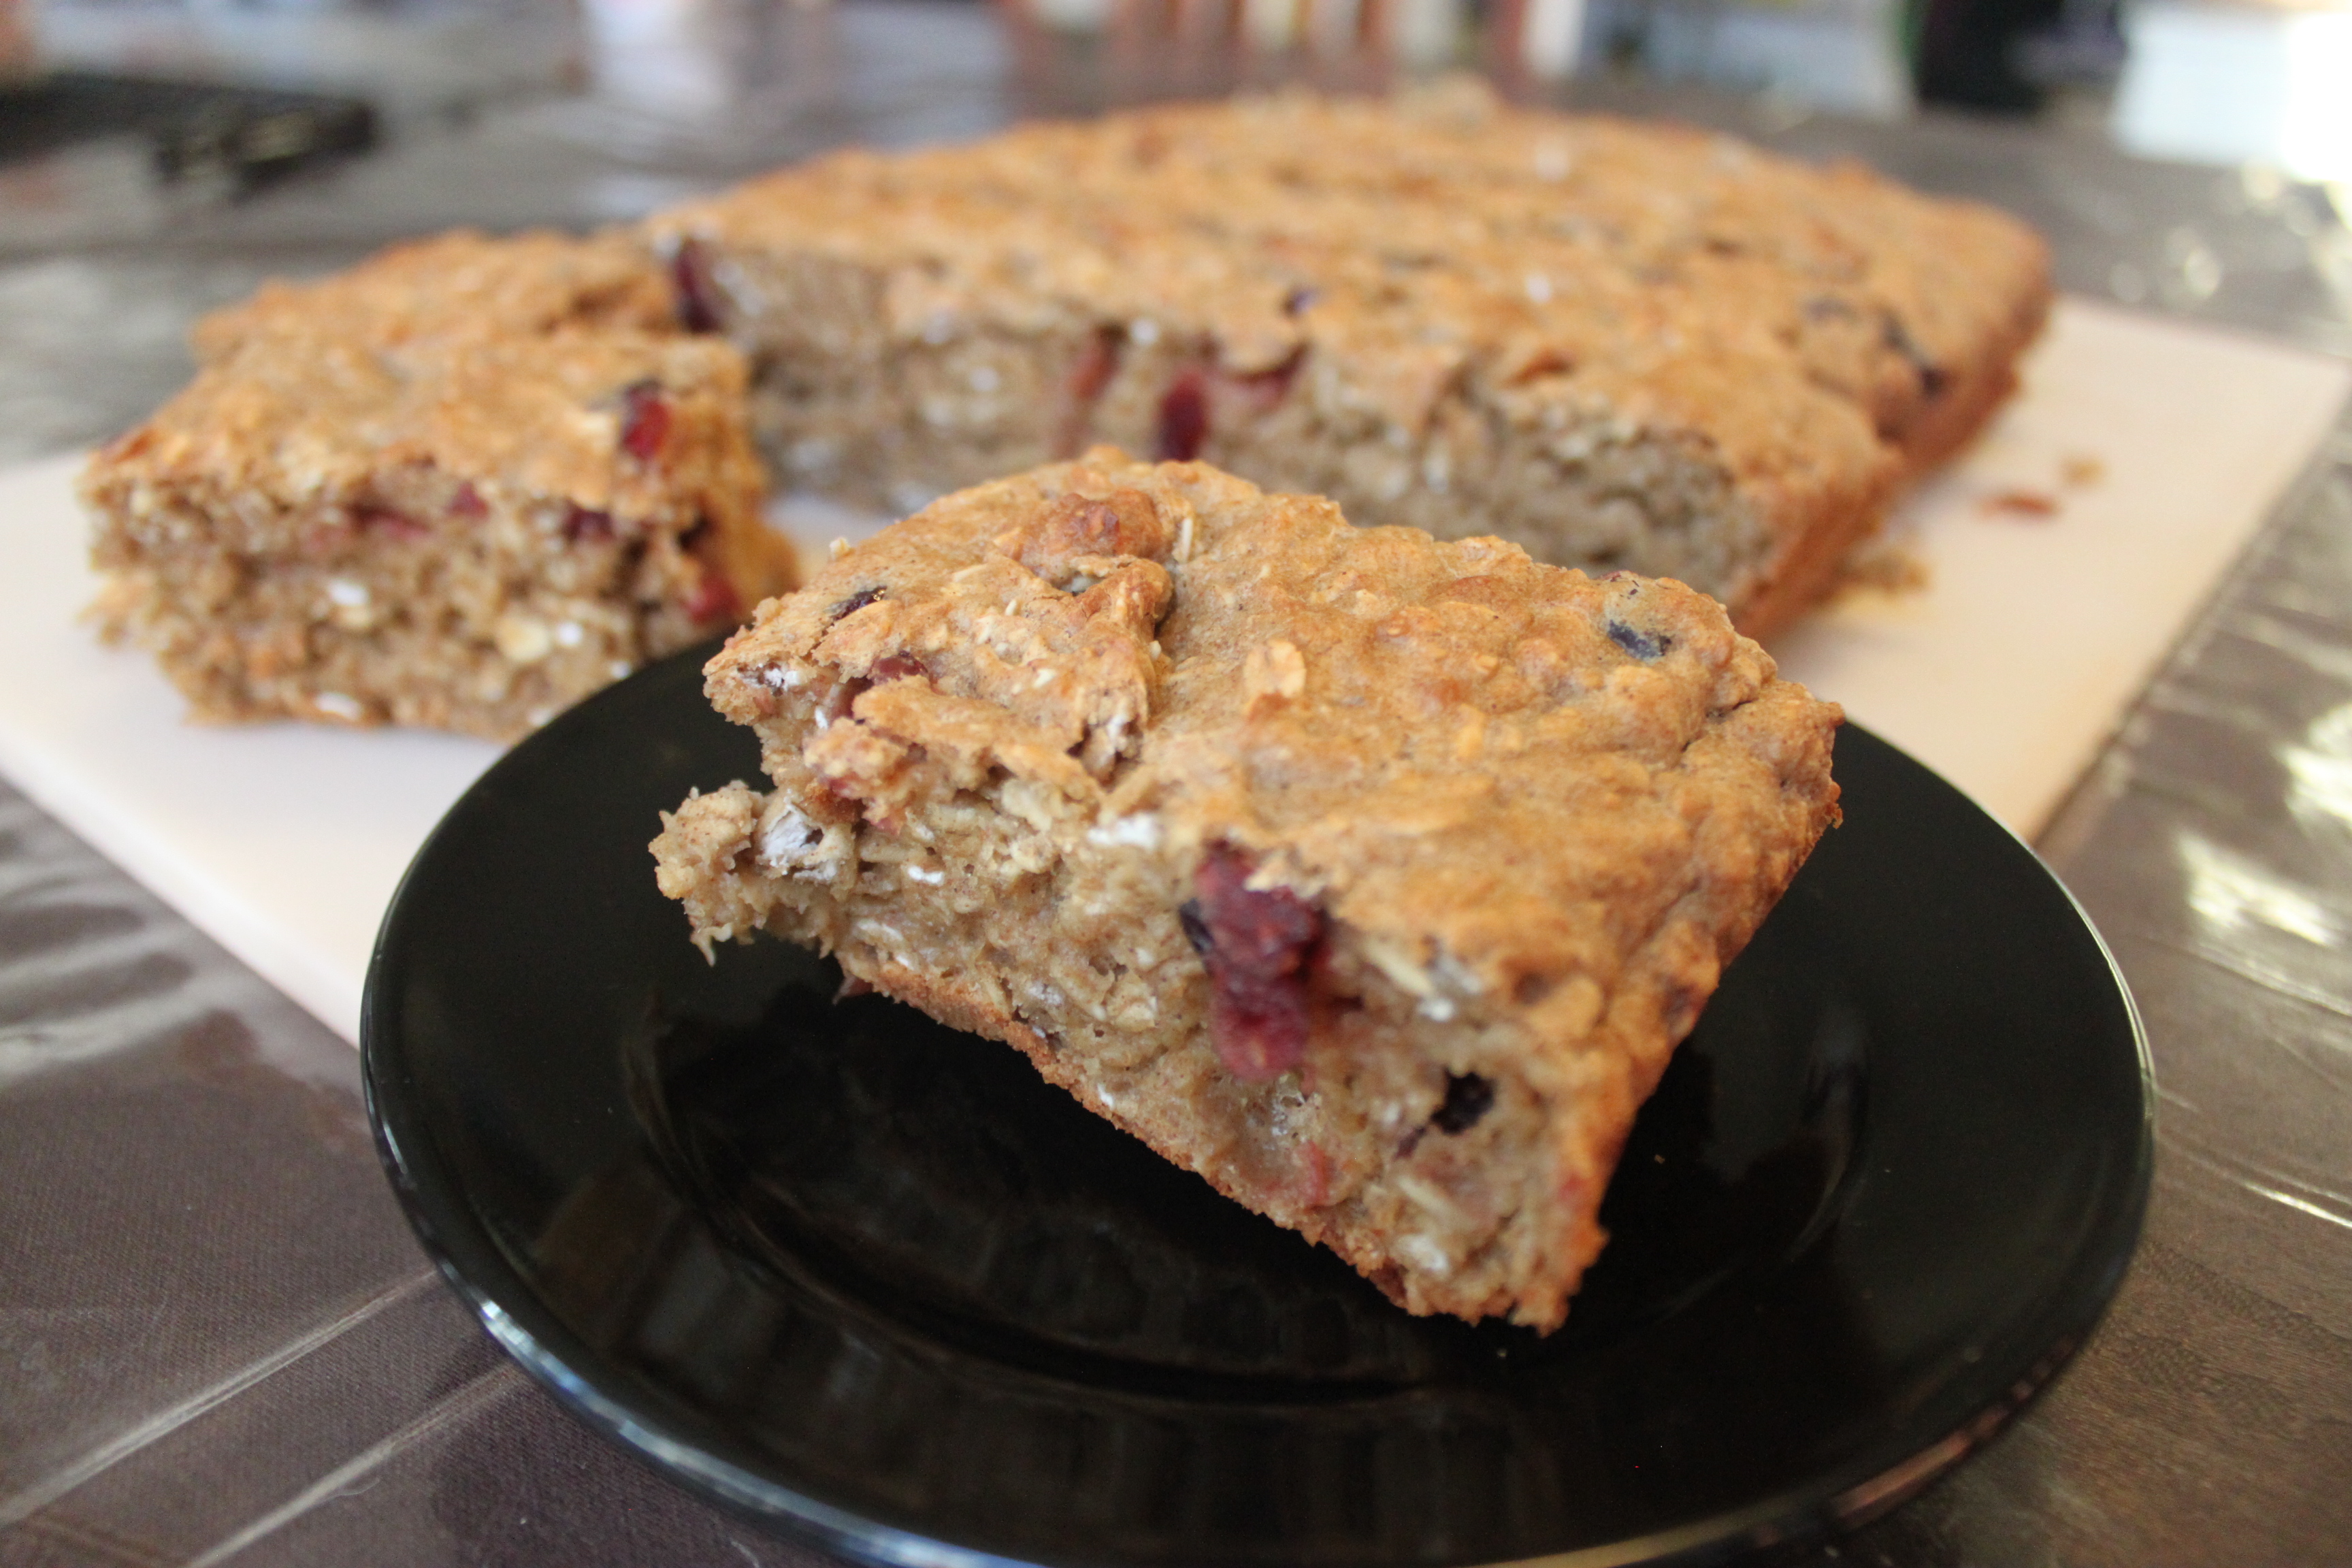
Gluten Free Oatmeal Breakfast Bars for on the go

If you like oatmeal in a bowl you’ll love these bars. An easier way of eating your oatmeal and clean up is a breeze after you are done eating.

The texture of the Oatmeal Breakfast Bar is denser than a banana bread but not dry or crunchy like your typical granola bar. They are very filling and a great, nutritional breakfast for the kids in the morning before school!

The Oatmeal Breakfast Bars are very easy to make especially for the busy mom. Simply stir together the dry and wet ingredients, pour into a pan, and bake – that simple. The Oatmeal Breakfast Bars can also be wrapped and frozen for up to four months, so go big and make them in bulk -(of course that is if they last more than a day or two from everyone gobbling them up).

Oatmeal Breakfast Bar | Small Town Living in Nevada

Continue reading →

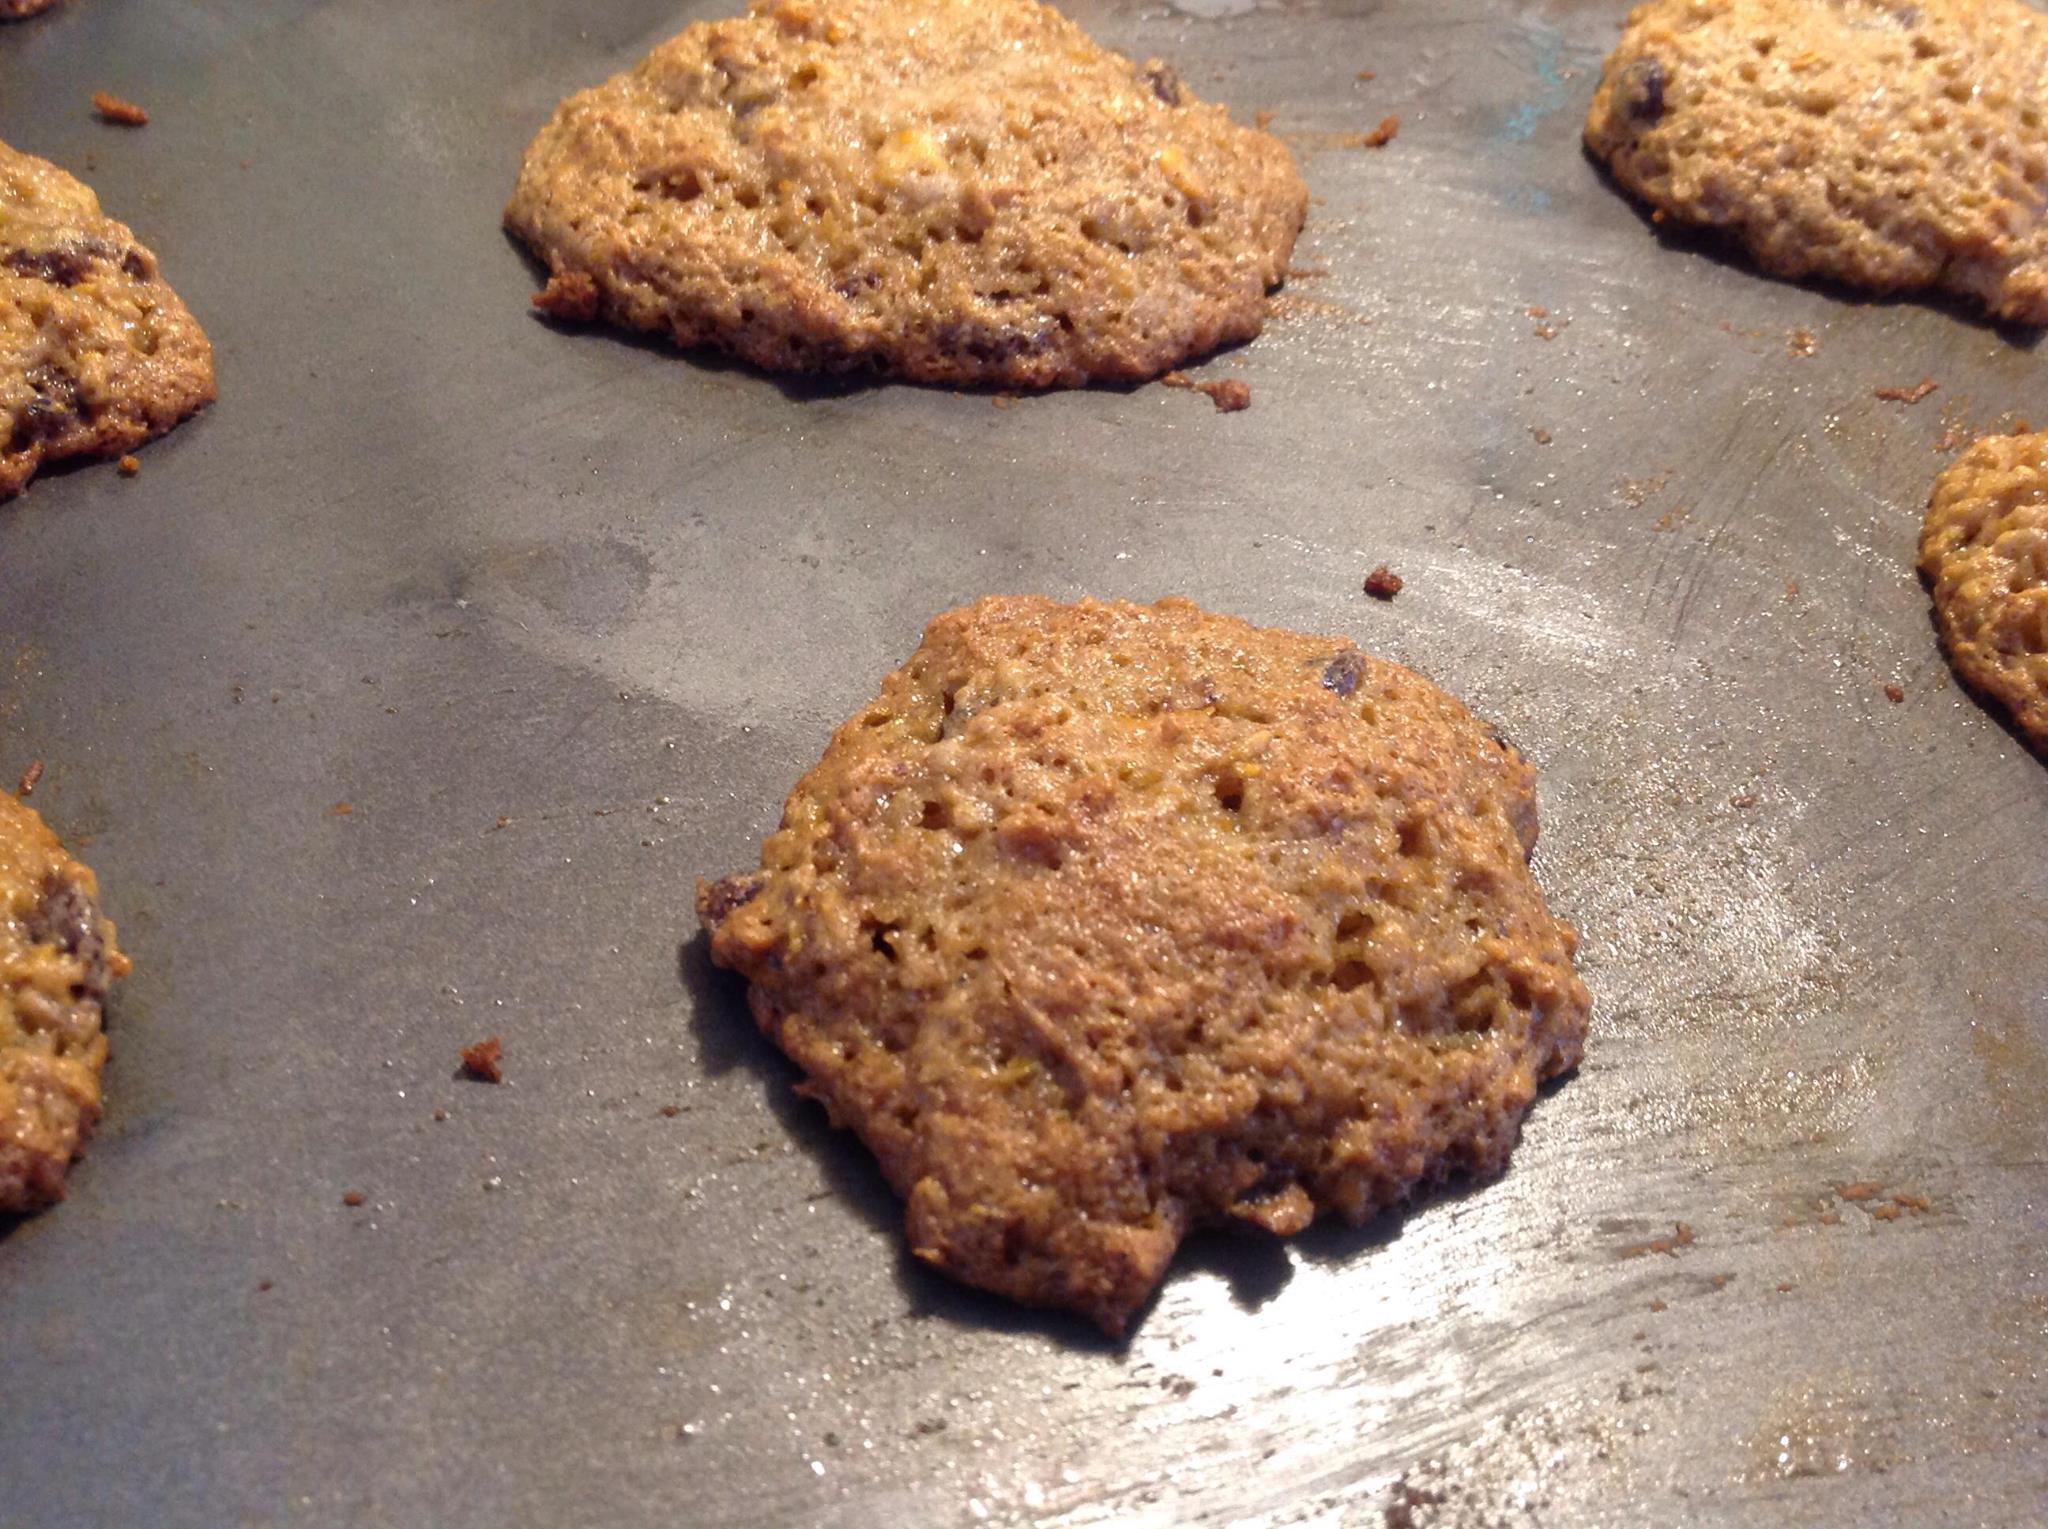
Gluten Free Persimmon Cookies

My grandmother always made wonderful Persimmon Cookies. She even had a Persimmon Bush in her backyard. All the wonderful memories that I have of the two of us baking and cooking together is so wrapped around my heart. I think my grandmother truly was the one who taught me how to cook. She was patient and caring… and ALWAYS put love into whatever meal she was making.

So while I made Persimmon Cookies, all I could think of was my grandmother.

Mangiare bene… (Good eating)

Gluten Free Persimmon Cookies | Small Town Living in Nevada

Continue reading →

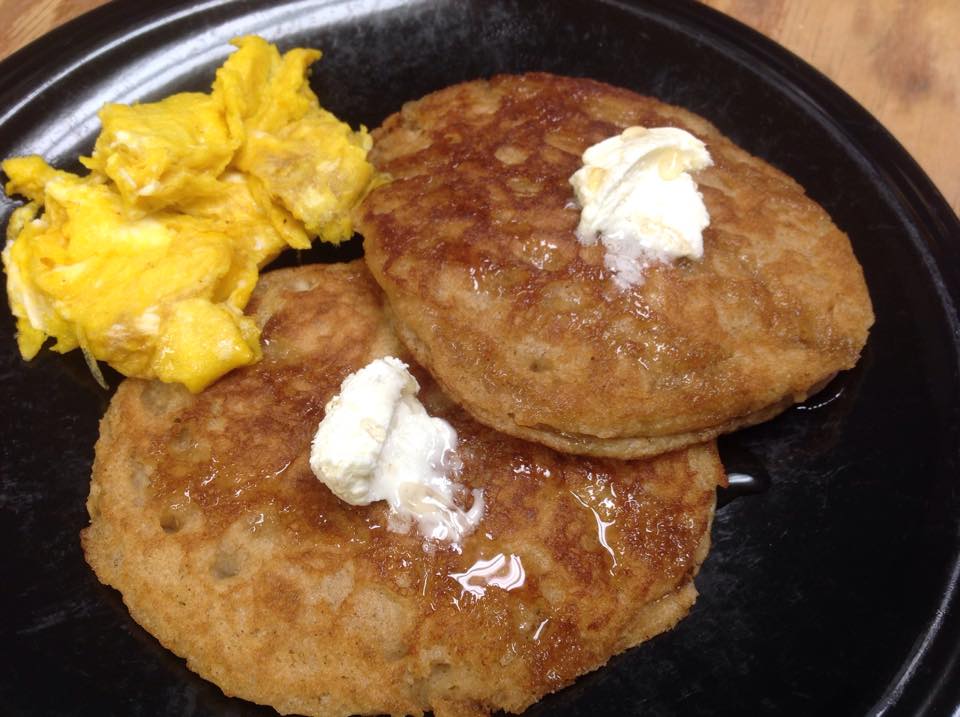
Gluten Free Sourdough Pancakes

With all the sourdough starter that I had leftover, I decided to make pancakes. They came out so fluffy and so flavorful my kids and husband devoured them right up. I say that was a great success!

Sourdough Pancakes

Sourdough Pancakes

Ingredients
3 eggs
2 tablespoons sugar
1 teaspoon salt
1-1/2 teaspoons baking soda
1 tablespoon water
2 cups gluten free sourdough starter

Directions
1. In a large mixing bowl, beat eggs.

2. In a separate bowl, add sugar, salt, baking soda, and water and mix until incorporated. Add to beaten eggs. Add sourdough starter to mixture and beat with wooden spoon. Do not beat too long.

3. Spoon on griddle in 1/4 cup amounts. When bubbles appear on top of pancakes, turn over. Cook until golden brown.