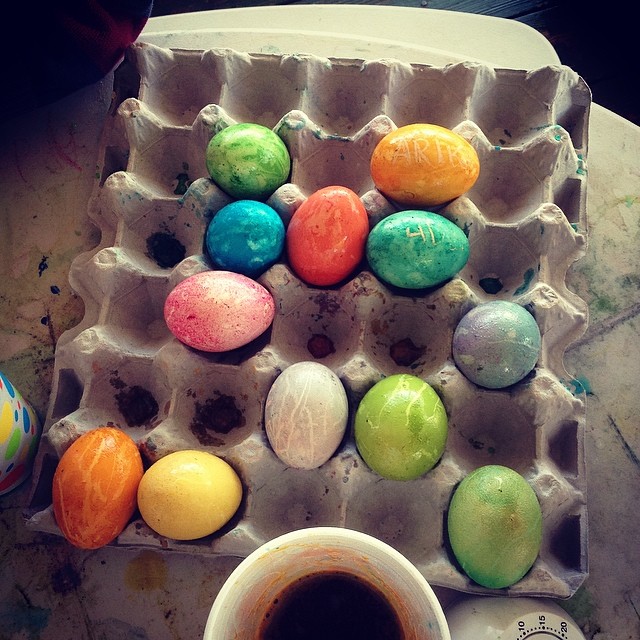
Prepping fresh eggs (out of the coop) to be dyed for Easter

Hard Boiled Fresh Eggs | Small Town Living in Nevada

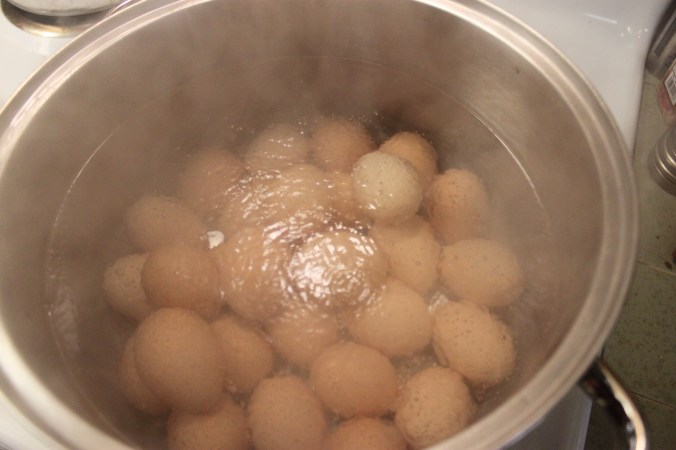
I boiled up a flat of 30 eggs for my kids to dye for Easter this Sunday. Fresh eggs from the coop take a lot more prep work than those store bought eggs. You have to wash and scrub all the eggs before boiling. Then once the eggs are cooked and cooled you have to scrub them once again to get the remainder of the “bloom” off of them. Otherwise the dye will come out a mess on the egg. So yes, I put a lot of elbow grease into making the eggs ready for the kids to dye this Saturday.

Easter Eggs 2014 - this is what it looks like when you don't do the 2nd scrub (my eggs last year).

Easter Eggs 2014 – this is what it looks like when you don’t do the 2nd scrub (my eggs last year).

I will tell you – this is a live and learn process for me. I have been raising chickens now for 5 years and it never dawned on me why the eggs always dyed funny, and with funky streaks. I always chocked it up to not being store bought. Well, yeah that was part of it.

Mainly it is because of the “bloom” on the eggs. You know, that protective cuticle layer on the outside of the egg. The bloom coating seals the shell pores, prevents bacteria from getting inside the shell, and reduces moisture loss from the egg – all designed to make the egg last longer, but in our case not dye very well.

Store eggs, be it white or brown — are normally scrubbed down with cleaning solutions to rid the egg of the bloom before they hit the store shelves. So as the consumer you don’t even have to worry about that process at all.

As for me — there isn’t a middle man and I have to do all the work myself — IF — I want to dye eggs for easter, LOL. Otherwise, if you just want a hard boiled egg — then it doesn’t matter if there is a bloom on the egg. Just clean, boil, peel and eat. However, since we are dying the eggs, there is a process.

Continue reading

Crockpot Corned Beef Brisket


Crockpot Corned Beef | Small Town Livining in Nevada

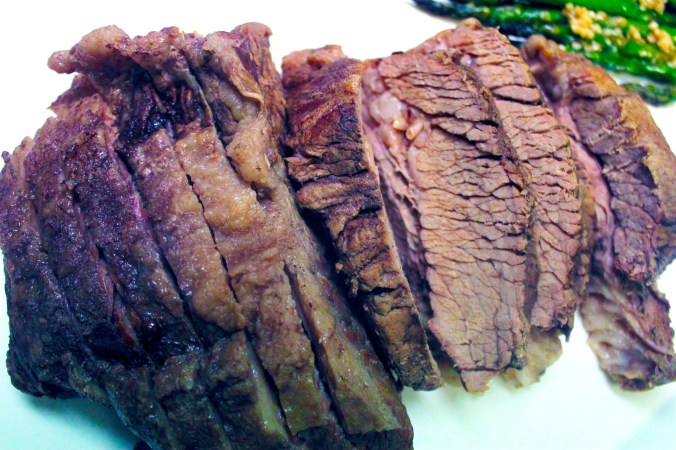
Yes I know St Patrick’s Day is long over. However, I purchased a large beef brisket slab that I cut into five 3 pound sections. Tossed them into individual ziploc bags and threw them in the freezer to cook up another day.

Whelp, today felt like the day. I took out a bag and tossed it into the crockpot with gluten free beer and boiling water sprinkled with some whole cloves, cinnamon sticks, whole allspice, salt and some brown sugar. The aroma is AWESOME!

Now I wait 6-hours for the meat to cook and become tender! Oh so can’t wait!!

Continue reading

DIY Paint Sample Easter Garland

Paint Sample Egg Garland | Small Town Living in Nevada

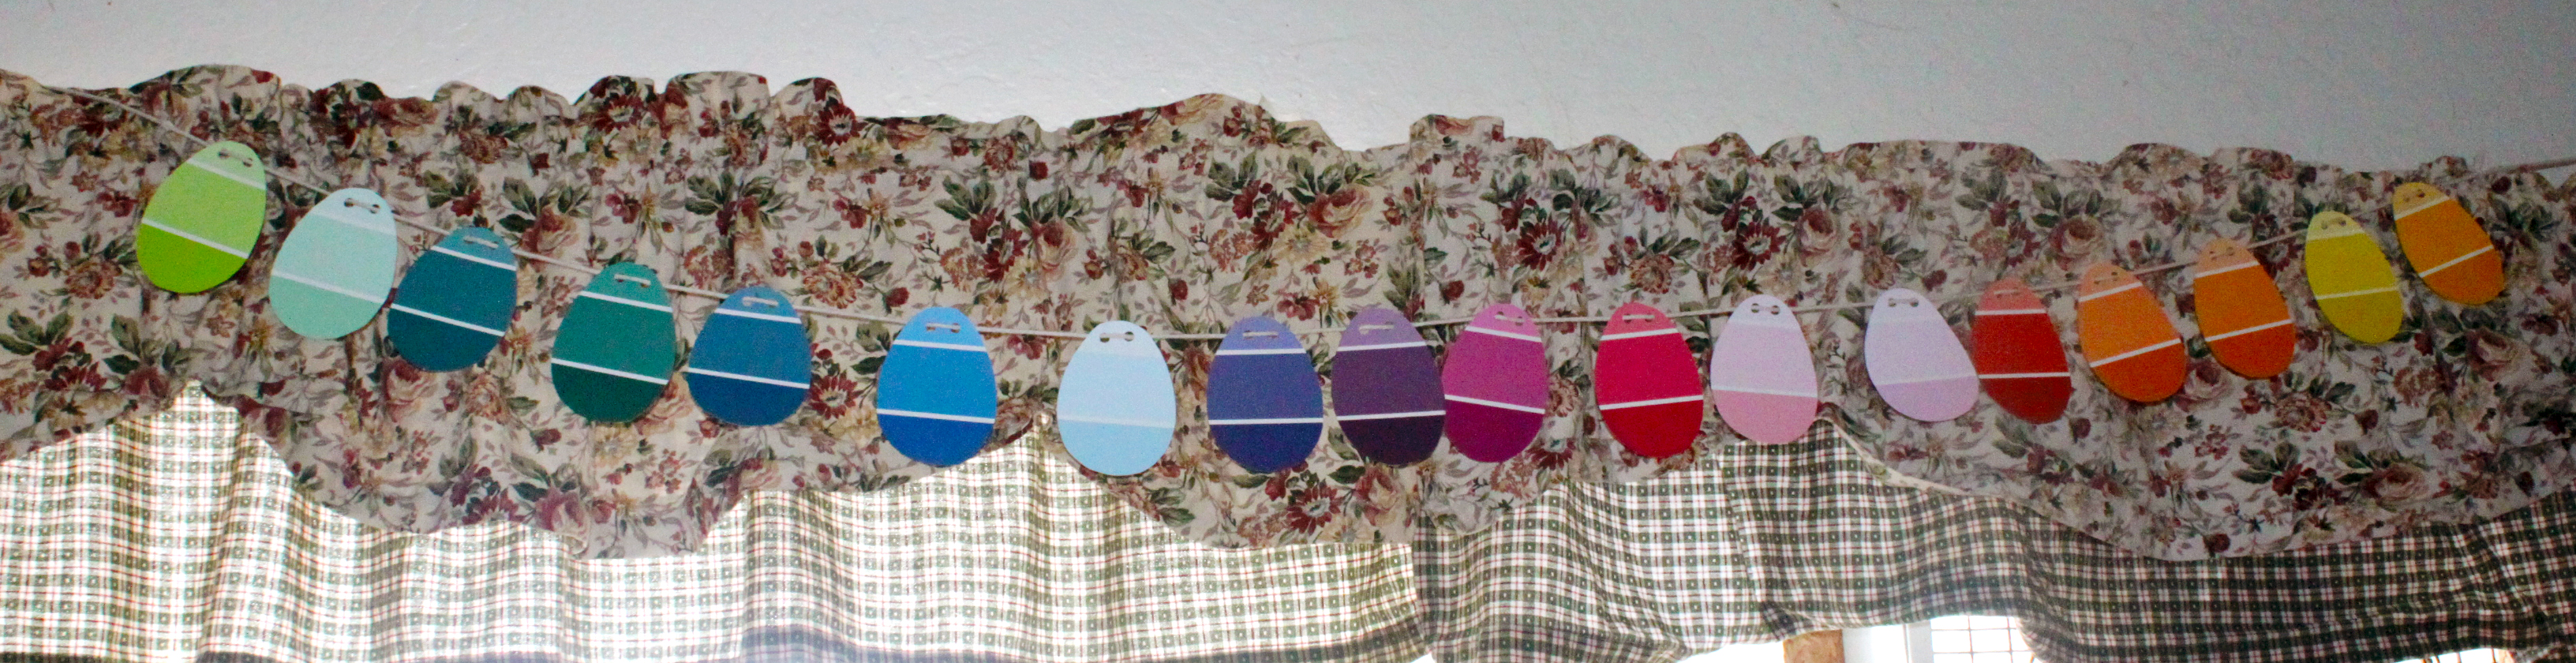
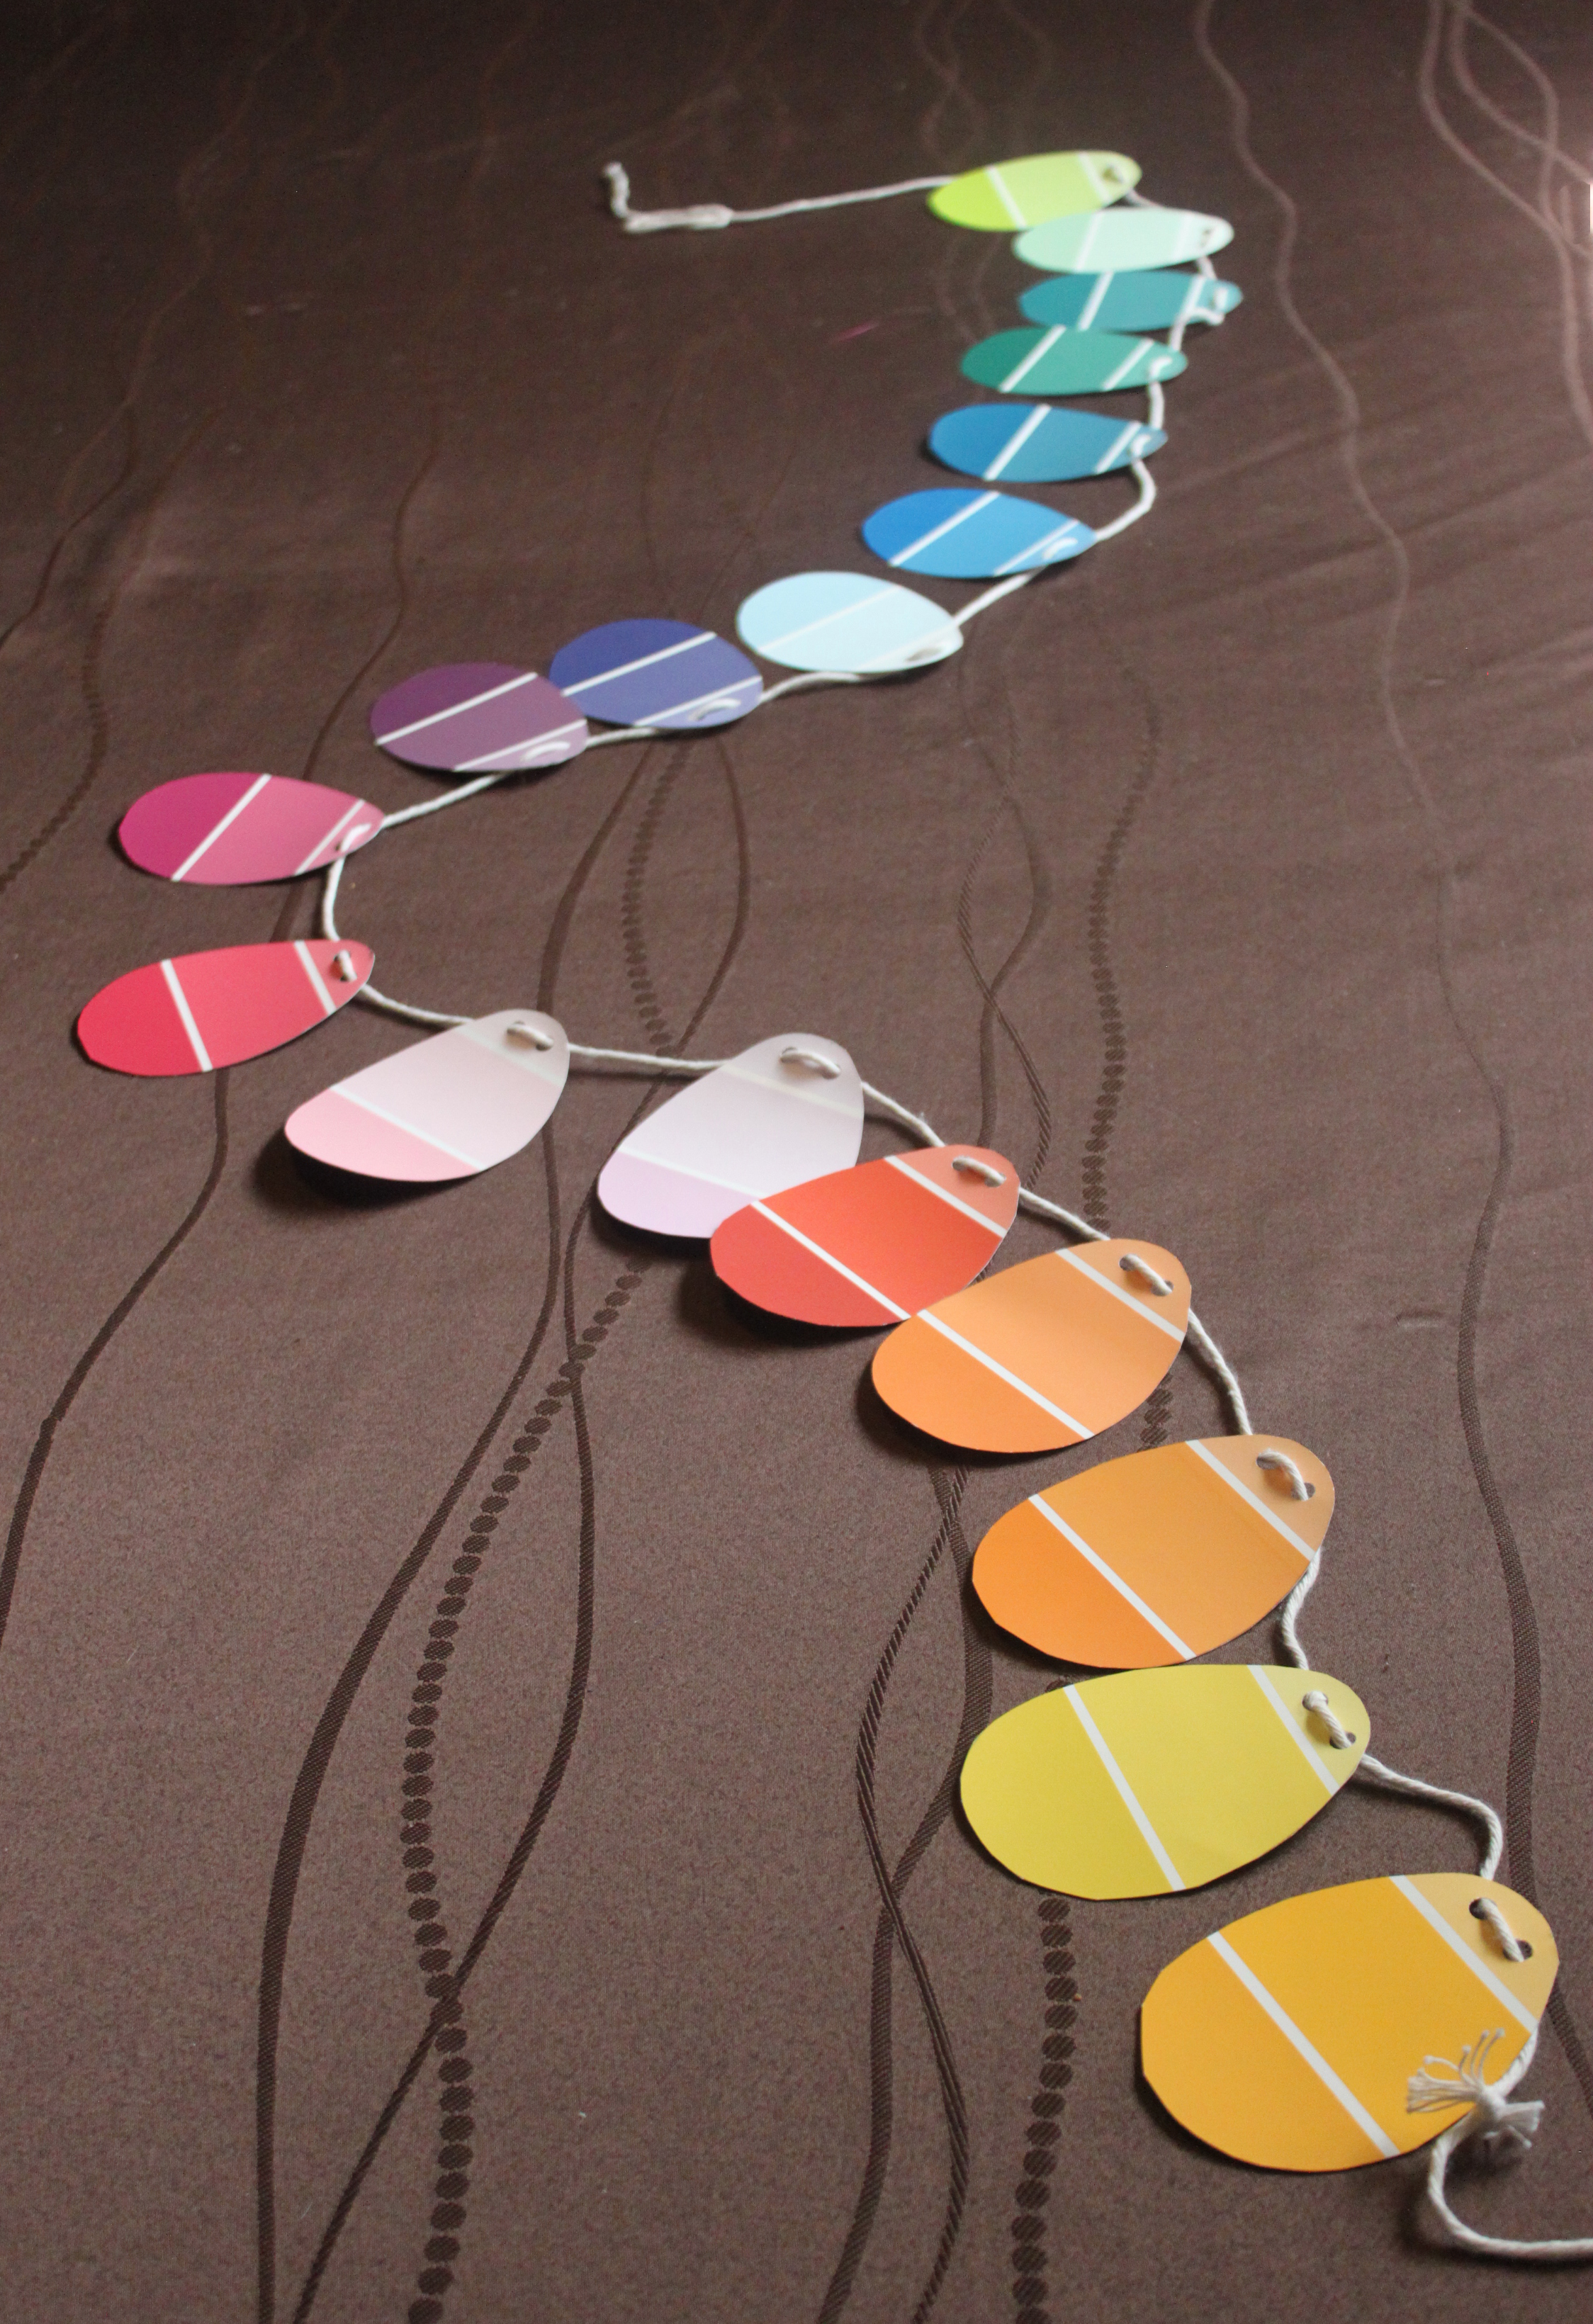
When I first thought of making my own Easter Garland the first thing that popped into my head was Paint Samples! I had seen this online before and thought how cool is that. So the first thing I did was head over to the local paint stores — and let me tell you trying to find multi-colored paint samples were hard. Every sample I was coming across was one solid color. Paint Sample Egg Garland | Small Town Living in NevadaFinally, after a couple of days and three or four stores I finally found the paint samples I was seeking!!

Once I had the samples, I was wondering how I was going to cut the perfect egg shape and then my crafty friend Kelly suggested using an Egg shaped Cookie Cutter. Whoa! what a fantastic idea; it was simple and quick to trace the cookie cutter. Then all we had to do was cut the traced egg out.

Then I took my hole puncher and punched two holes at the top of the eggs and ran thick craft twine through the holes. SIMPLE, FAST and OH SO CUTE!! Next to find that perfect location to hang my garland!

Chocolate Peanut Butter Egg Candy

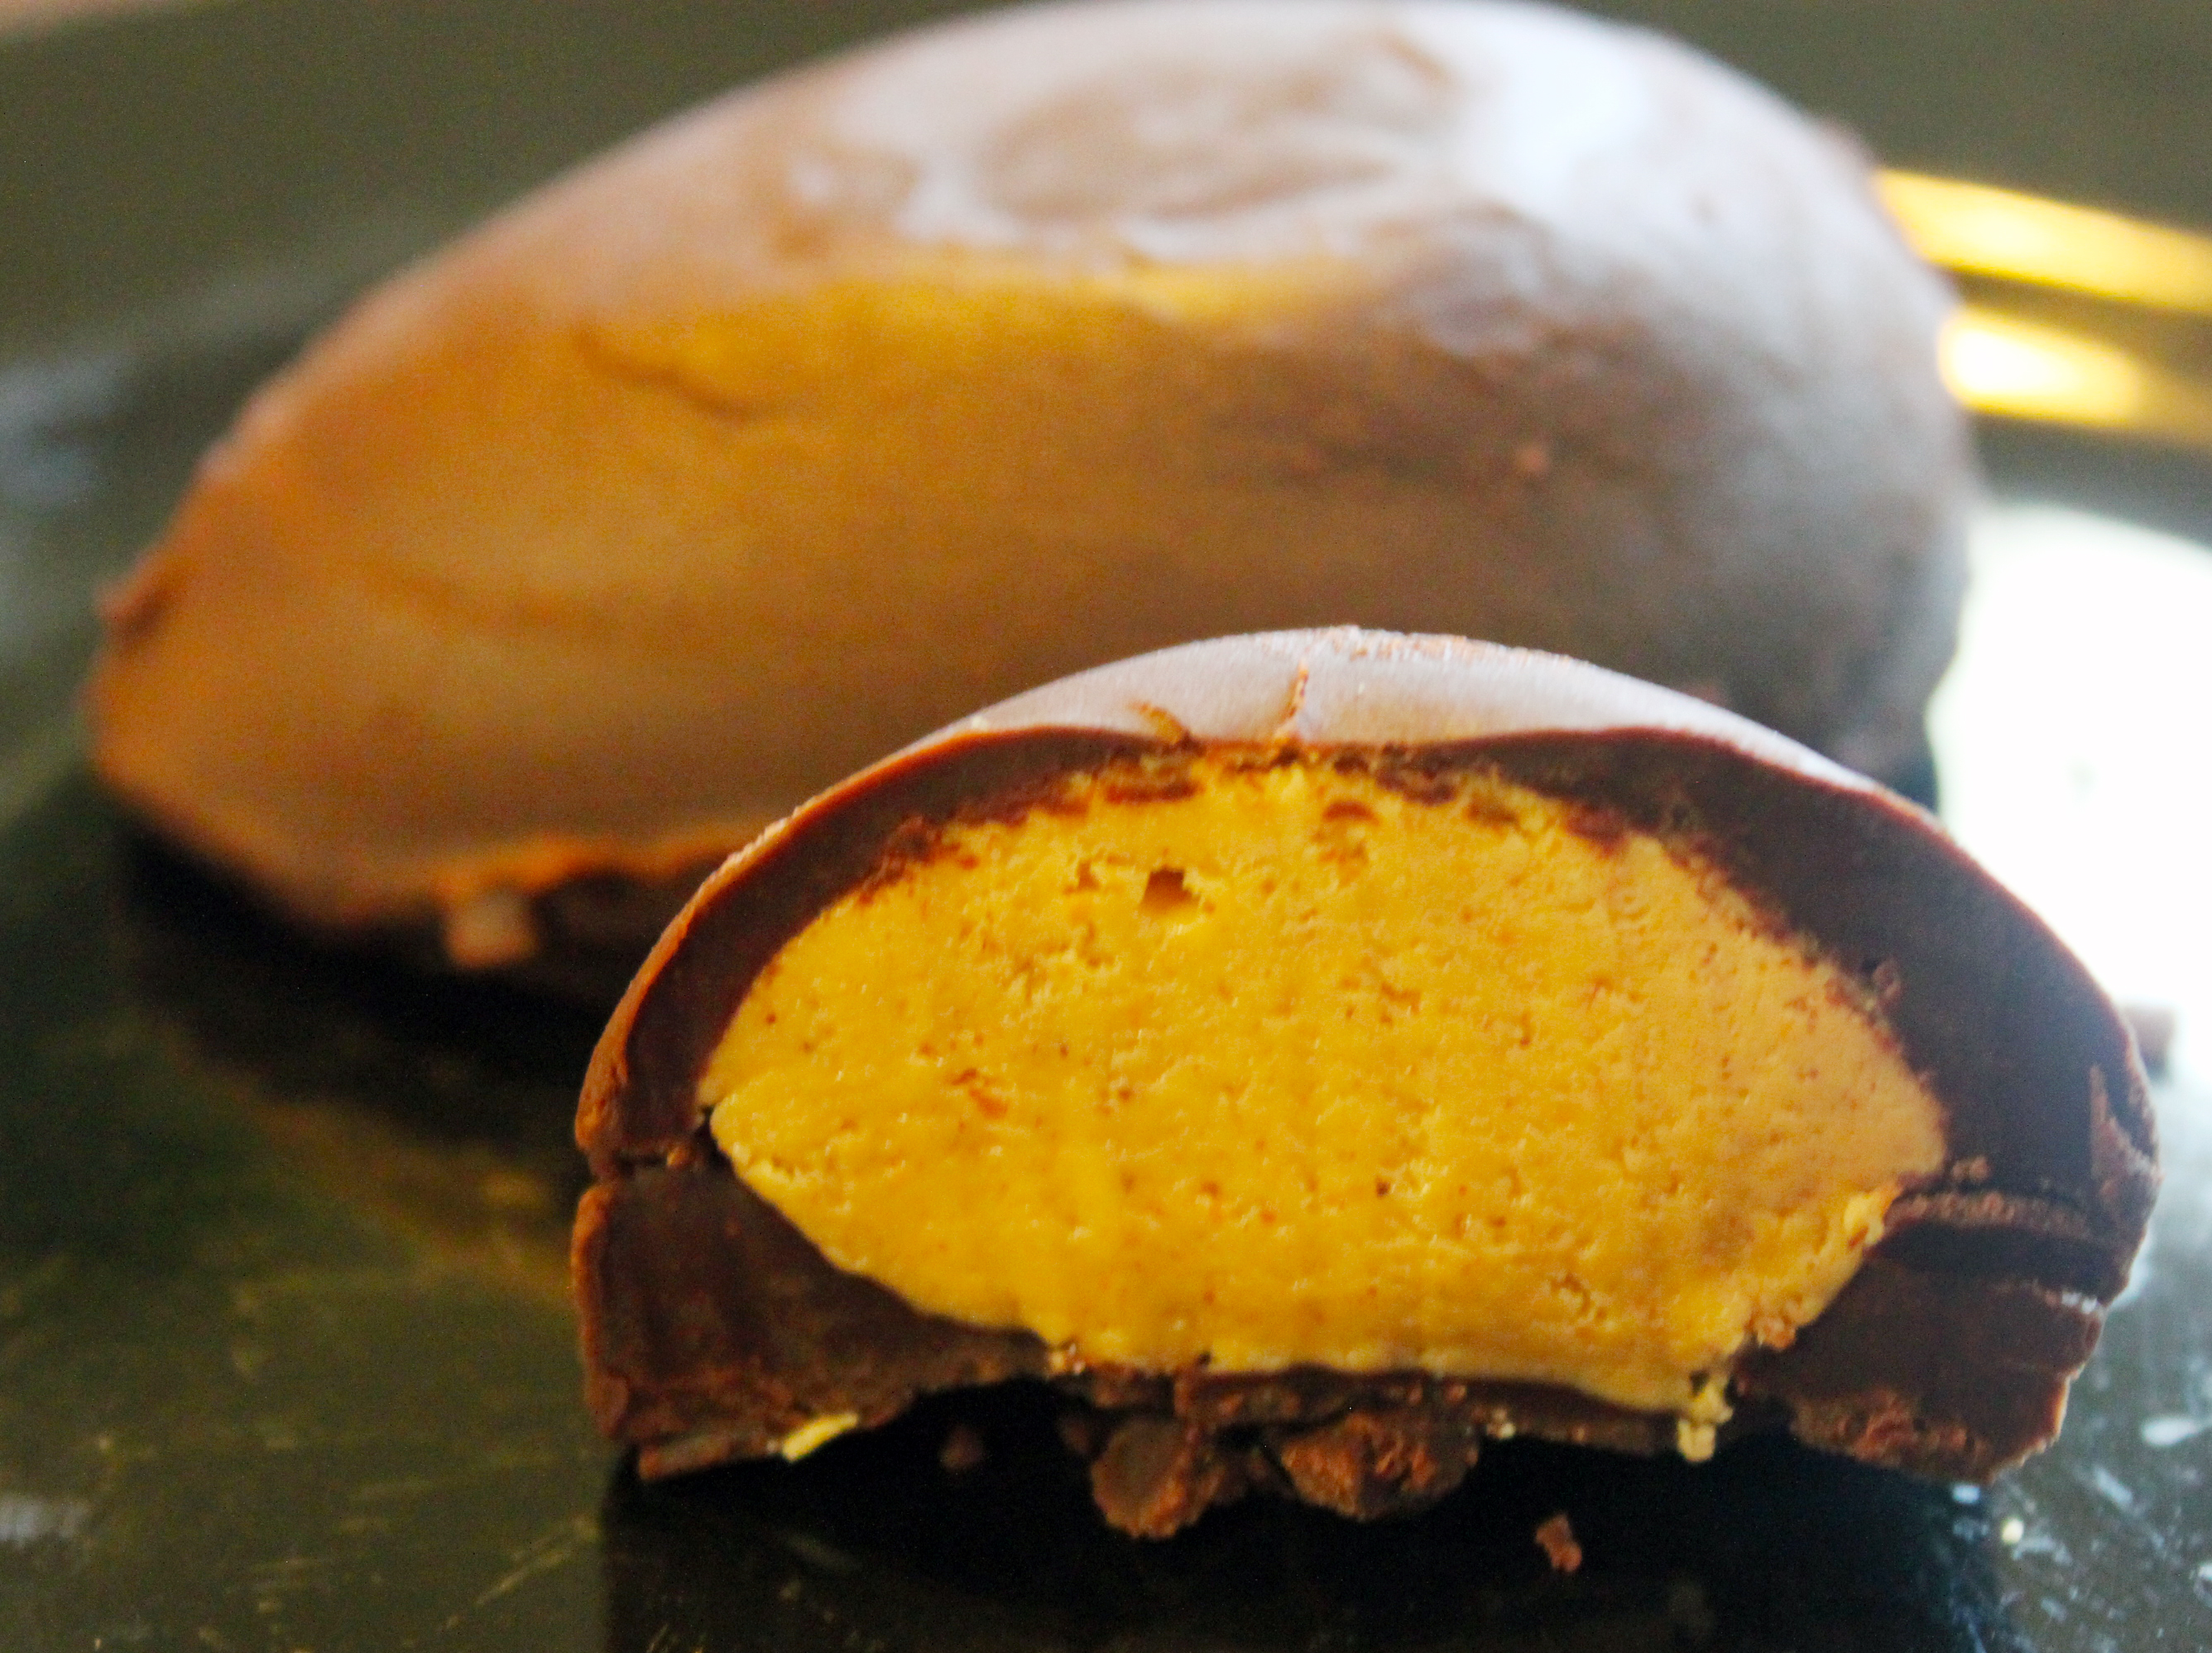
With Easter just days away I started making my annual homemade candy. Normally it is Rocky Road Eggs and Chocolate Bunnies. However, today I decided I wanted to try my hand at making homemade Reese’s Peanut Butter Eggs!!

I used a vintage metal egg mold that was my grandmother’s. This mold brings back so many memories of her making Rocky Road Chocolate eggs that I can vividly see her in her kitchen working away.

Peanut Butter Chocolate Egg | Small Town Living in Nevada

Continue reading

Getting ready for Maui

Right now my husband and I are getting ready for a trip to Maui on Monday.

I literally haven’t been to Hawaii in 22 years (am I dating myself?) and my husband has unfortunately never been. So needless to say this will be a vey nice get away for the both of us. Especially on the heels of our town having had such bad weather over the last several months. And all of us recovering from all our sicknesses.

I have in my anal ways researched the heck out of Maui by emailing as well as Facebook PM-ing different restaurants. I can’t help myself. I need or want information on where I can happily eat gluten free meals instead of blindly searching once we get there. And of course I have my heart desires on Zipling, Snorkeling, Whale Watching and attending a Luau… of course not in that order. But you get the idea. Anyhow, hopefully we’ll have time to do all that and maybe hit the sandy beaches as well.

Nevertheless, I will be posting many reviews of our week long excursion so I hope I don’t go overboard with the photos.

Mahalo

~ Michele

Gluten Free Vanilla Pound Cake


My family was invited out to dinner tonight and I thought making a pound cake would be nice and light as our contribution. I also am bringing sliced strawberries as well as organic tart cherries sprinkled with some sugar so everyone can choose a topping for their cake!

Gluten Free Vanilla Pound Cake

  • 2 cups sugar
  • Eggs
  • 2 Tablespoons gluten-free vanilla
  • 1 cup milk
  • 1 cup butter, melted
  • 3 cups Gluten Free Flour
  • 1 tablespoon gluten-free baking powder
  • 1 tablespoon xanthan gum

Pound Cake BatterHeat oven to 350°F. Grease 12-cup Bundt®, 10-inch angel food cake (tube) pan or 2 bread loaf pans then set aside.

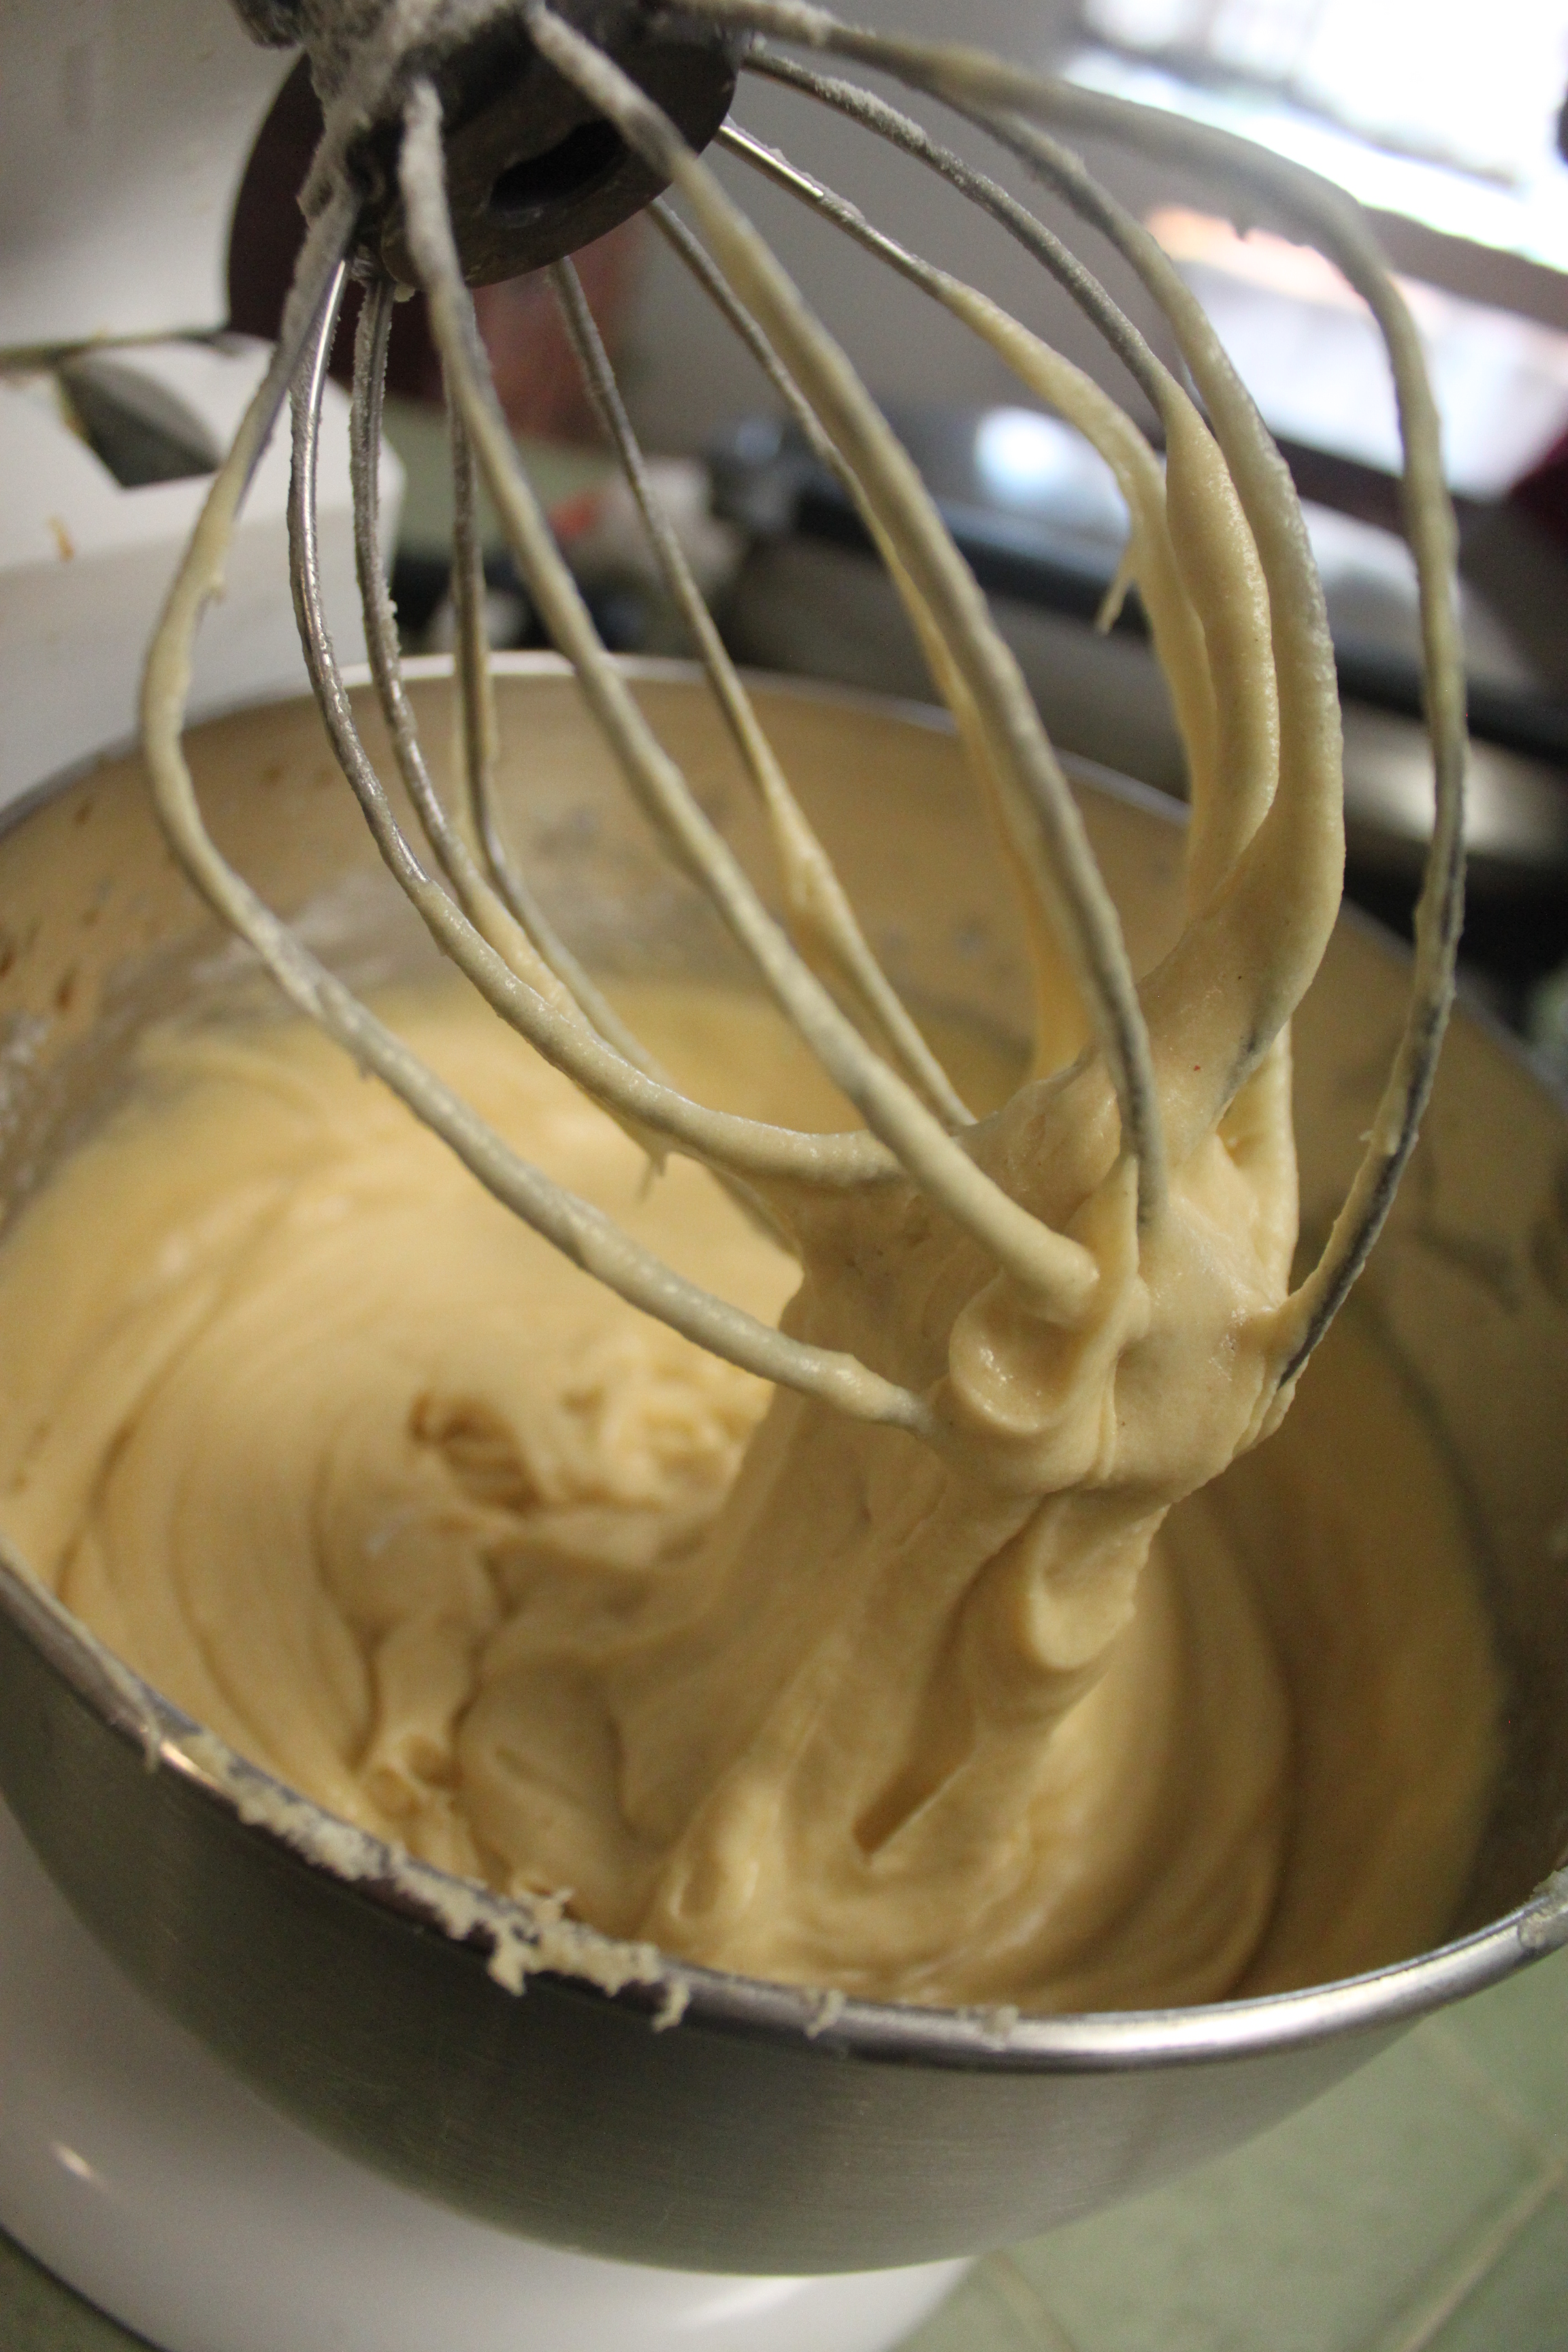
Beat sugar and eggs, scraping bowl often, until creamy. Add milk and vanilla; beat until well mixed, then add melted butter and beat until mixed thoroughly.

Stir together gluten-free flour, baking powder and xanthan gum in a medium bowl. Gradually add flour mixture to wet ingredients, beating at low speed until well mixed.

Pour batter into prepared pan. Bake 50-60 minutes or until toothpick inserted in center comes out clean. Cool 10 minutes; remove from pan.

Adapted from Land O Lakes

Gluten Free Mild Enchilada Sauce

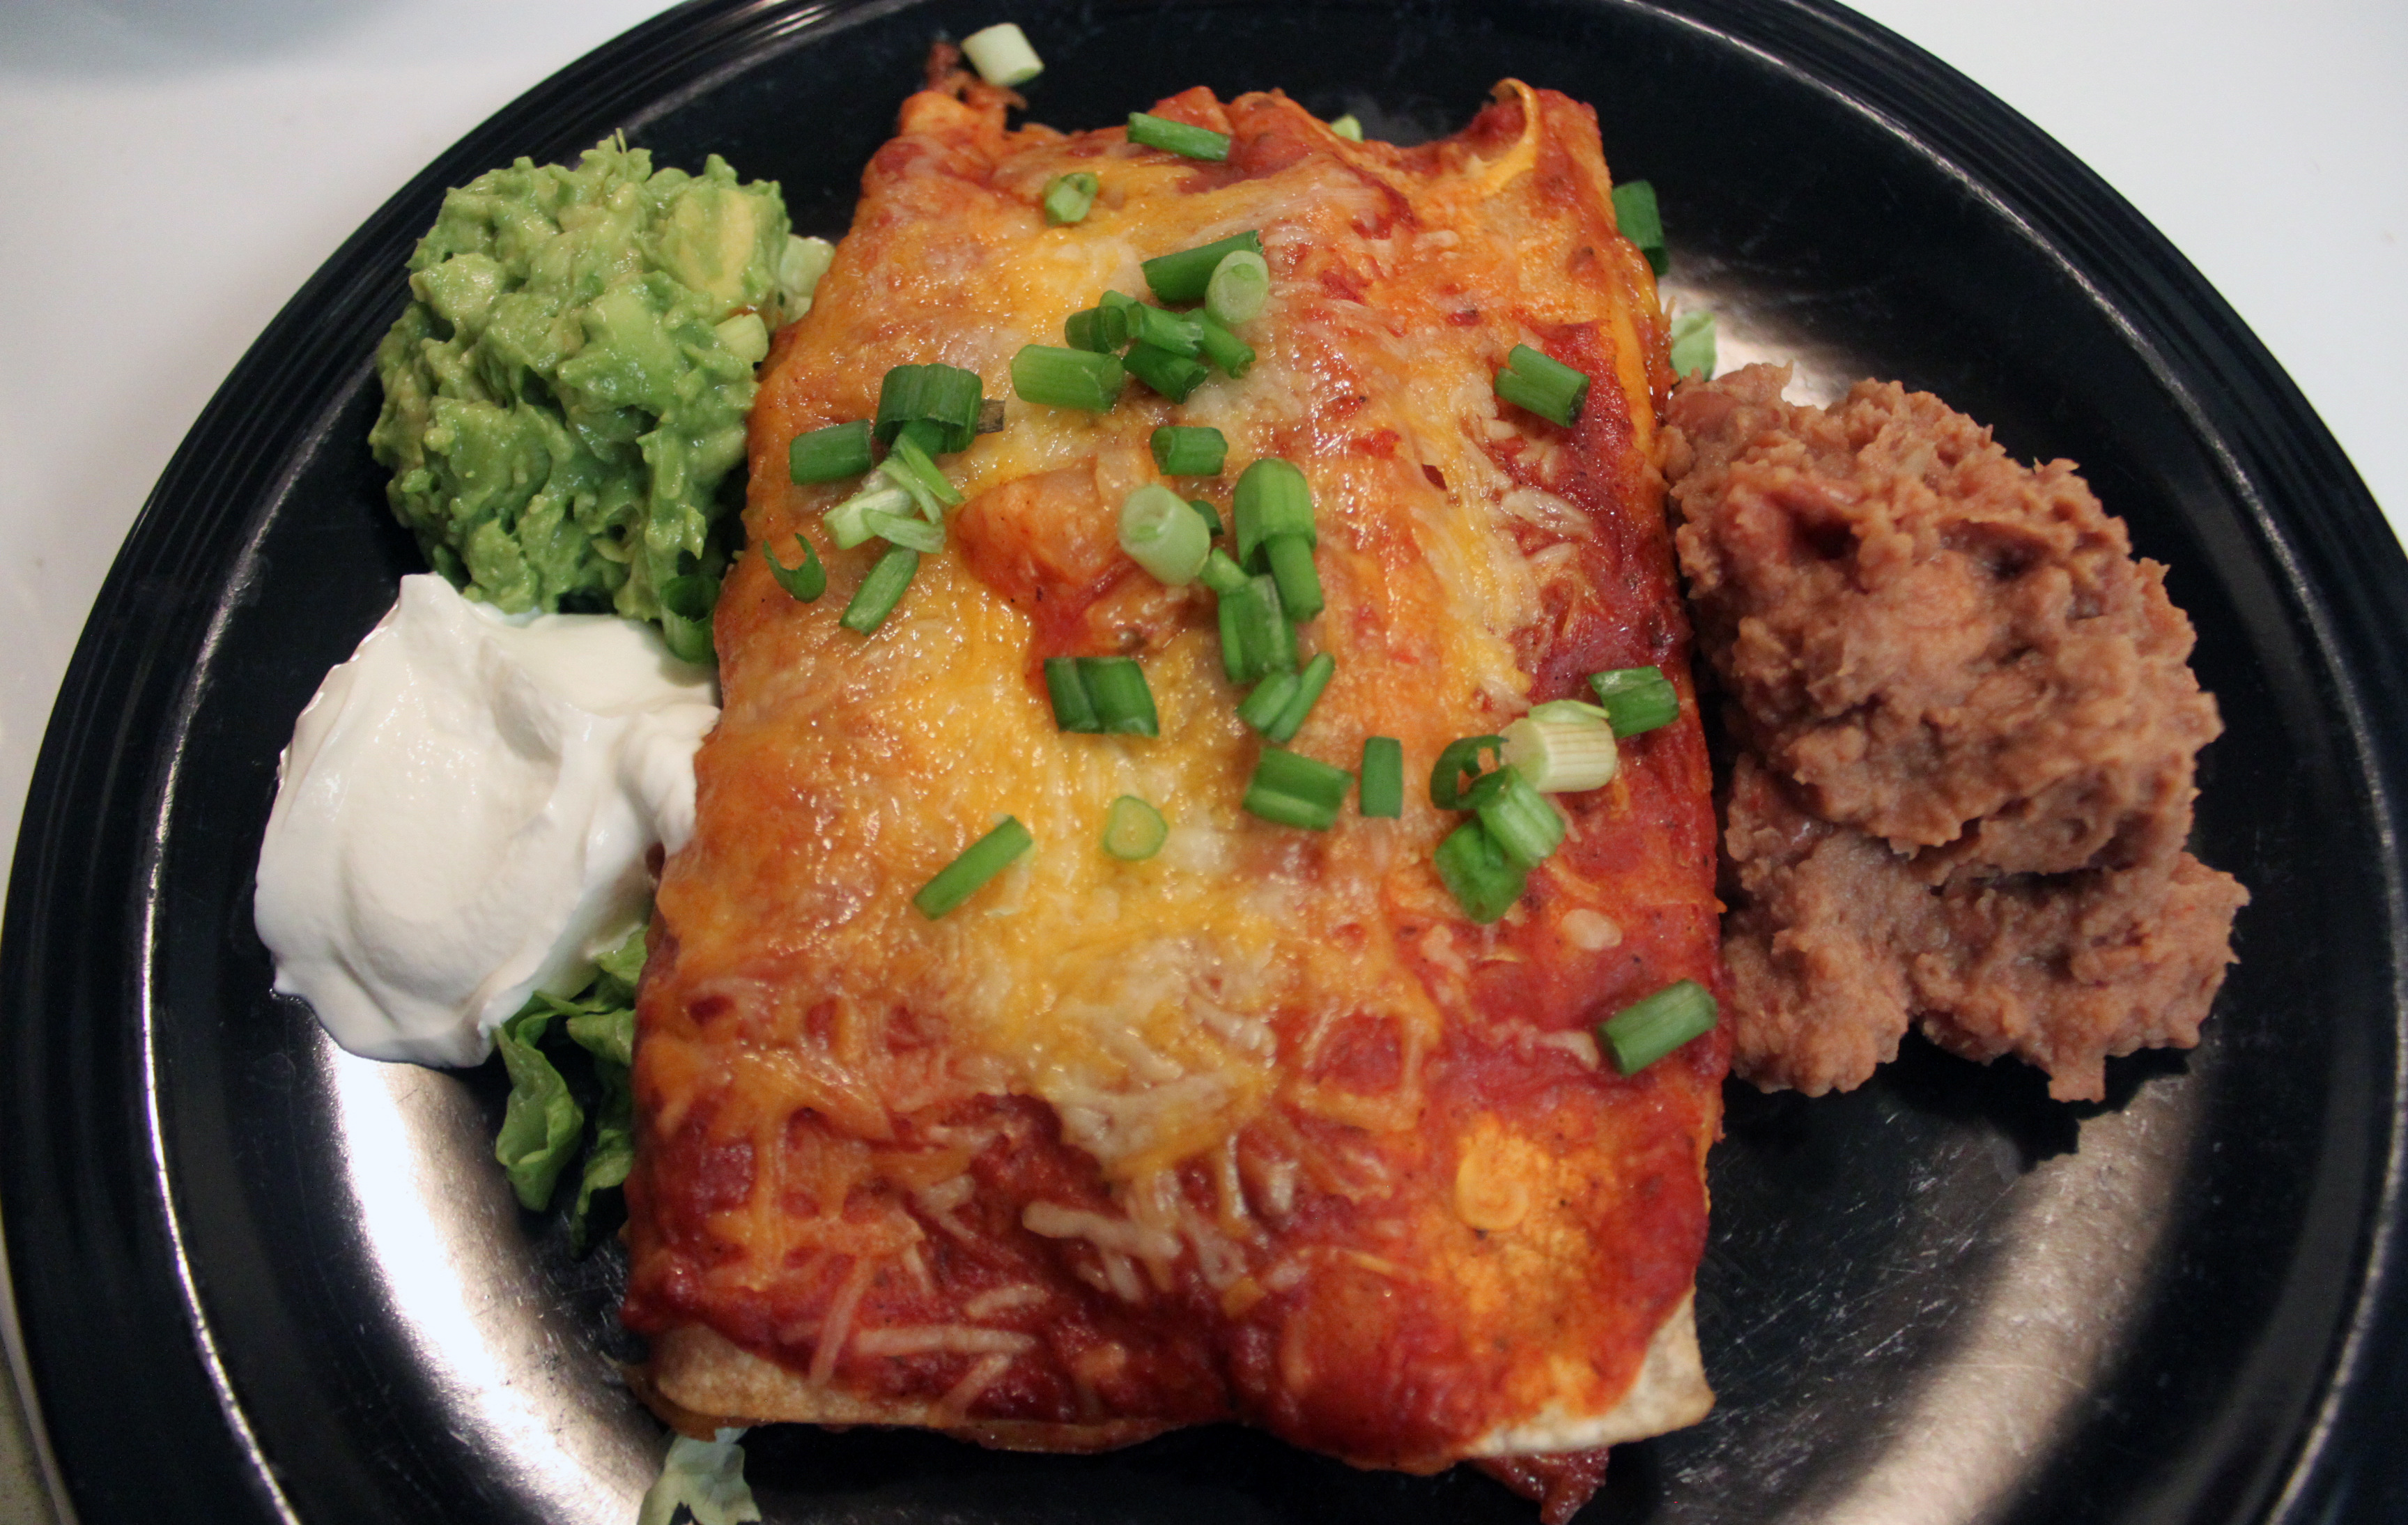
Cheese and Onion Enchiladas | Small Town Living in Nevada

I love Mexican food just as much as I love Asian food. That means I like it A LOT!

I can’t even tell you the last time I bought store bought enchilada sauce. My husband doesn’t like the canned stuff at all so I started making my own years ago. Now I prefer Sour Cream Enchilada Sauce but I have to mix it up every once in awhile with a tomato sauce. And of course I try different versions every once in awhile as well.

Anyhow, you won’t want canned enchilada sauce again after making this easy homemade version!

INGREDIENTS

  • 1/4 cup vegetable oil
  • 1/4 cup gluten free flour
  • 2 (14.5 oz) cans diced tomatoes
  • 1-1/4 teaspoon chili powder
  • 1 teaspoons dried oregano
  • 1 teaspoon cumin
  • 1 teaspoon garlic powder
  • 1 teaspoon onion powder
  • 1 tablespoon dried chopped onions
  • 1 tablespoon brown sugar, packed
  • 1 teaspoon fine sea salt
  • Freshly ground black pepper, to taste

IMG_0659

INSTRUCTIONS

  1. Heat vegetable oil in a saucepan over medium high heat. Whisk in flour until well combined, about 1 minute.
  2. Stir in tomatoes, chili powder, oregano, cumin, garlic powder, onion powder, brown sugar, salt and pepper, to taste. Bring to a boil; reduce heat and simmer until thickened, about 10-15 minutes.
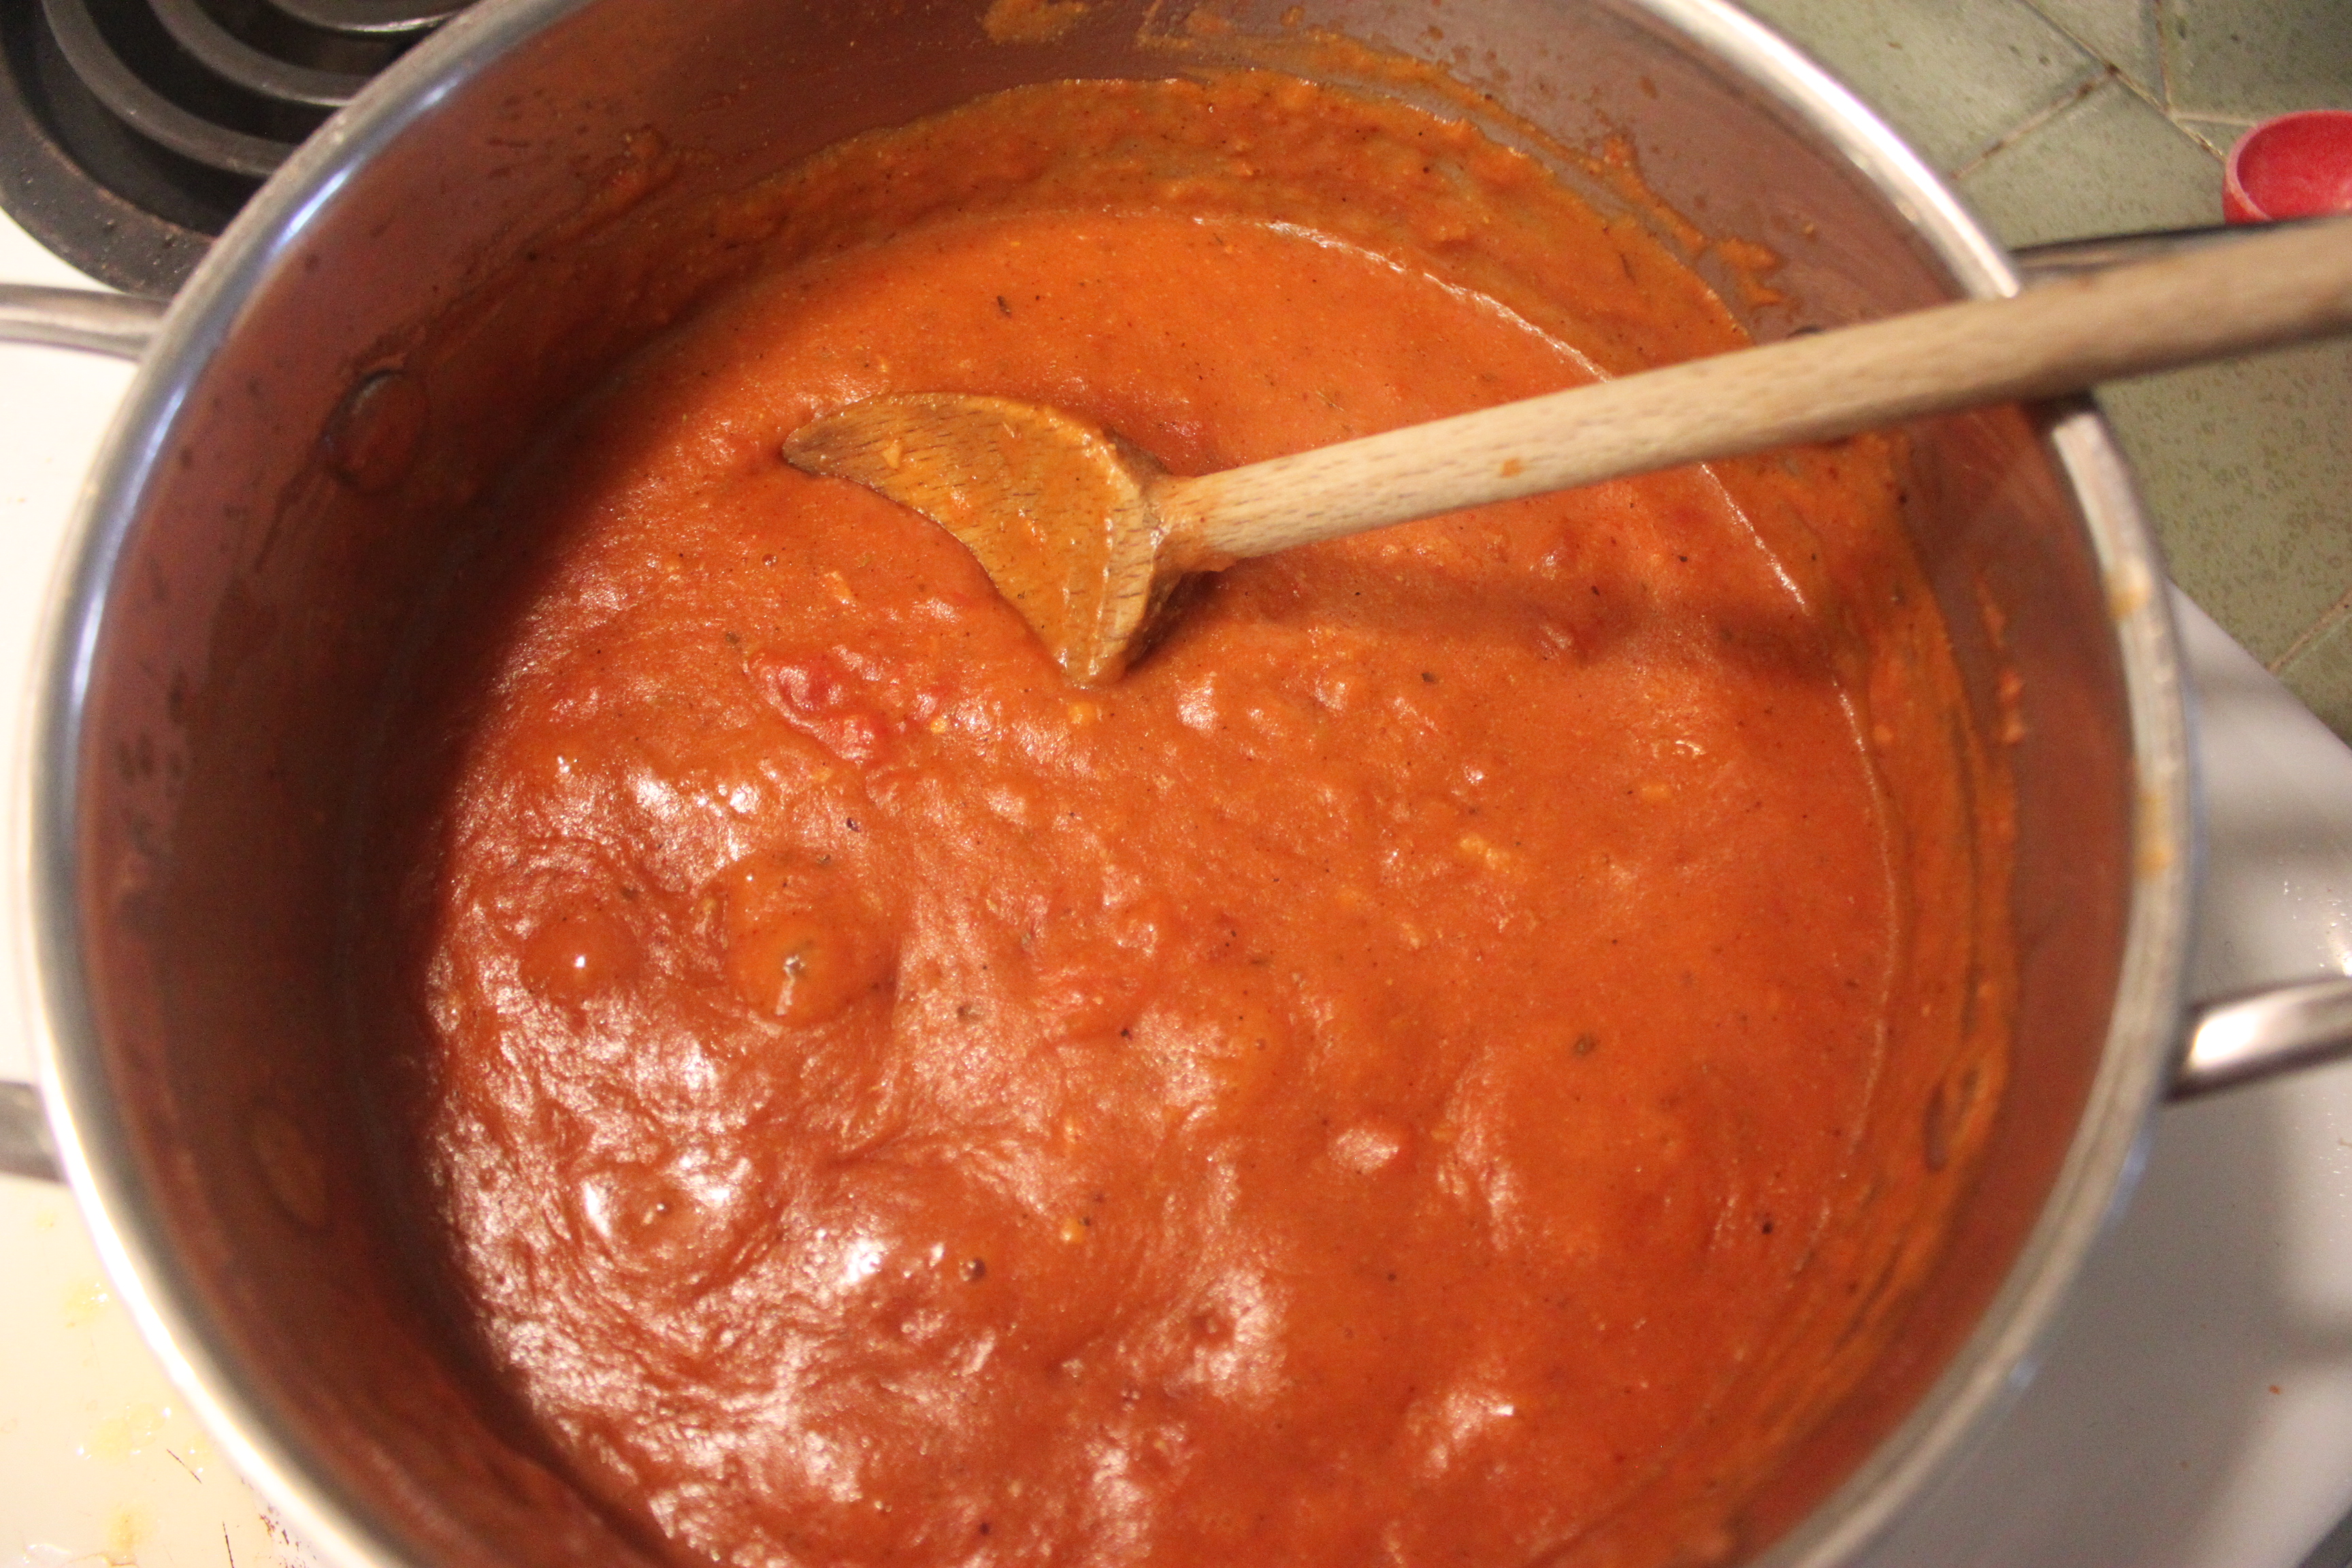
  3. Take a hand emulsifier to liquify the tomato chunks to make a smoother sauce otherwise you can leave as is.

Adapted from Damn Delicious

Homemade Applesauce

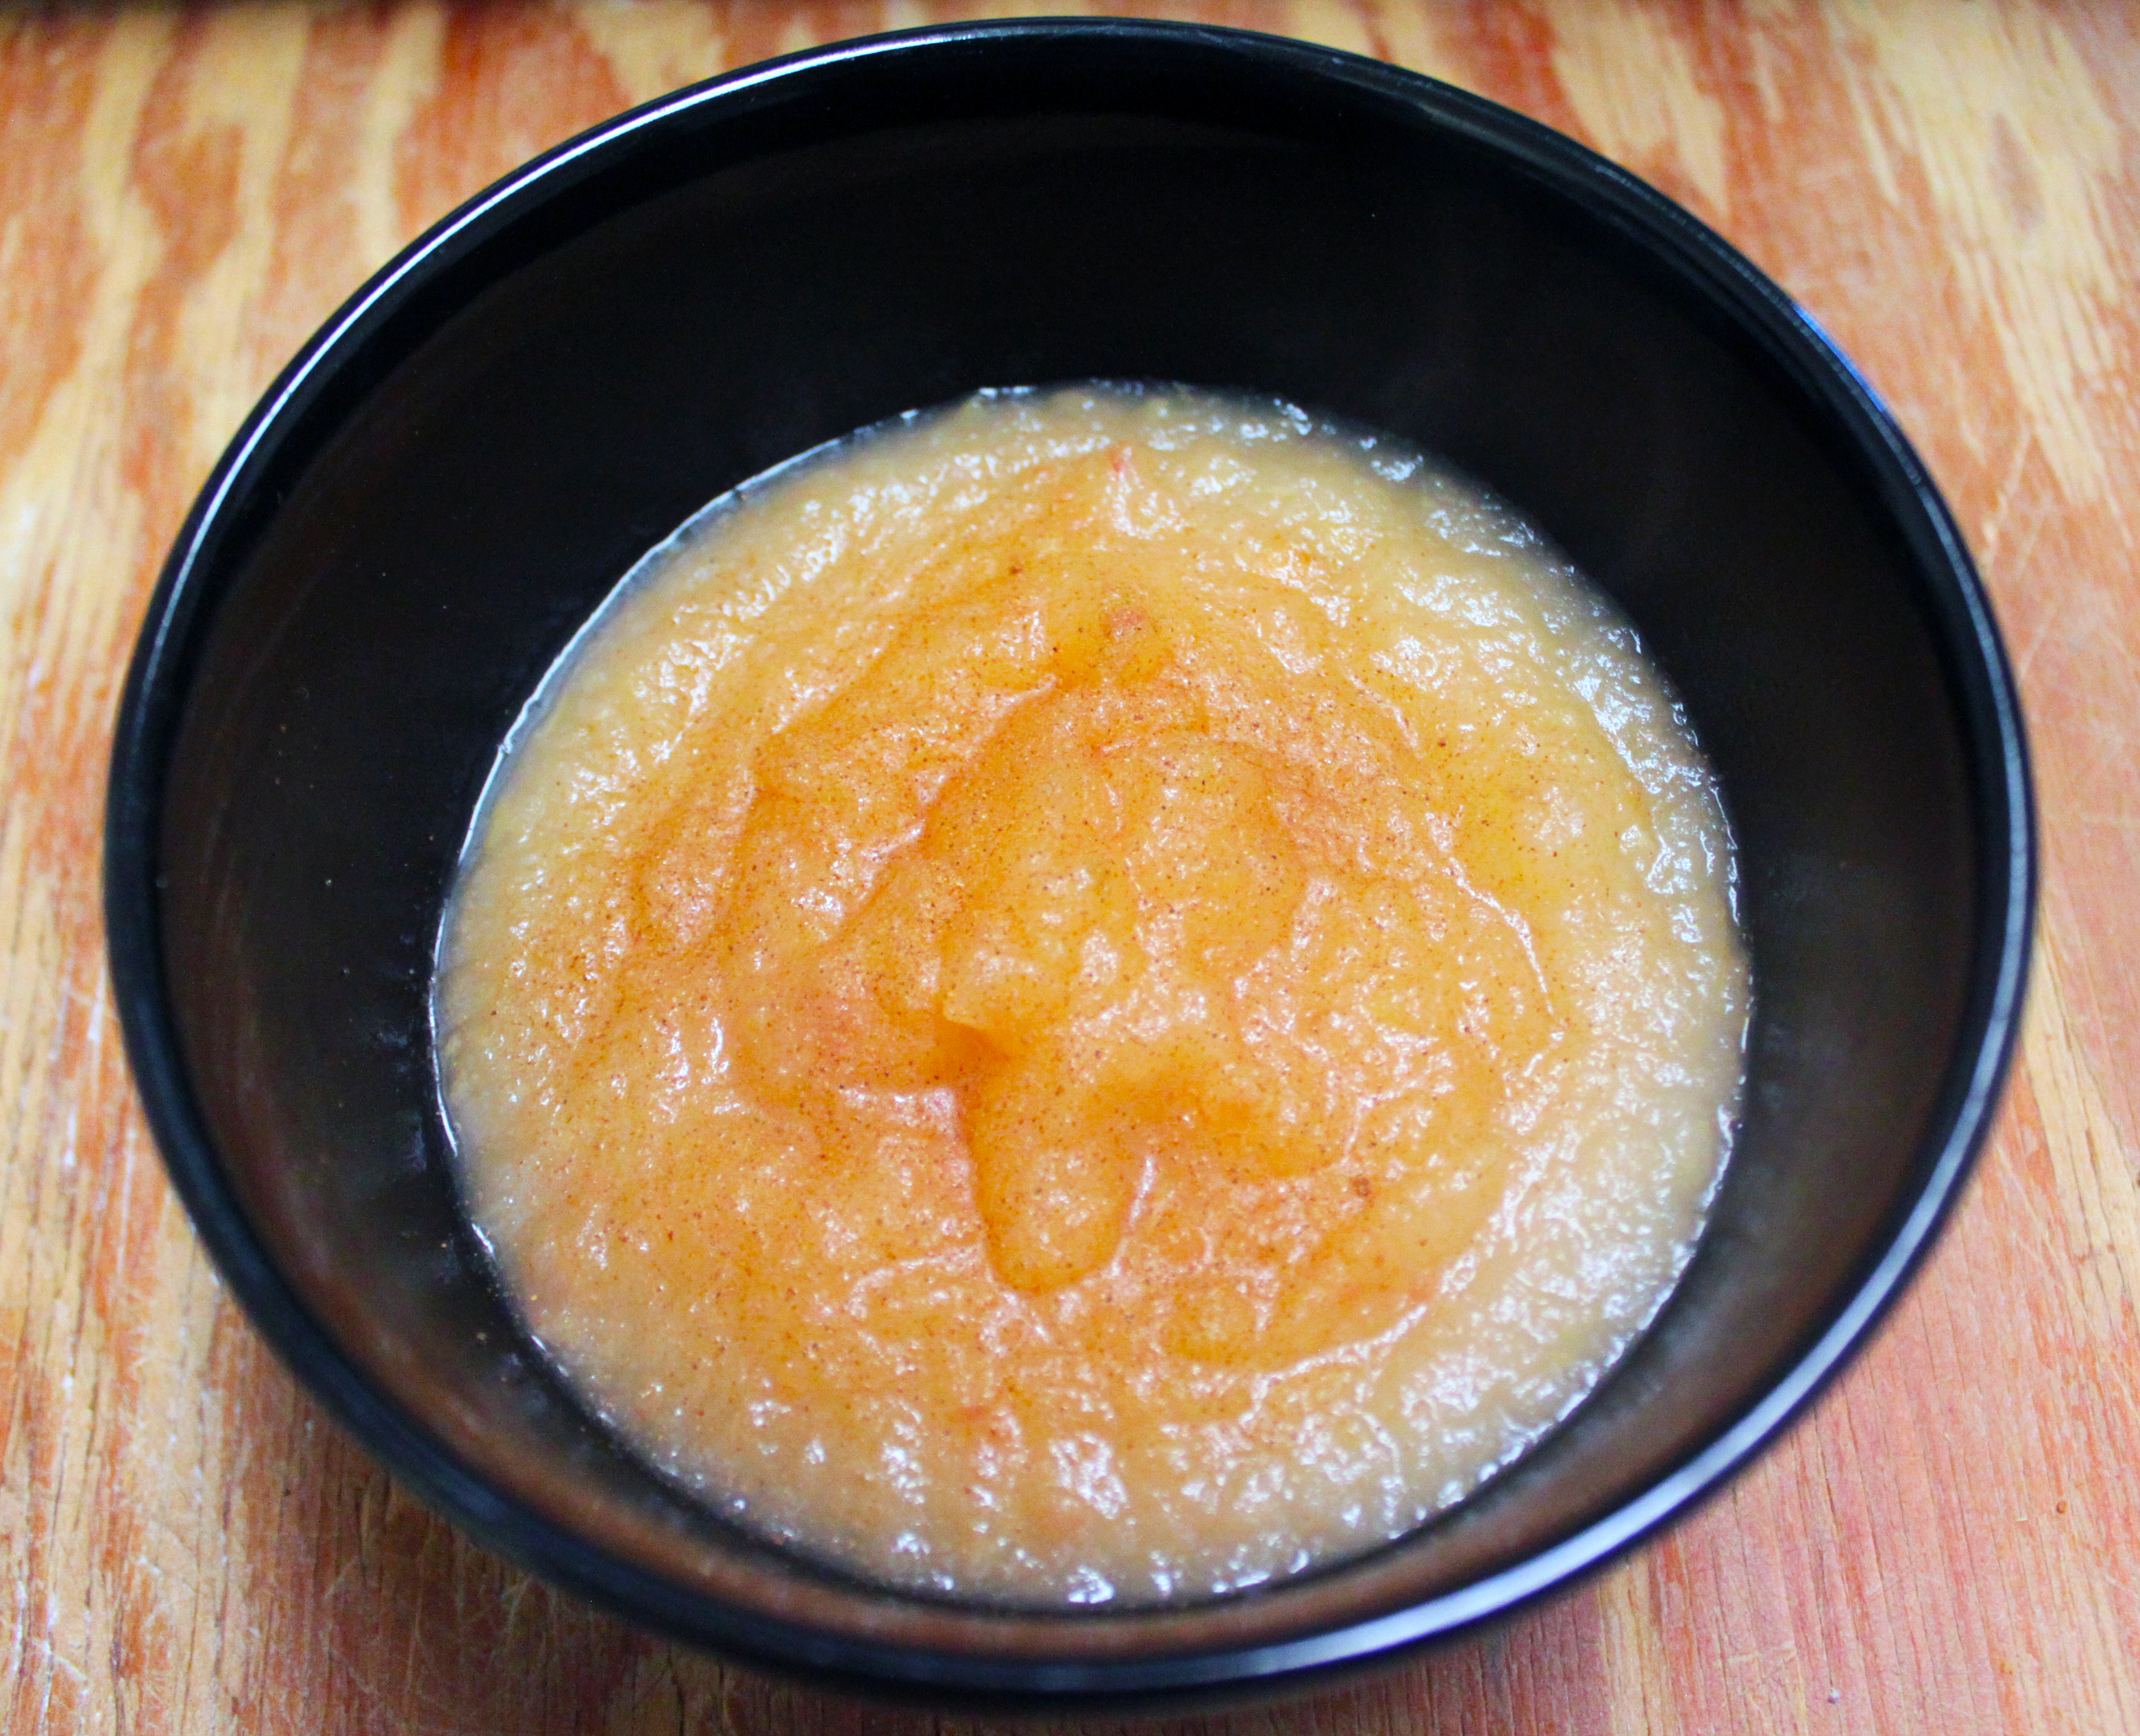
Homemade Applesauce | Small Town Living in Nevada

My kids love applesauce and eat it up as fast as I can make it. Two of my three kids devoured off what we had in the fridge and the third was quite put out.

I reminded him if he gave me 30 minutes I’d have some whipped up for him in no time.

Applesauce is probably one of the easiest foods to make at home. And usually it tastes way better than the commercial brands. But always remember you definitely want a great tasting apple to start with – the sweeter the apple, the sweeter your applesauce.

I leave the peels on since there isn’t any reason to peel the apples and lose the extra fiber goodness. I also use an apple corer/slicer so I am not in the kitchen cutting apples all day. I love kitchen gadgets when they help speed up prep-work and have many different ones in my cupboards!

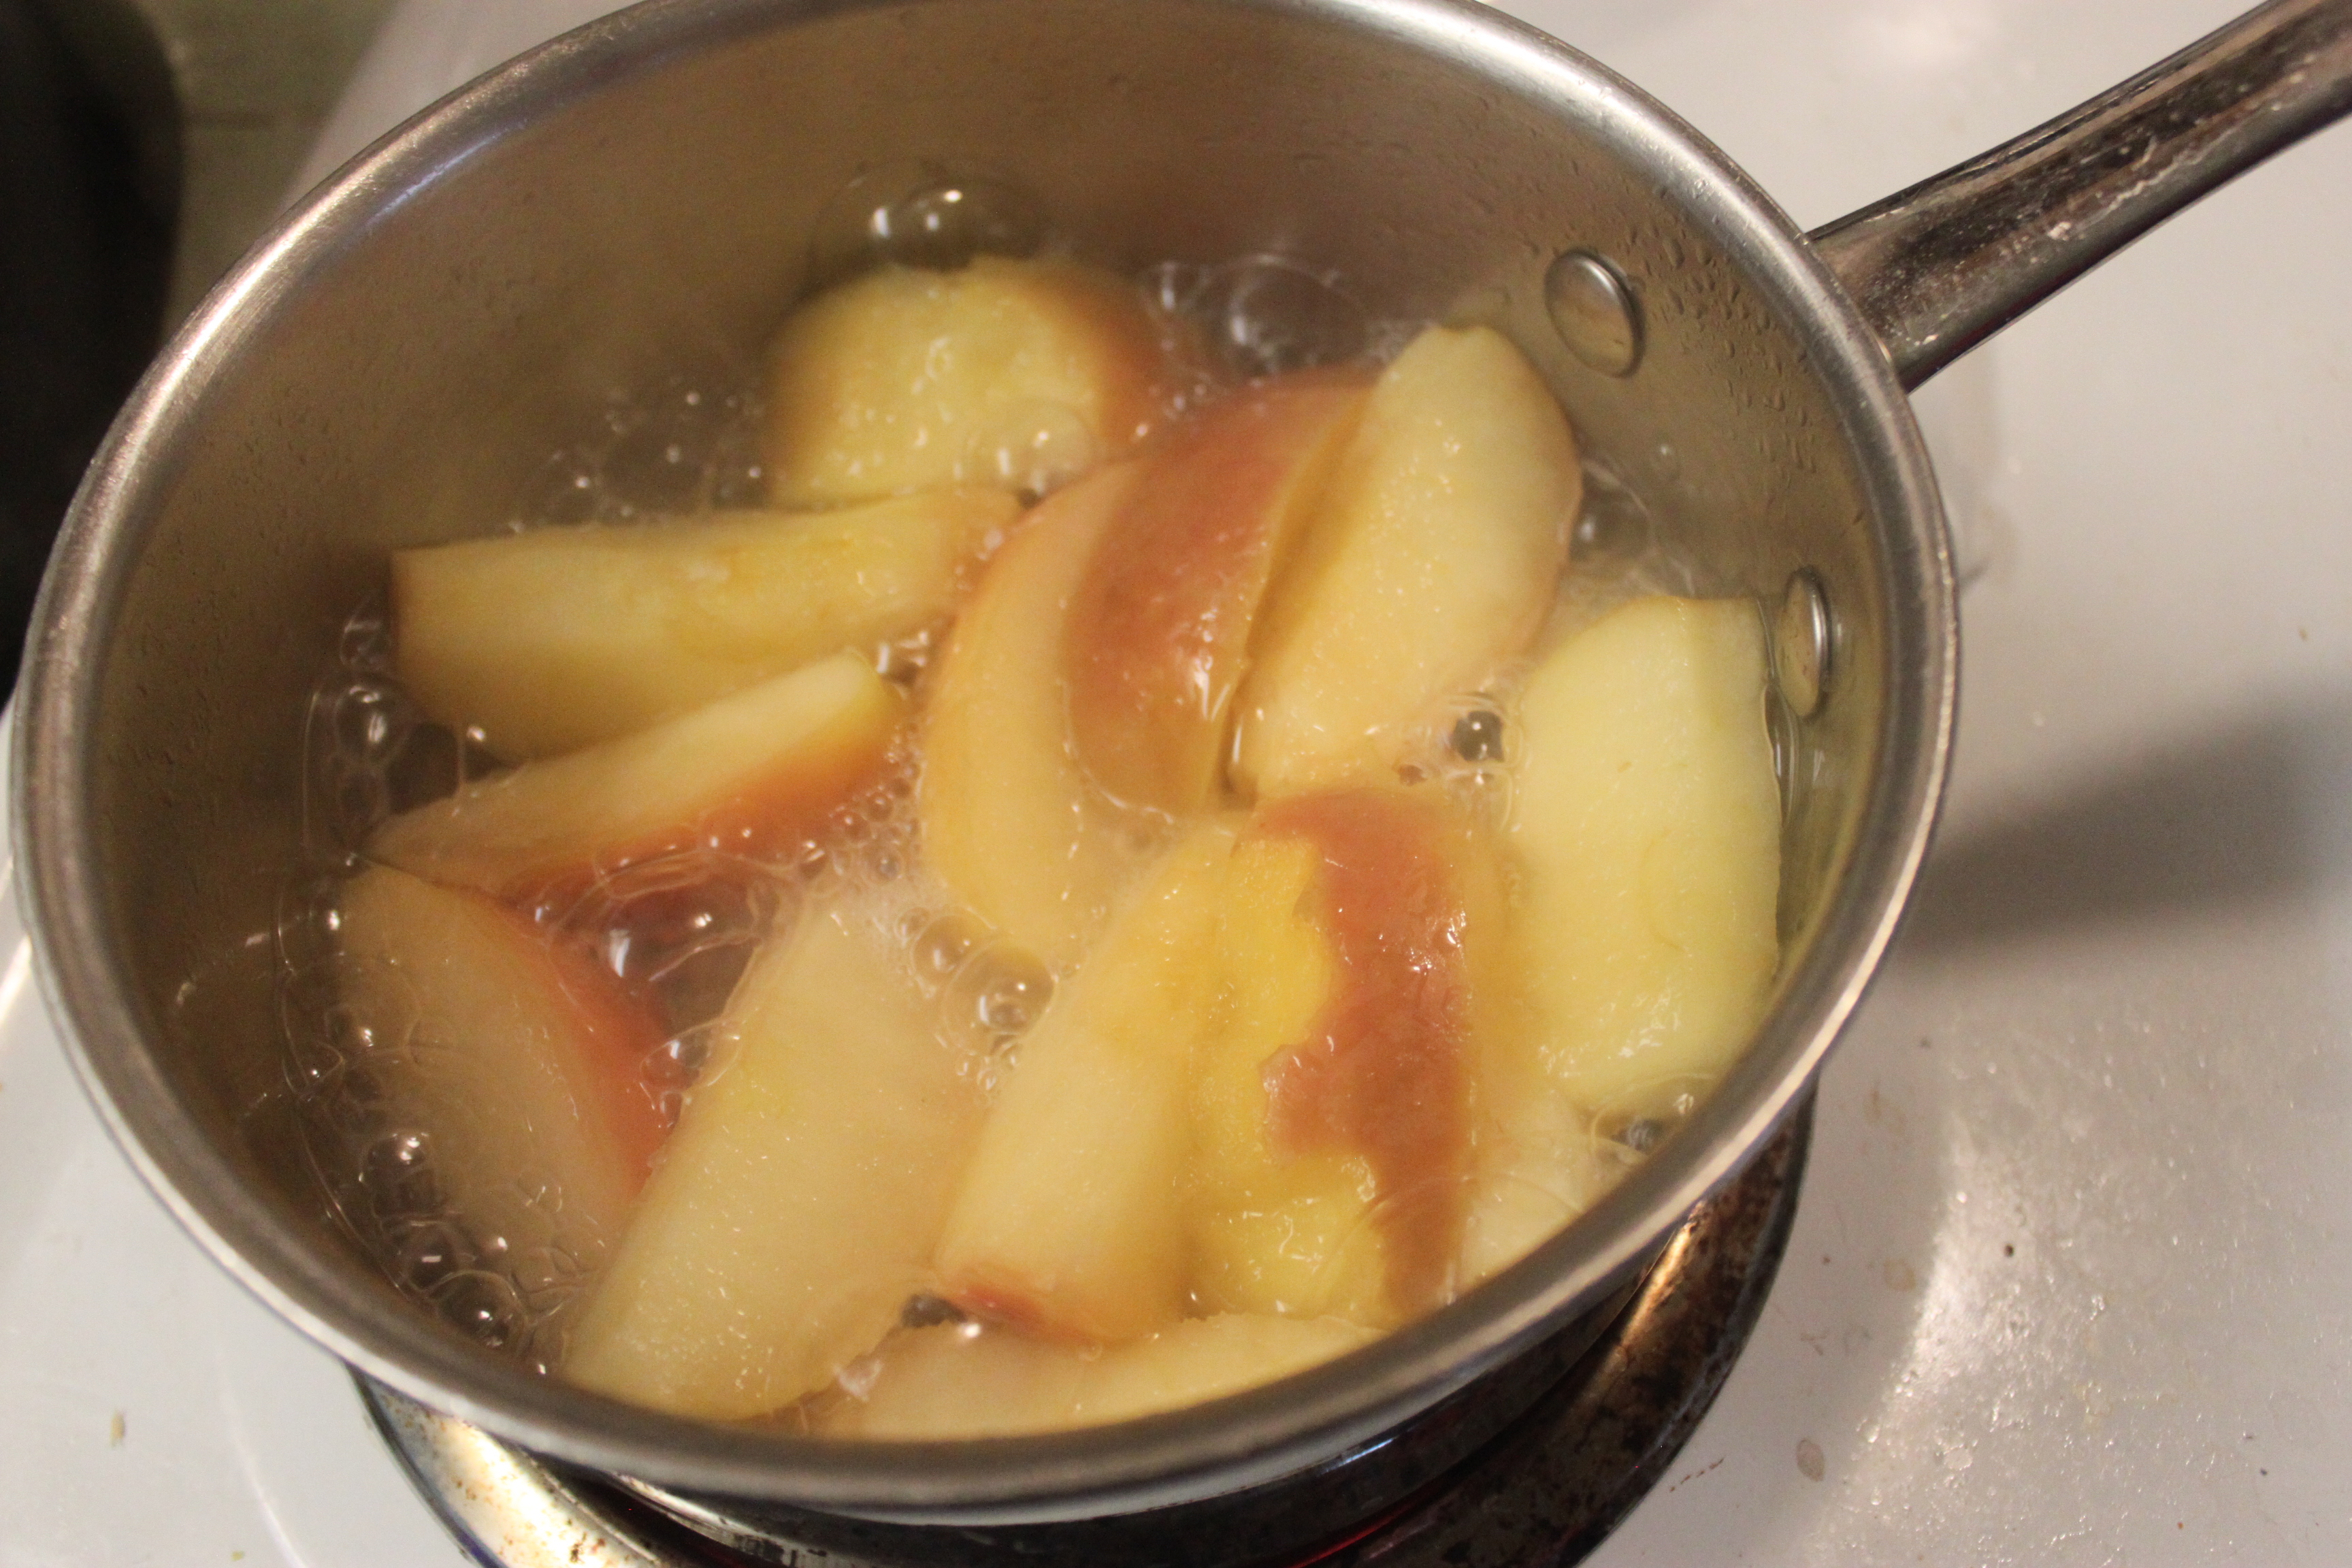
Boiling Apples

I take the apple slices and place them in a pan and cover with water and boil for 30 minutes or until soft.

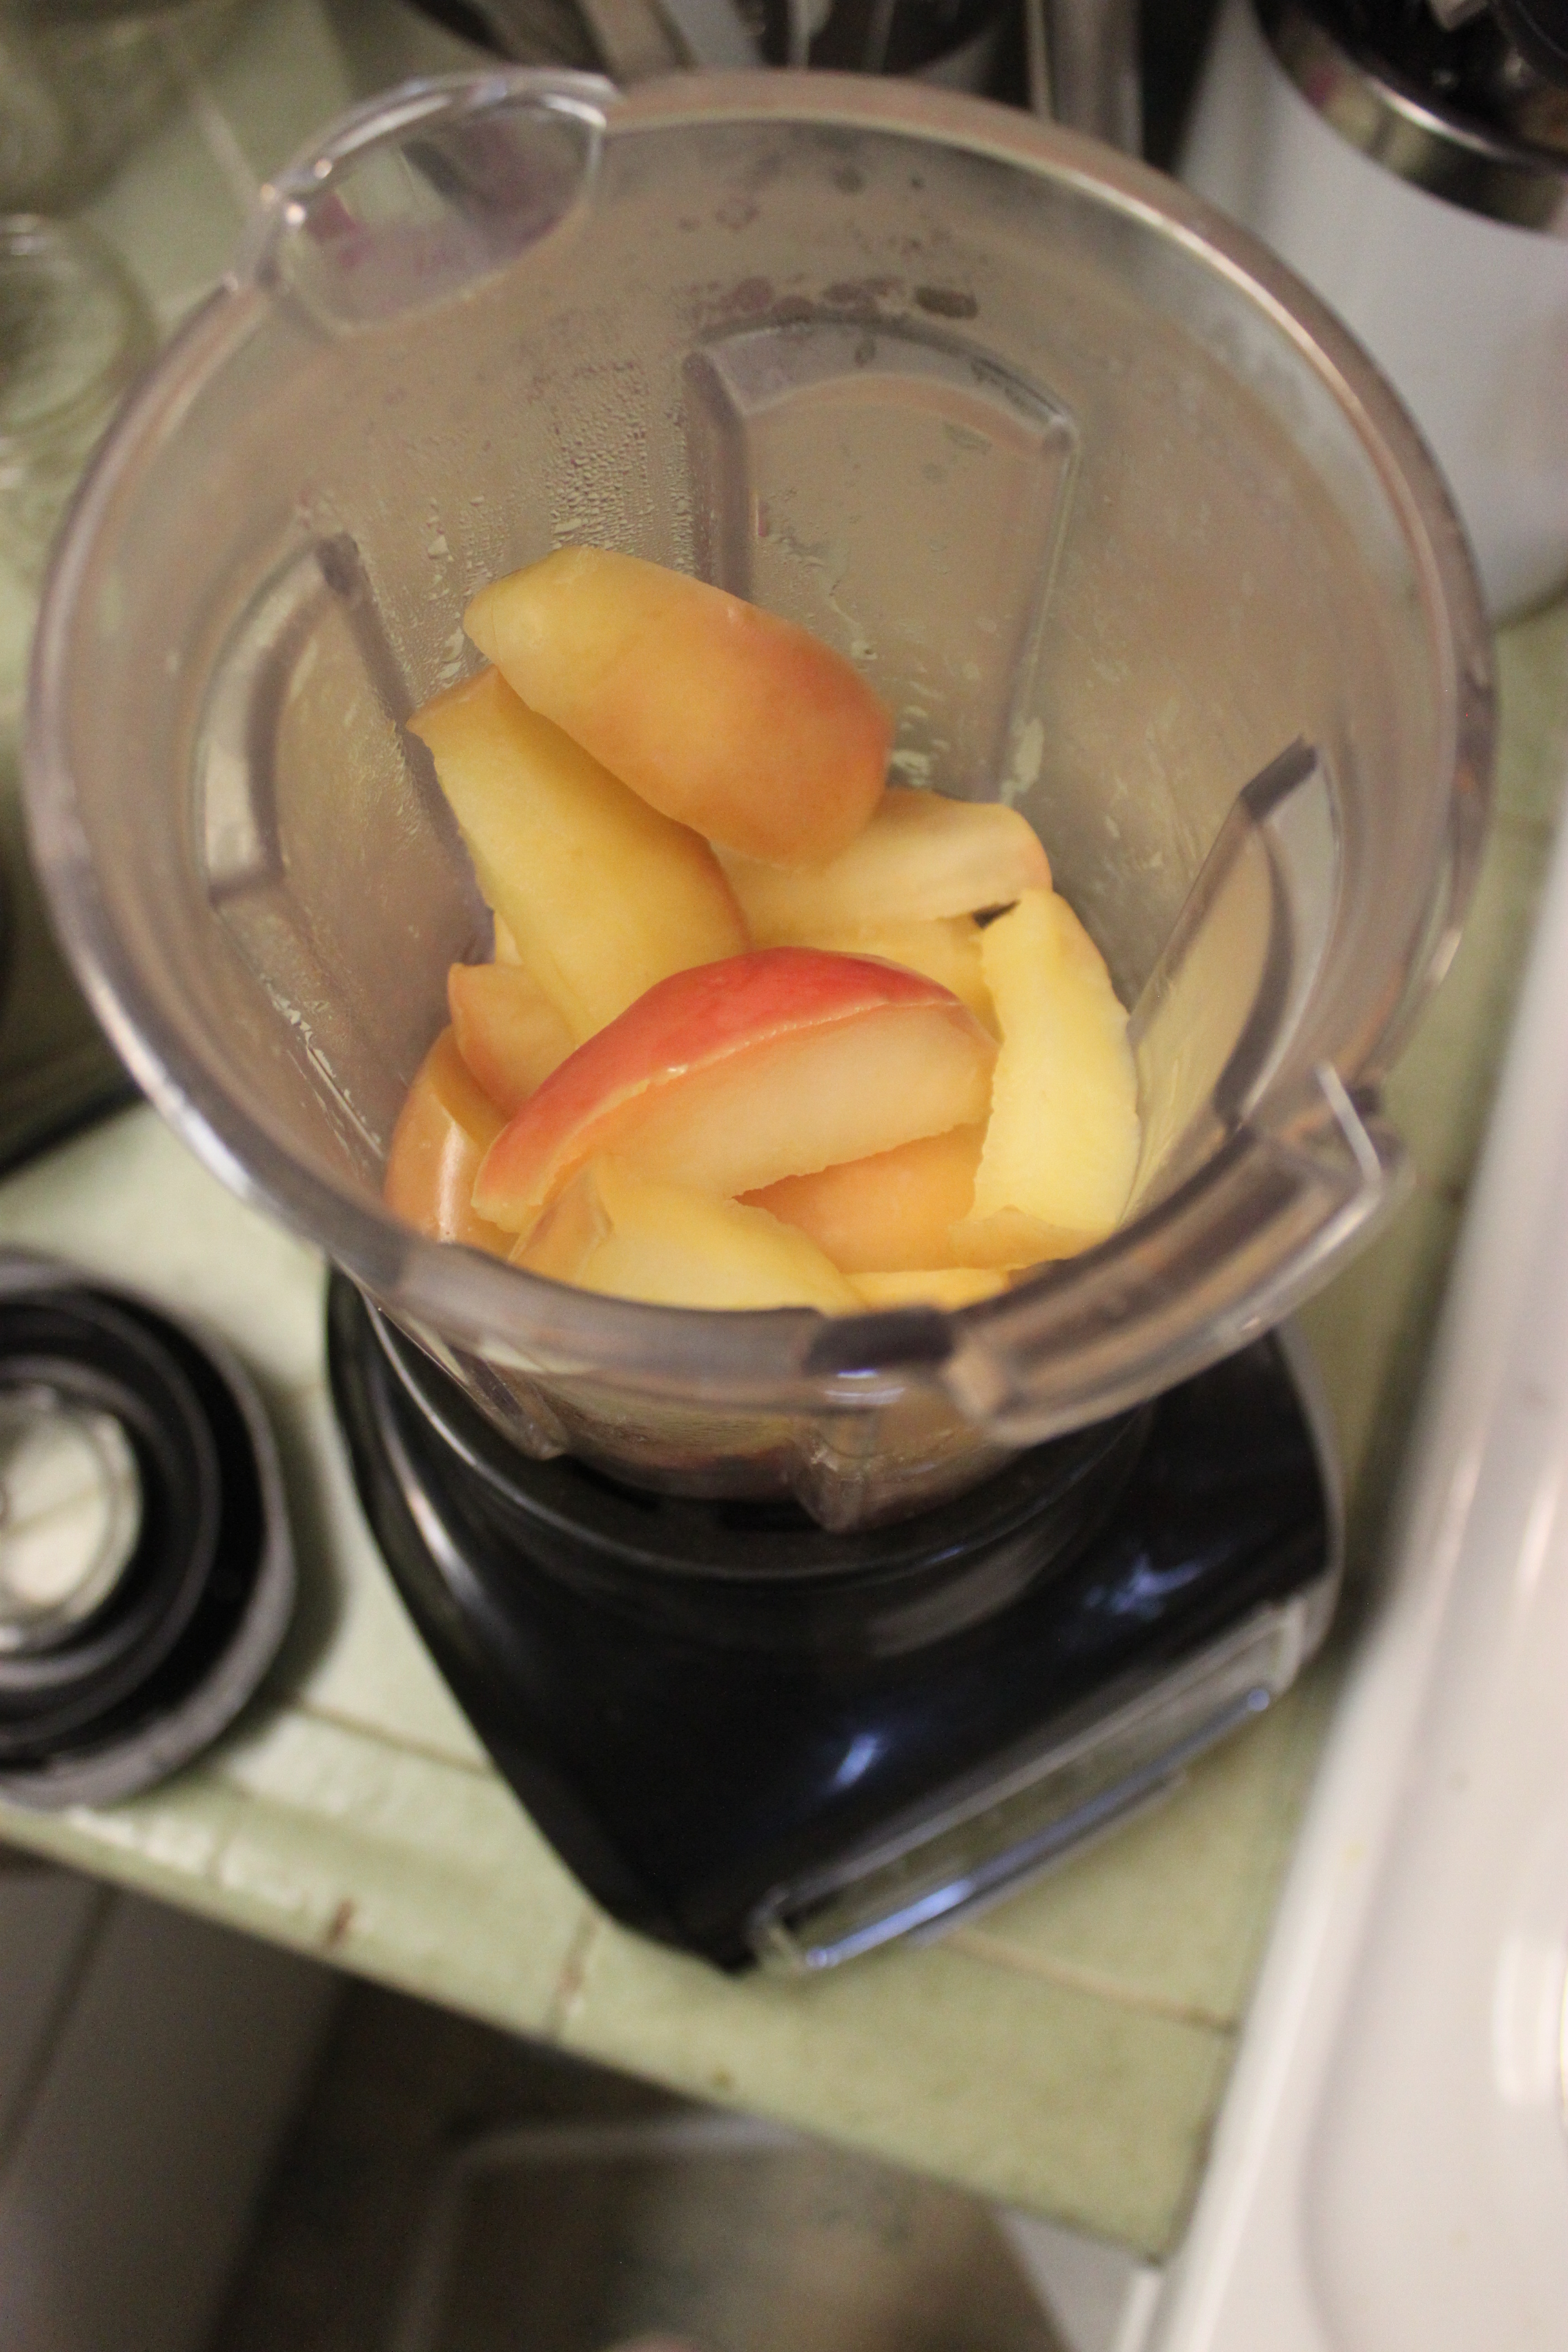
Next I place the apples and water into a blender on puree until smooth.

IMG_0543

Homemade Applesauce

Makes 3 servings

  • 6 medium apples, cored and sliced
  • 2 cups water

Core and cut each apple into 8 slices each. In a medium sized saucepan add apples and water and bring to a boil. Boil for 30 minutes or until soft.  Once apples are tender, place apples and water into a blender on puree and blend until smooth.

Once in a bowl you can sprinkle with cinnamon sugar or you can enjoy it as is!

Cinnamon-Sugar

I have always had a jar of Cinnamon-Sugar in my pantry. It is something that I have always had and like to have on hand. My kids like to sprinkle it on their oatmeal as well as on top of waffles. But you can use it for sprinkling on yogurt or even on top of an apple pie or anything your heart desires!

This morning the kids informed me that we were running low and that I needed to make more. So here is my recipe for perfect sweetness with just the right ratio of cinnamon.

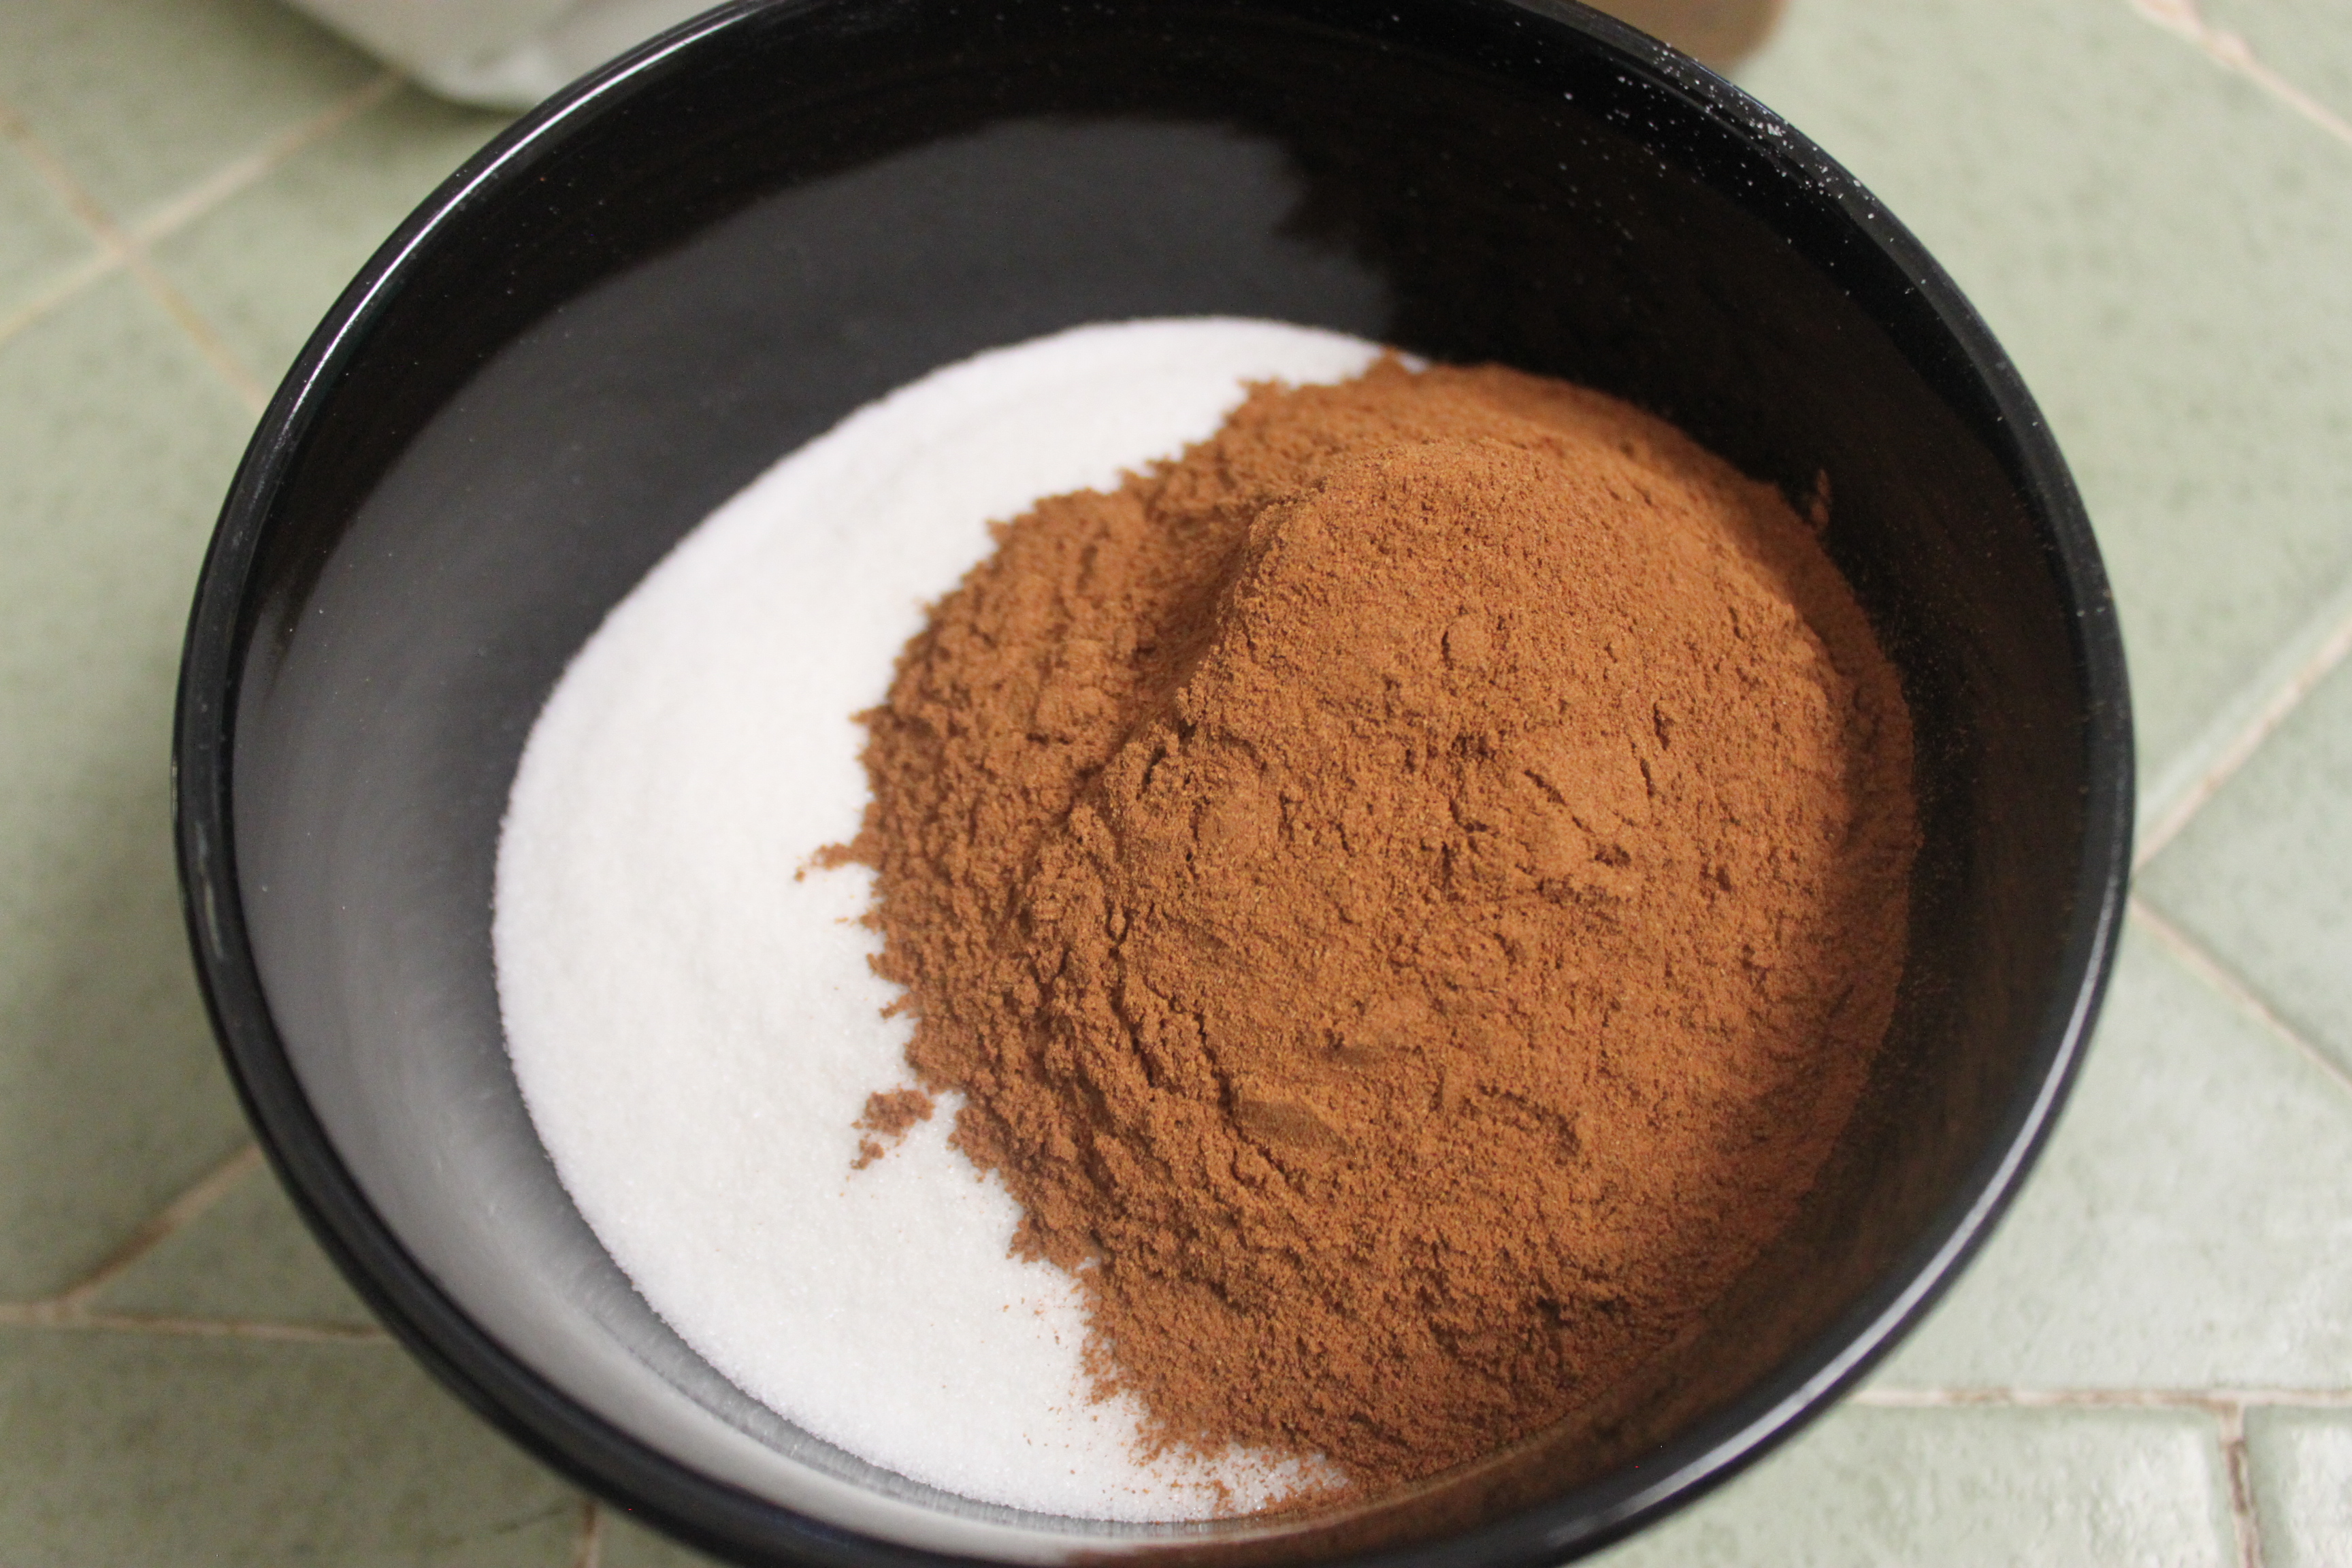
Cinnamon-Sugar | Small Town Living in Nevada

Cinnamon-Sugar

1 cup granulated white sugar
1/4 cup cinnamon

Combine the sugar and cinnamon in a small bowl, using a fork or small whisk to thoroughly blend the two together. Store in an air-tight container or old spice jar.

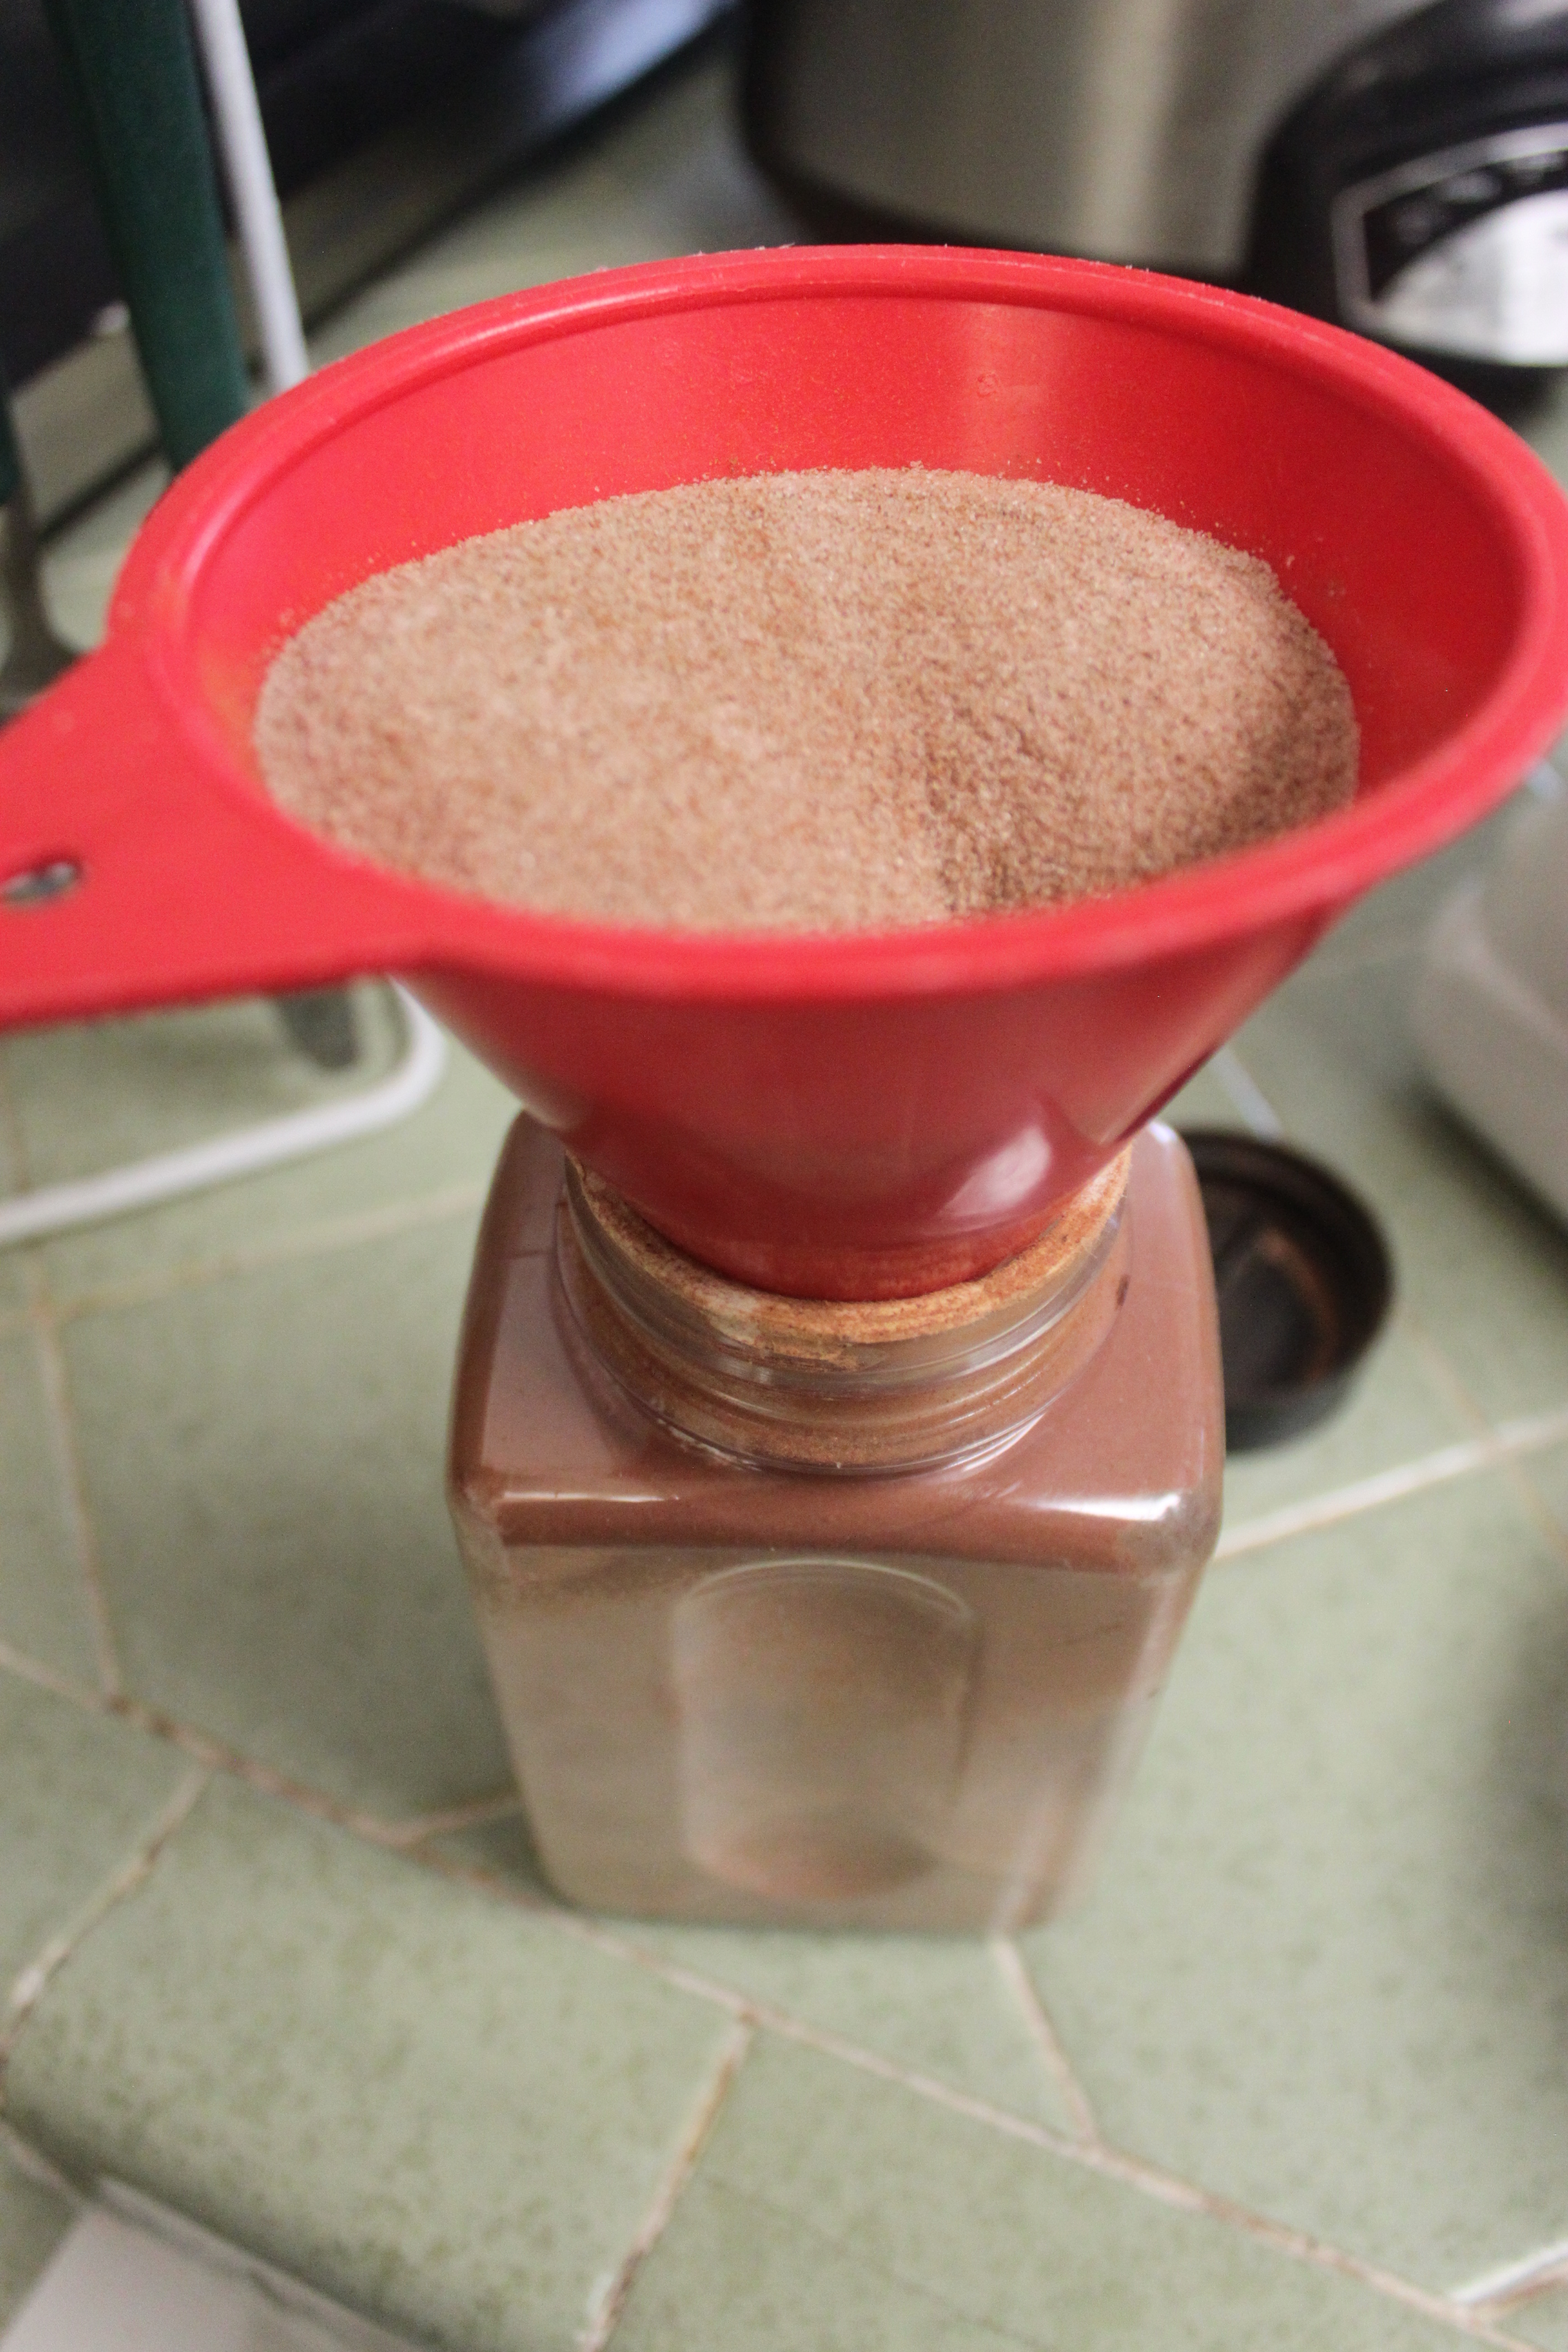
Cinnamon-Sugar | Small Town Living in Nevada

I use an old cinnamon container – why try to reinvent the wheel? Might as well repurpose things you already have in your home. I use a funnel to pour my Cinnamon-Sugar blend into the container. It is that simple!!

Crockpot Turkey Tenderloin with a sweet red plum sauce

Crockpot Turkey Tenderloin with an sweet red plum sauce | Small Town Living in Nevada

This sauce is sweet and pairs well with the turkey! And of course I love capers so it is a win win kind of dinner for my family!

Crockpot Turkey Tenderloin with an sweet red plum sauce

Serves 5

1/2 cup Red Plum Jam
1/2 cup packed brown sugar
1/2 cup Marin Wine
1/3 Cup Olive Oil
1/3 cup red wine vinegar
1/4 cup capers with juice
2 tablespoons garlic, minced
1 pound Turkey Tenderloin


Cooked Rice
Cooked diced zucchini


Place first eight ingredients in a crockpot and cook 2.5 hours on high. Anything longer and it will dry out the turkey.

Once cooked cut turkey into cubes. Place a nice helping of rice topped with Turkey and Zucchini then ladle Plum sauce over top.