Honey Butter

My family loves honey butter, what can I say?

Honey butter is one of those sweet and salty delights that pairs very well with cornbread, bagels or even toast.

Tonight was a stew kind of night, and what goes well with stew is cornbread. And of course I had to make honey butter to go with the cornbread as stated above. 😀

Honey Butter Continue reading

Gluten Free Cheese Crackers

The one thing that is hard on my kids isn’t being able to partake with the snacks that their teachers or other parents provide in class. Many times over Cheez-It® CrackersGOLDFISH®, etc are provided which are a gluten no-no for my children.

And of course I don’t want them to feel left out so I make foods that are comparable.

GF Crackers

Continue reading

Prepping fresh eggs (out of the coop) to be dyed for Easter

Hard Boiled Fresh Eggs | Small Town Living in Nevada

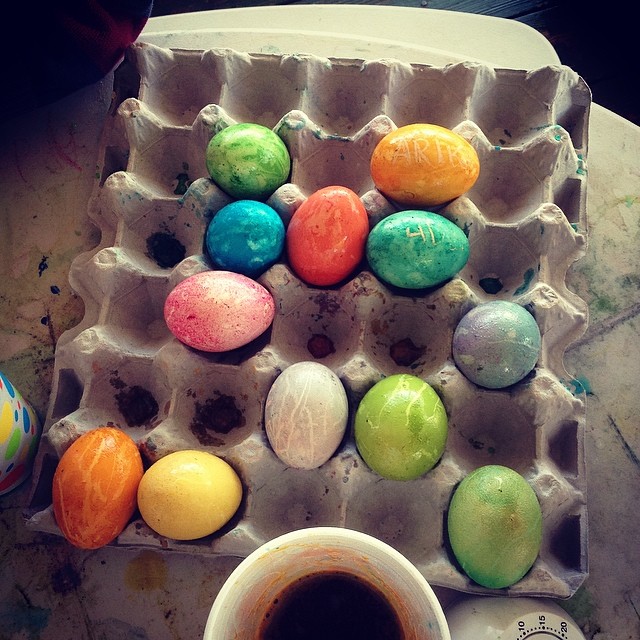
I boiled up a flat of 30 eggs for my kids to dye for Easter this Sunday. Fresh eggs from the coop take a lot more prep work than those store bought eggs. You have to wash and scrub all the eggs before boiling. Then once the eggs are cooked and cooled you have to scrub them once again to get the remainder of the “bloom” off of them. Otherwise the dye will come out a mess on the egg. So yes, I put a lot of elbow grease into making the eggs ready for the kids to dye this Saturday.

Easter Eggs 2014 - this is what it looks like when you don't do the 2nd scrub (my eggs last year).

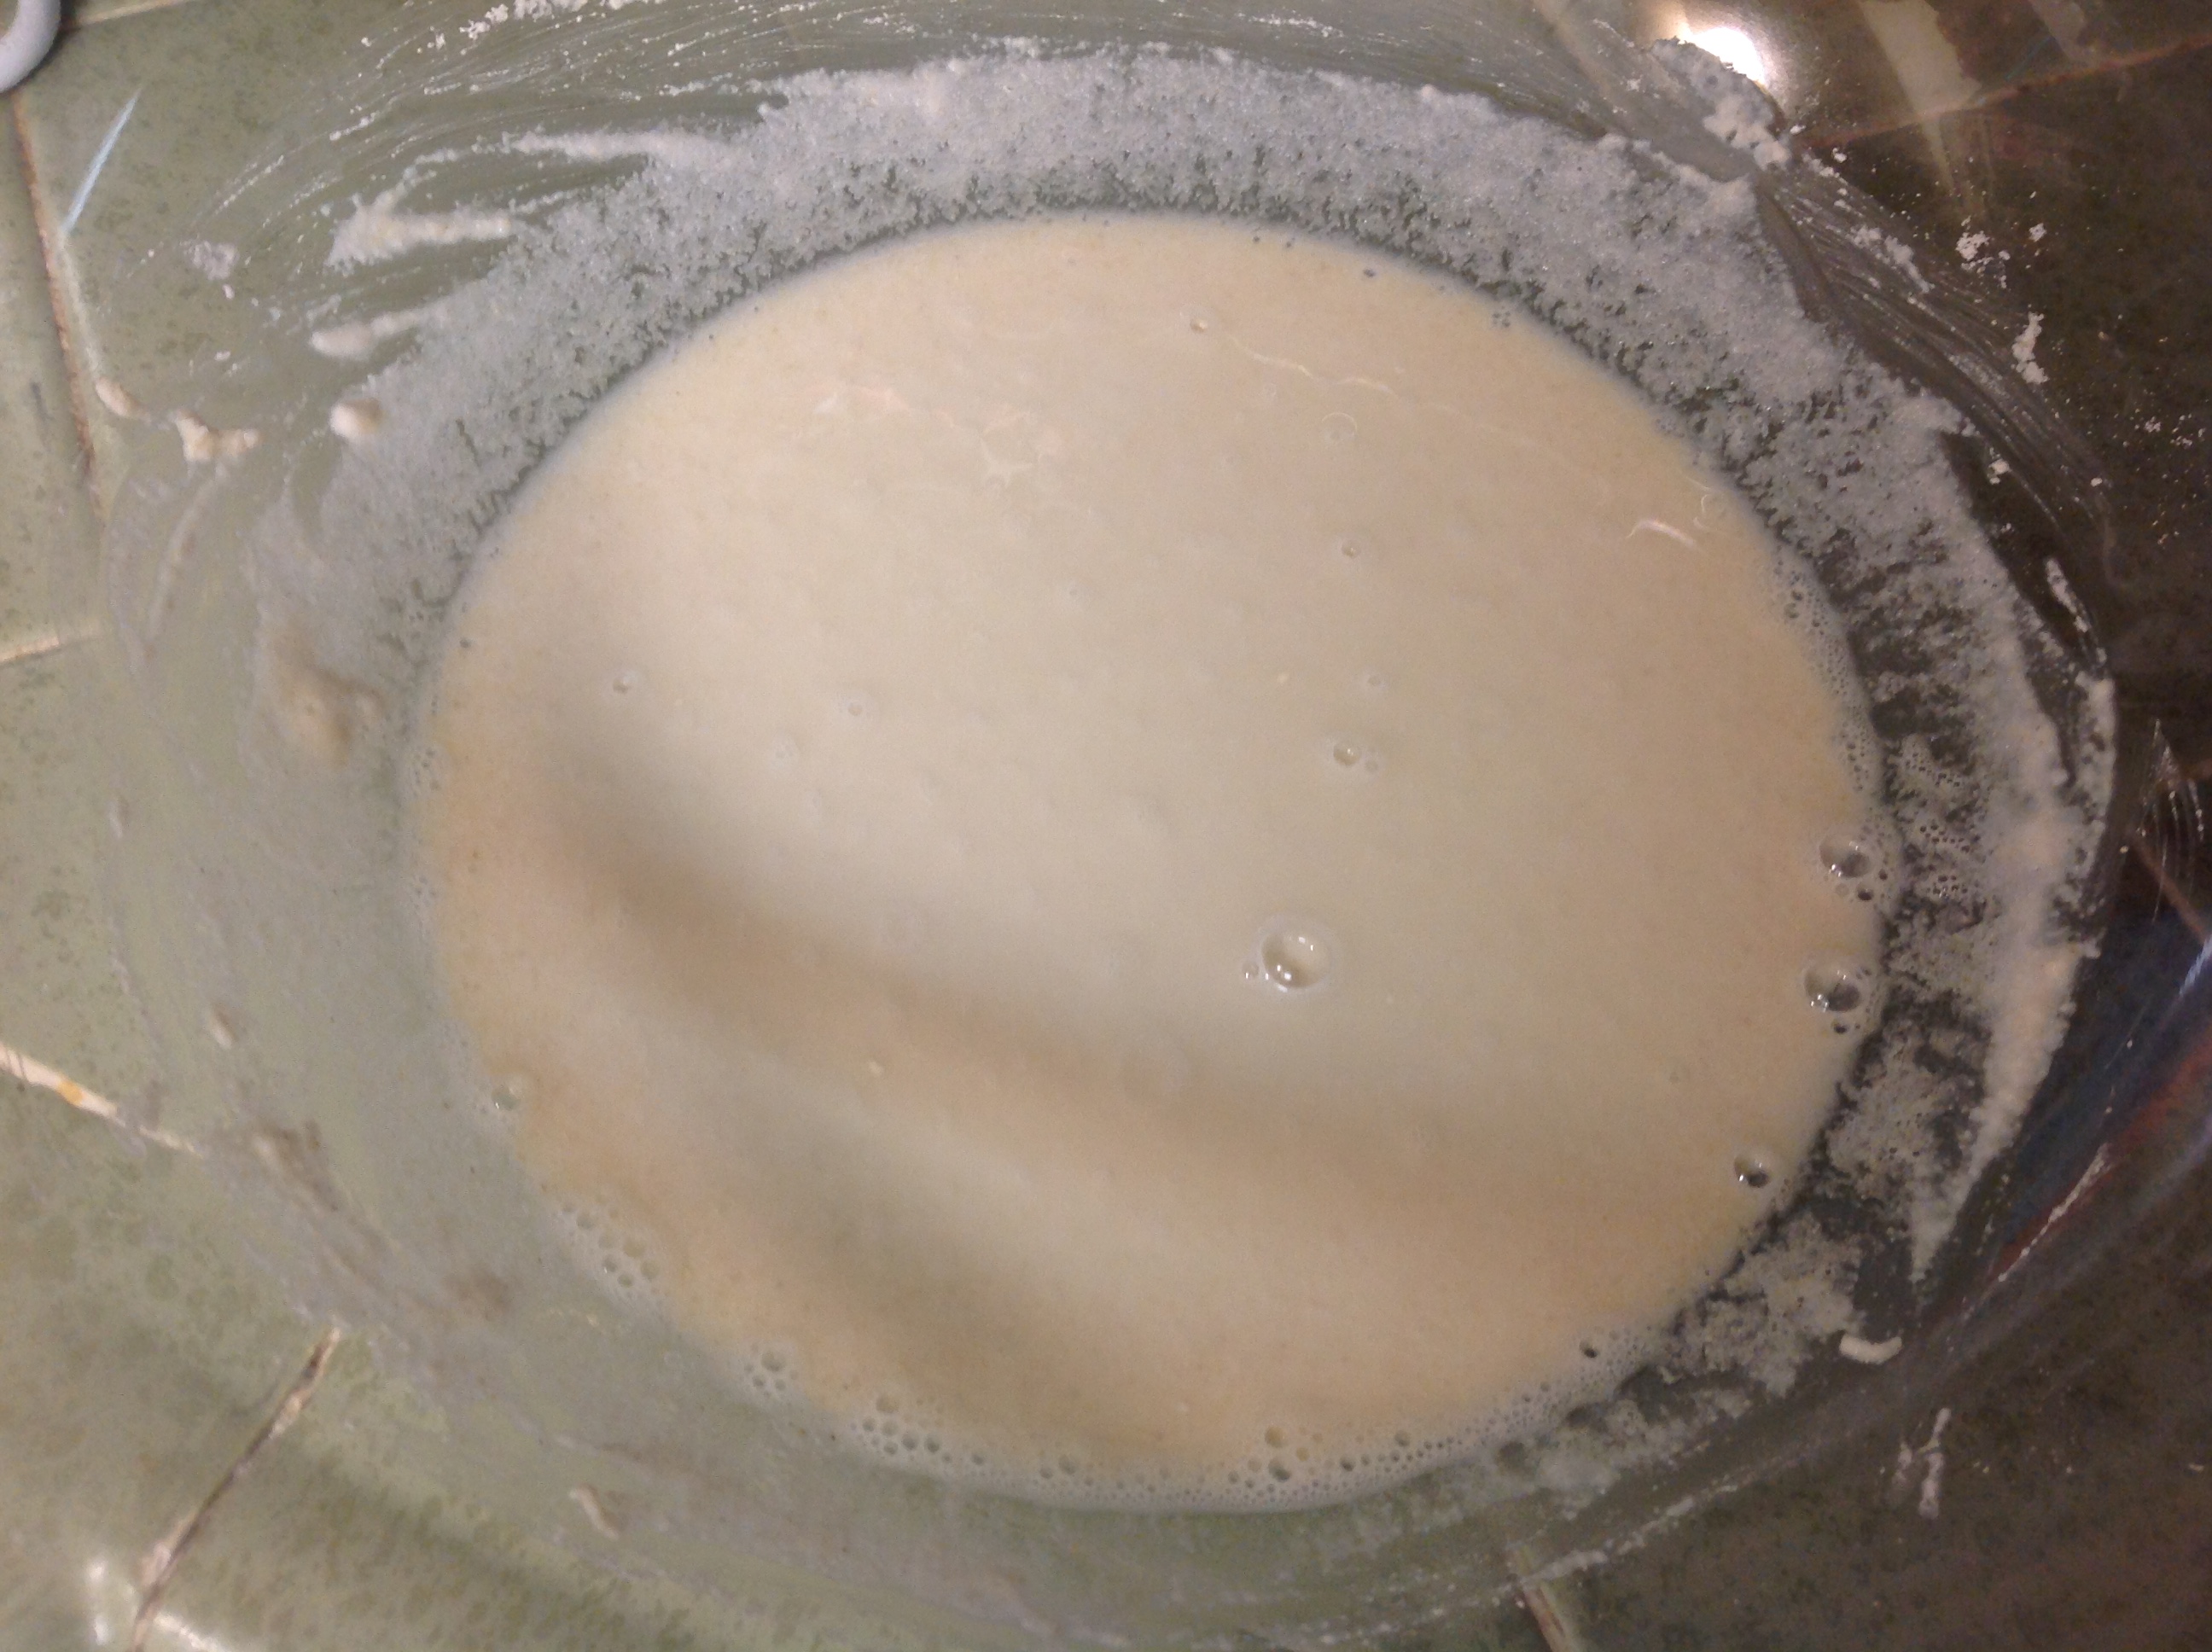
Easter Eggs 2014 – this is what it looks like when you don’t do the 2nd scrub (my eggs last year).

I will tell you – this is a live and learn process for me. I have been raising chickens now for 5 years and it never dawned on me why the eggs always dyed funny, and with funky streaks. I always chocked it up to not being store bought. Well, yeah that was part of it.

Mainly it is because of the “bloom” on the eggs. You know, that protective cuticle layer on the outside of the egg. The bloom coating seals the shell pores, prevents bacteria from getting inside the shell, and reduces moisture loss from the egg – all designed to make the egg last longer, but in our case not dye very well.

Store eggs, be it white or brown — are normally scrubbed down with cleaning solutions to rid the egg of the bloom before they hit the store shelves. So as the consumer you don’t even have to worry about that process at all.

As for me — there isn’t a middle man and I have to do all the work myself — IF — I want to dye eggs for easter, LOL. Otherwise, if you just want a hard boiled egg — then it doesn’t matter if there is a bloom on the egg. Just clean, boil, peel and eat. However, since we are dying the eggs, there is a process.

Continue reading

Chocolate Peanut Butter Egg Candy

With Easter just days away I started making my annual homemade candy. Normally it is Rocky Road Eggs and Chocolate Bunnies. However, today I decided I wanted to try my hand at making homemade Reese’s Peanut Butter Eggs!!

I used a vintage metal egg mold that was my grandmother’s. This mold brings back so many memories of her making Rocky Road Chocolate eggs that I can vividly see her in her kitchen working away.

Peanut Butter Chocolate Egg | Small Town Living in Nevada

Continue reading

Cinnamon-Sugar

I have always had a jar of Cinnamon-Sugar in my pantry. It is something that I have always had and like to have on hand. My kids like to sprinkle it on their oatmeal as well as on top of waffles. But you can use it for sprinkling on yogurt or even on top of an apple pie or anything your heart desires!

This morning the kids informed me that we were running low and that I needed to make more. So here is my recipe for perfect sweetness with just the right ratio of cinnamon.

Cinnamon-Sugar | Small Town Living in Nevada

Cinnamon-Sugar

1 cup granulated white sugar
1/4 cup cinnamon

Combine the sugar and cinnamon in a small bowl, using a fork or small whisk to thoroughly blend the two together. Store in an air-tight container or old spice jar.

Cinnamon-Sugar | Small Town Living in Nevada

I use an old cinnamon container – why try to reinvent the wheel? Might as well repurpose things you already have in your home. I use a funnel to pour my Cinnamon-Sugar blend into the container. It is that simple!!

How to make homemade butter

I was making dinner and realized I was all out of butter. Remembering I had some cream in the fridge I reached for my Food Processor.

Many people seem to think there is a lot of work that goes into making homemade butter. And honestly, I have never tried to churn butter the old fashion way, but I have used my Food Processor in place of many times over.

By using a Food Processor the butter breaks in about 4-5 minutes. And wallah, you have butter — most likely better than the store bought butter.

Homemade butter

Ingredients
  • 4 cups of heavy cream (1 quart)
  • 1/2 – 1 teaspoon salt

Place a quart of heavy whipping cream into the food processor.

Whipped Cream Food Processor | Small Town Living in Nevada

Turn on your food processor and let it run. If your cream is on the cool side, it may go through a thick, whipped stage like this (see above). If it does, it just means it will take a bit longer for it to churn.

Homemade Butter | Small Town Living in Nevada

As you process the cream, it will become more liquid. The sound of the cream in the processor will also change so it sounds like sloshing. It means the butter is separating from the buttermilk. Pour the butter through a fine mesh sieve and lightly fold the butter on itself to press out any liquid trapped in the butter. Pour off the excess liquid.

Return the butter to the food processor and add salt to taste. Turn the processor on and give it a whirl to incorporate the butter. Place in a container and store in fridge for up to two weeks if it lasts that long.

Homemade Butter Spreadable | Small Town Living in Nevada Bread and Butter | Small Town Living in Nevada

How to Make Water Kefir Soda

Water Kefir | Small Town Living in Nevada

Sparkling Apple Water Kefir

I love carbonation. It is a weakness of mine. I would rather drink Club Soda or Sparkling Water over regular water any day. I think I actually crave the carbonation if that even makes sense.

And because of that I LOVE Water Kefir! It is a wonderful fermented probiotic drink that not only do I really enjoy but my entire family really enjoys drinking as well. And it is naturally carbonated so I don’t feel guilty drinking it!

We flavor our Water Kefir with a variety of different juices from Grape Juice to Pineapple to even Apple juice. We basically drink it as a healthy alternative to soda, especially since I don’t allowed my kids to drink soda.

My husband is the person behind the Water Kefir. If it weren’t for his dedication we probably wouldn’t have the abundance of it in my home like we do. For that we are truly grateful for all his hard work he puts into it.

Water Kefir is….

  • Dairy free
  • Can be made from sugar water, fruit juice or even coconut milk
  • Easy to flavor in unlimited ways

In order to get started you need to use water that is free of chlorine and fluoride because both can kill your Kefir grains.

We prefer to use bottled water, but you can also use filtered water, well water, or even coconut water.

Next you need sugar. There are many choices of sugar to nourish the kefir grains. My husband though uses Brown Sugar and Molasses.

Making water kefir is not an exact science but everyone has a different method and timing that they prefer. It is definitely okay to experiment. When coming in contact with the grains, it is best to use glass, plastic or wooden tools and utensils because some metals can hinder your grains.

Continue reading

Gluten Free Sourdough Starter

I am gonna try making gluten free sourdough bread – basically give it a whirl. And the first thing I am doing is making a Sourdough Starter!

Gluten Free Sourdough Starter | Small Town Living in Nevada

Gluten-free sourdough starter can be made in as little as seven days using gluten-free flour, water and a medium-sized bowl.

Combine 2 ingredients….

1/2 cup of flour (whatever gluten-free flour or blend you like)
1/2 cup of bottled water into the bowl

Whisk until smooth and cover with a plate or lid, leaving approximately 1/2″ gap for air to circulate.

At least twice a day for the next six days, at regular intervals, add 1/2 cup of flour and 1/2 cup of bottled water to the existing starter. This is called feeding the starter.

Flavored Simple Syrup for snow cones

So my daughter’s birthday party is coming up and we’ll be making snow cones, lots of snow cones for her Frozen themed party. Today I made some simple syrups flavored with Kool Aid for our snow cone flavors. My husband originally bought the packets for me….. and forgot a blue packet… so now I must now remember to go out tomorrow and pick up a blue Kool-Aid packet! So I have one simple syrup bottle just waiting to be flavored!

Simple Syrup Flavored with Kool Aid packets

Simple Syrup Flavored with Kool Aid packets

Continue reading

Plum Jelly

I was going through the fridge and tossing questionable containers when I came across several baggies of Chinese Plums. TheyIMG_7957 had been sitting in the refrigerator since we picked them weeks ago. It was either toss them, too, or make something immediately with them.

I love Plum Jam and was — yeah I can do that. So I had a little over a pound of plumbs. The kids and I had already pitted them, so all I needed to do was chop them up.

Unfortunately – I made a HUGE mess of the kitchen with this little batch of Jam. I placed them in the food processor, yet it didn’t chop as fine as I wanted. Next I pulled out the Blender and pureed them instead. Perfect!

When I tossed the pureed fruit, water and sugar in the pot and started to boil — I noticed there was what looked like nuts in the mixture floating to the top. AGH! There must had been a pit in one of the plums that we missed — so now I had to get out the sieve to retrieve the pit particles. Unfortunately that meant my jam will now be less chunky as well. Oh well, it will still be really tasty nevertheless!

Continue reading