DIY Cat Tree Makeover with Oiled Sisal Rope


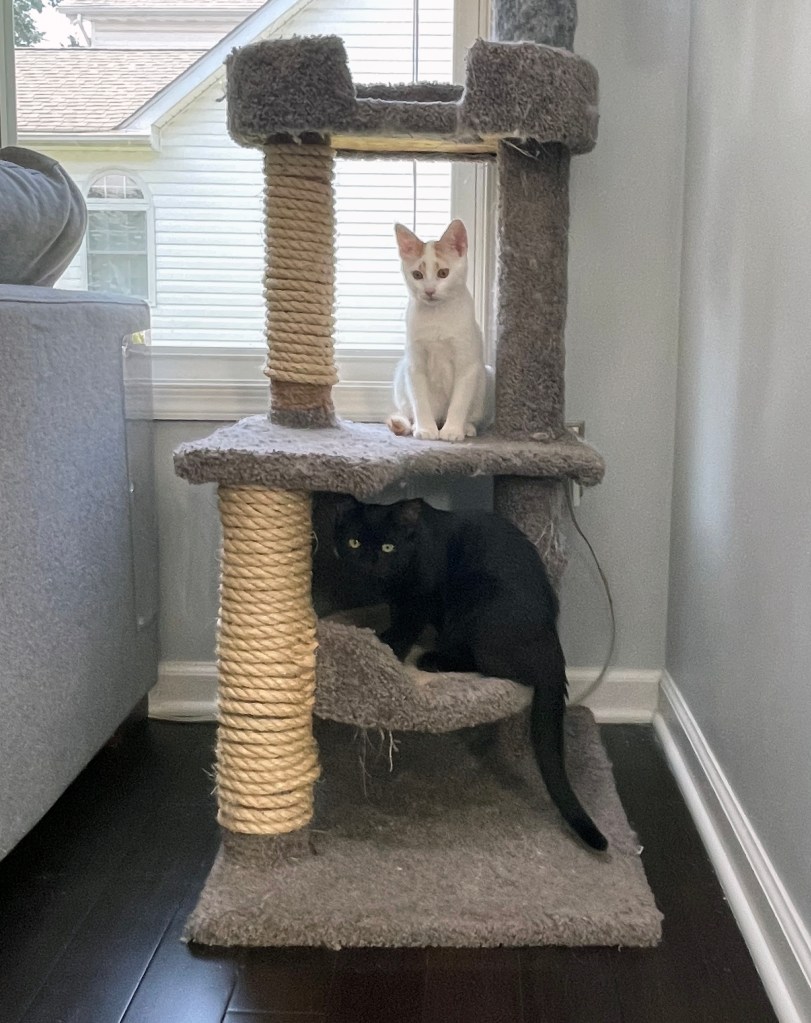
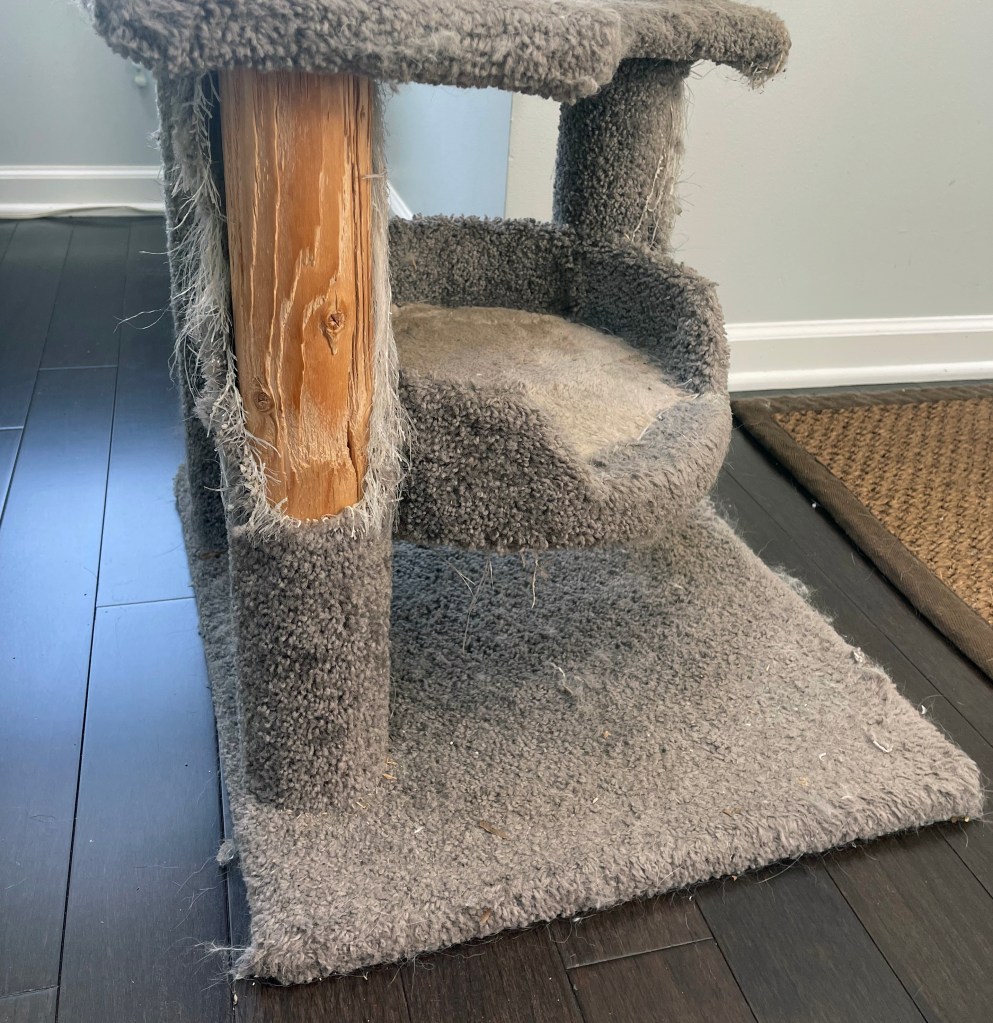
After living with cats for almost three decades, one thing I’ve learned is that cat trees don’t last forever. With two cats for many years (and now four!), the wear and tear really starts to show. My oldest cat tree is easily 10 years old, if not older, and it was long overdue for a makeover.

Instead of buying a brand-new tree—which can be really expensive—I decided to try a DIY fix. After doing some research, I found out that sisal rope is the best choice for refurbishing scratching posts. Cats love it, and it holds up well to all the claw action.

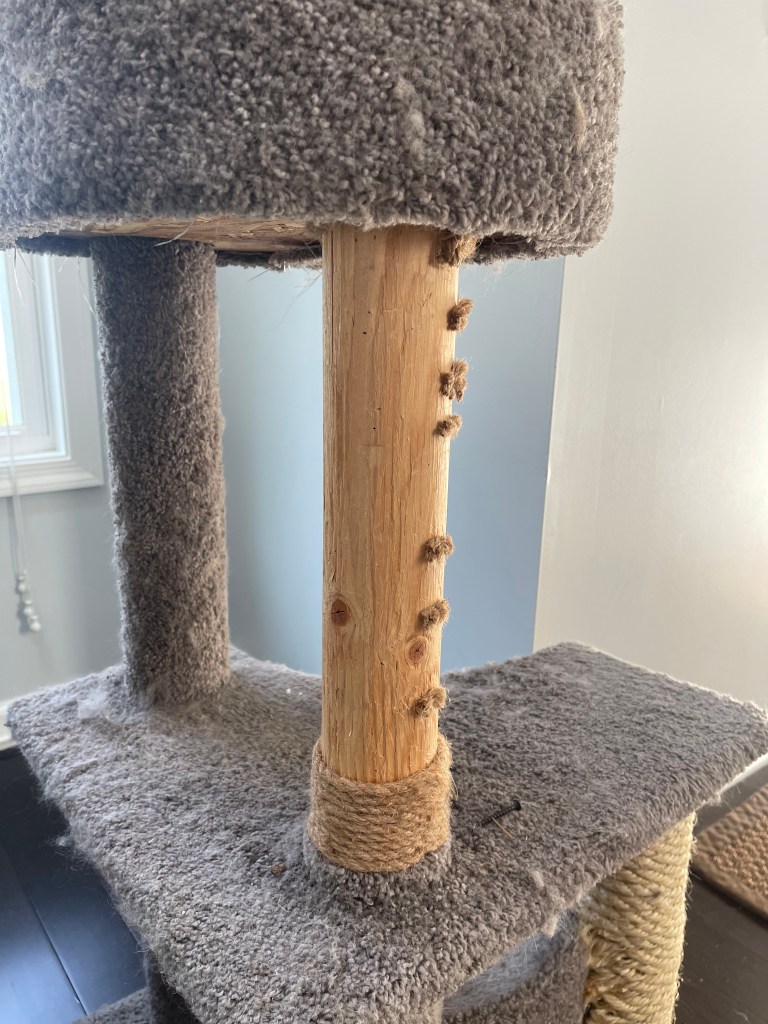
I ordered 50 feet of ½-inch oiled all-natural sisal rope from Amazon. Looking back, I probably should have gone with 100 feet, since 50 feet turned out to be a little short. Still, I was really happy with how it came out overall.

For tools, I used:

  • Gardening loppers to cut the rope into pieces
  • #6 x 1-5/8″ screws to secure the rope
  • A Ryobi Cordless ¼ in. Impact Driver (which made the job so much easier)

My oldest son helped me, and together we gave the cat tree a fresh new life. We did run out of rope toward the end, so one section still has the original worn rope, but the rest looks great and is ready for all four cats to enjoy.

All in all, the cost of the rope was much more affordable than replacing the whole cat tree. And honestly, it felt good to refurbish something old instead of tossing it. The cats seem pretty pleased with their “new” scratching spots, which makes the project totally worth it.


☕ Support the Journey

If this post resonated with you or made you feel a little less alone on your own path, you’re always welcome to support my writing with a cup of coffee. Your kindness helps me keep sharing real stories and new chapters, one step at a time: 👉 coff.ee/smalltownmichele

Homemade Bubble Solution

Homemade Bubble Solution

So I wanted to try a different bubble solution and was quite happy with the results even though the cornstarch and baking powder were weird to work with and made the solution milky in color. Nevertheless, this made a nice large bubble for the kids to happily squeal at and that is all that mattered to me!

Homemade Bubble SolutionI placed all the ingredients into a cleaned out gallon milk container and shook it to mix all the ingredients together… however it created A LOT of foam in the jug. Regardless it made really nice bubbles!

Ingredients:

6 cups water
1/2 cup dish soap
1/2 cup cornstarch
1 tbsp baking powder
1tbsp glycerin

Directions:

Place everything into a gallon jug and mix thoroughly.

DIY Teacher end of the year gifts…

I made the teachers and their aids an end of the year thank you gift today — an Acrylic Tumbler with a Straw stuffed with a pen, a sanitizer bottle, a glue stick and as much candy I could fill it with! I hope it is a good present that they will like. I just couldn’t think of what to do this year.

I had to make five of these gifts for 3 teachers and 2 aids.

Acrylic Tumbler with Straw stuffed with goodies

Continue reading

Kool-Aid Gluten Free Play-Doh

Kool-Aid Gluten Free Play-Doh

So my daughter’s class made homemade play-doh today and well the boys wanted their own…. so the kids and I made Kool-Aid Gluten Free Play-Doh adapted from the class’ regular flour recipe and I have to say it came out really good! And boy does it smells wonderful!

Continue reading

Homemade Finger Paint for kids

Making this paint recipe is a fun activity to do with your kids.

And my kids sure love playing with paint and getting messy while making all their masterpieces! And since we go through A LOT of paint I decided to try my hand at making homemade finger paint.

This is not like those washable paints you buy, so make sure your kiddos have aprons on otherwise their clothes might stain.

Homemade Finger Paint | Small Town Living in Nevada Continue reading

DIY Paint Sample Easter Garland

Paint Sample Egg Garland | Small Town Living in Nevada

When I first thought of making my own Easter Garland the first thing that popped into my head was Paint Samples! I had seen this online before and thought how cool is that. So the first thing I did was head over to the local paint stores — and let me tell you trying to find multi-colored paint samples were hard. Every sample I was coming across was one solid color. Paint Sample Egg Garland | Small Town Living in NevadaFinally, after a couple of days and three or four stores I finally found the paint samples I was seeking!!

Once I had the samples, I was wondering how I was going to cut the perfect egg shape and then my crafty friend Kelly suggested using an Egg shaped Cookie Cutter. Whoa! what a fantastic idea; it was simple and quick to trace the cookie cutter. Then all we had to do was cut the traced egg out.

Then I took my hole puncher and punched two holes at the top of the eggs and ran thick craft twine through the holes. SIMPLE, FAST and OH SO CUTE!! Next to find that perfect location to hang my garland!

Easter Craft: Easter String Egg Garland

Easter Egg Garland | Small Town Living in Nevada

Here is a fun yet messy Easter craft.

What you need

  • Embroidery Floss
  • Liquid Starch
  • Flour
  • Ribbon / Yarn
  • water balloons
  • needle

First, you need a lot of embroidery floss different pastel colors.

Next, you need to make your glue.  You will need 1/2 a cup of flour and 1 cup Sta-Flo liquid starch.

Now, take a water balloon and blow it up to make it look like an egg.

Now, dip your floss in the starch glue and then wrap the embroidery floss around the balloon, using your fingers to pull off the excess liquid. It shouldn’t be a goopy mess when you are done.

Once the string hardens and is completely dry, take a needle and pop the balloons.

Next string up your eggs with ribbon or yarn and you have an Easter String Egg Garland.

DIY Homemade Decorative Candle Holders

Many years ago I use to attend the local MOPS with my children. One of the crafts I learned was how to make homemade candle holders.  It is by far the easiest craft I have made – and it is rather affordable to gather your items at the Dollar Tree at that.

And since St Patrick’s is around the corner you can use green spilt peas for decoration inside the candle holders.

DIY Candle Holders | Small Town Living in Nevada

What you need:

  • Different sized glass vases
  • Glass candle stick holders
  • Different sized candles
  • 2-3 bags of split peas
  • E6000 Glue

Place glue around the top edge of the candle stick holder.  Center the base of the vase on the candle stick.  Allow to dry completely before handling. Approximately 24 hours is best.

Once dry, fill the vases with split peas. And place a candle inside. Wallah, you now have a decorative candle holder.

DIY PVC 5′ x 5′ Banner Stand

DIY PVC Banner Stand | Small Town Living in Nevada

Instead of buying a pre-made frame or stand, you can make your own banner stand using PVC pipes. It doesn’t really take that long to make and the materials you need are readily available in your local hardware store if not around your house.

Not only did I design my daughter’s Troop Banner, I also made the PVC Banner Stand from PVC lying around in my garage so I really saved my pennies and only had to by the joints to tie all the poles together.

A PVC banner frame is just a basic stand that allows any banner to stand alone. And you can reuse the frame over and over again and if you don’t glue it you can break it down for easier transport.

Since I made a banner that was 4 feet x 2.5 feet I decided I needed to make a 5 foot x 5 foot banner stand to hold it.

DIY PVC 5′ x 5′ Banner Stand

Things you will need:

  • Measuring Tape
  • Sharpie Marker
  • 21-feet 1-inch PVC Pipe
  • Hacksaw
  • 6-1″ slip-in T connectors (without threads)
  • 2-1″ slip-in 90º elbow joints (without threads)

Directions:

Cut 3 5-feet long PVC pipes. Next cut 12 6-inch pipes.

Assemble feet first, followed by attaching the side poles.

To make the foot you will need three T connectors and six 6″PVC pipes. Next plug all 6″ PVC pipes into each T connector like you see in the photograph. Repeat.

Next place a 5-foot PVC Pole into the open middle T connector. Repeat for opposite side.

Top the pole with a slip-in 90º elbow joint on both poles. Connect with a 5-foot PVC Pole.

Reminders: If the PVC banner frame is to be displayed outdoors or in a windy location, make sure to place bricks or other heavy objects at the base of the stand to keep the frame in place.

Homemade Valentine’s Day Cards

I love making the kids Valentine’s Cards. Thinking about it, I don’t recall ever actually buying pre-made valentine cards over the years for my kids.

Even though my daughter is in 2nd grade, all my kids were in day care at one time or another before they were ever in school. And well they would exchange cards at their day care center just like kids do at schools. So we have been making our cards for years!

Nevertheless, for the last three valentine’s I have been taking pictures of the kids so I can make 3-D Valentine’s Day Cards. My youngest had to wait until this year to finally get his… and I have to say all three really came out cute!

AdenValentine2015 ArikValentine2015

Continue reading