Getting ready for Maui

Right now my husband and I are getting ready for a trip to Maui on Monday.

I literally haven’t been to Hawaii in 22 years (am I dating myself?) and my husband has unfortunately never been. So needless to say this will be a vey nice get away for the both of us. Especially on the heels of our town having had such bad weather over the last several months. And all of us recovering from all our sicknesses.

I have in my anal ways researched the heck out of Maui by emailing as well as Facebook PM-ing different restaurants. I can’t help myself. I need or want information on where I can happily eat gluten free meals instead of blindly searching once we get there. And of course I have my heart desires on Zipling, Snorkeling, Whale Watching and attending a Luau… of course not in that order. But you get the idea. Anyhow, hopefully we’ll have time to do all that and maybe hit the sandy beaches as well.

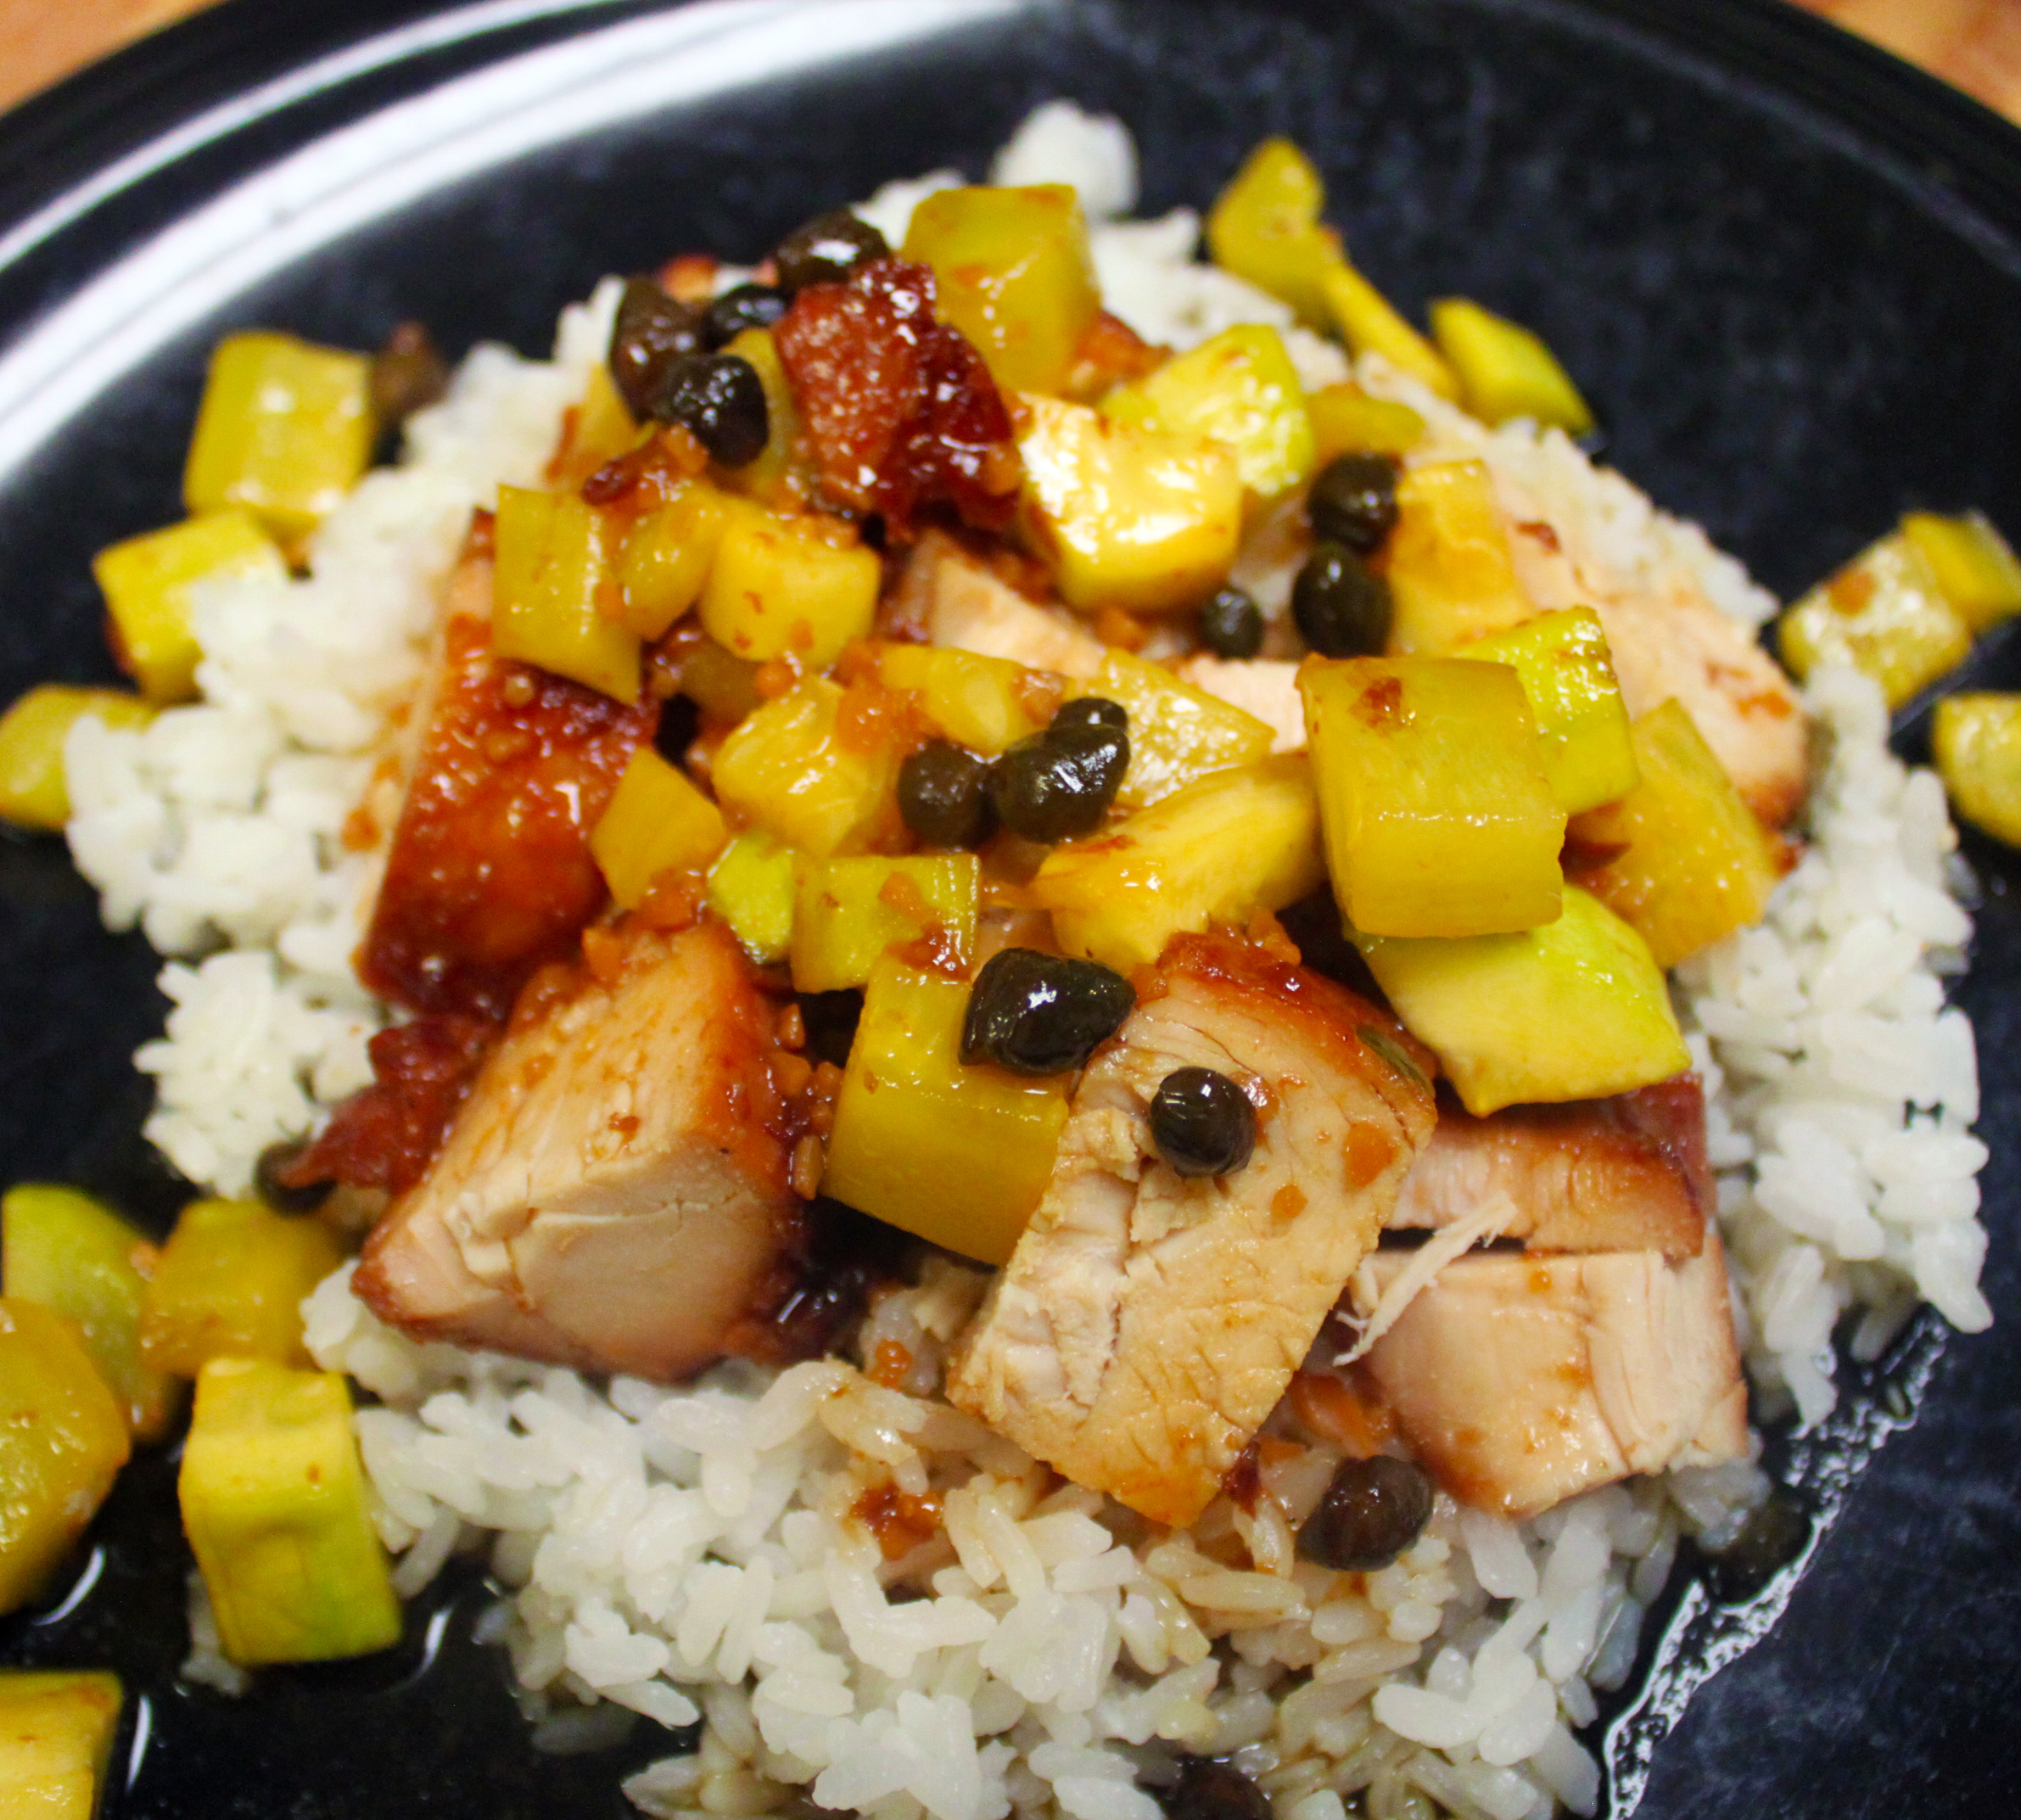
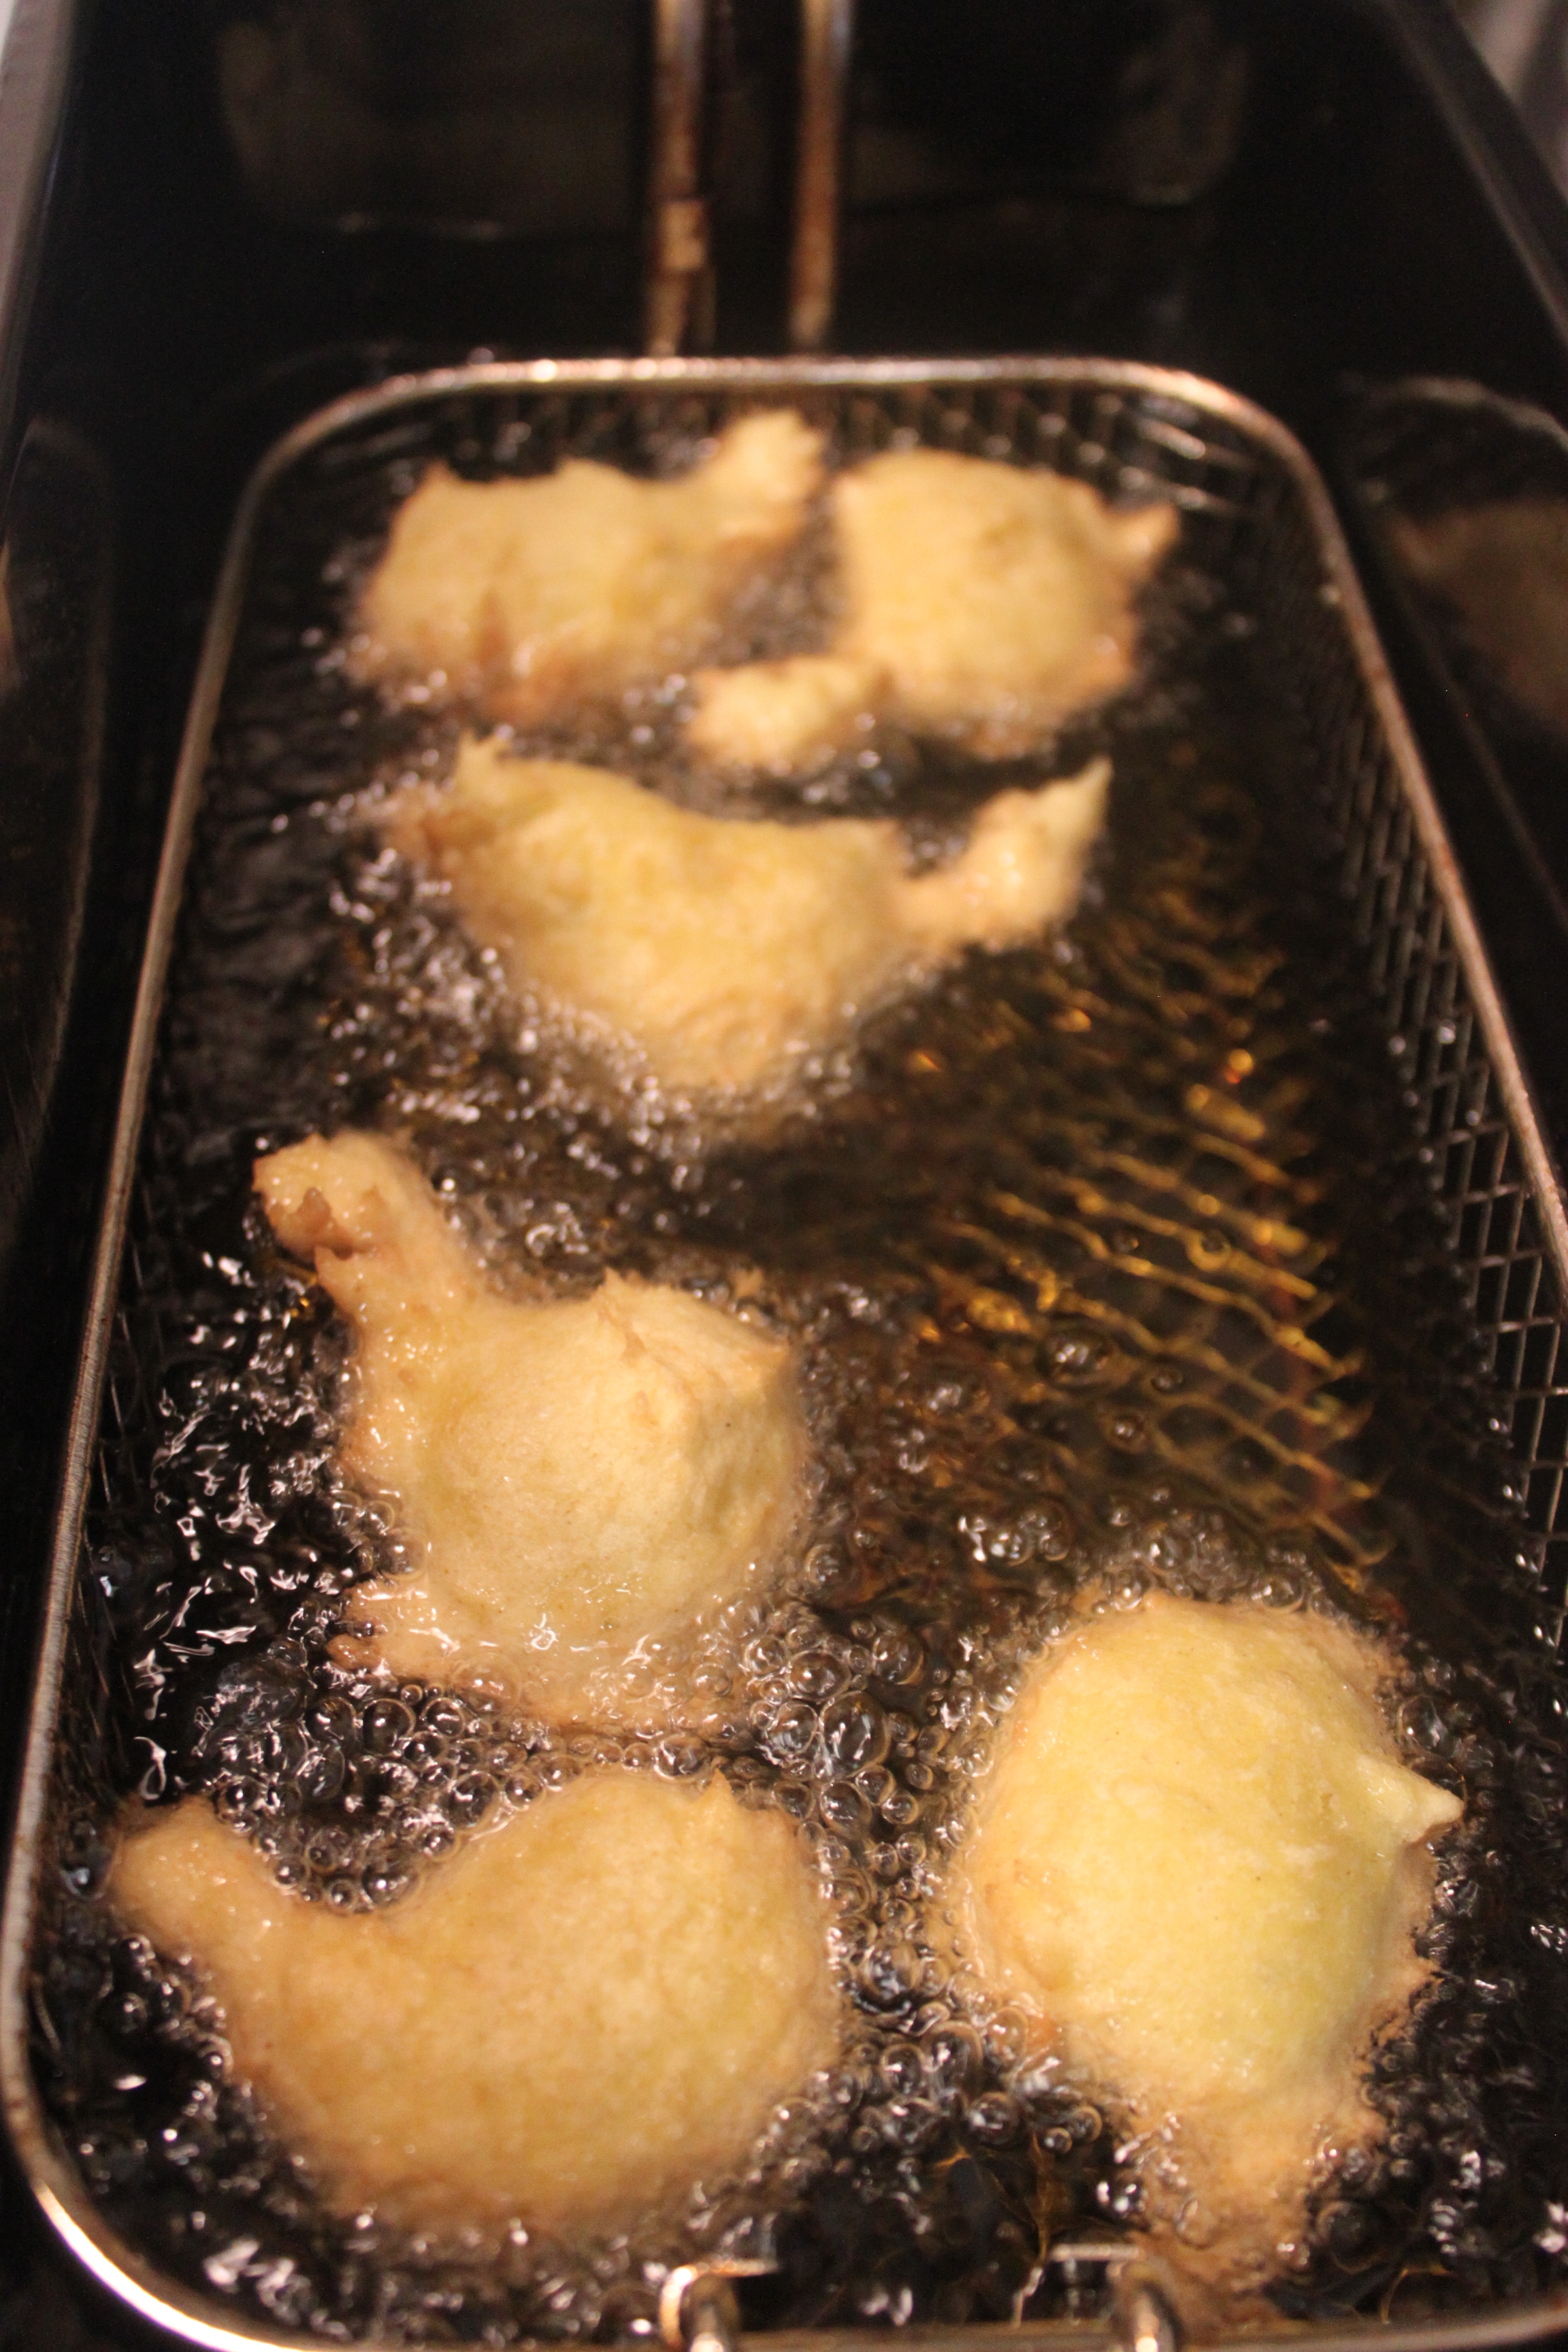
Nevertheless, I will be posting many reviews of our week long excursion so I hope I don’t go overboard with the photos.

Mahalo

~ Michele

Gluten Free Vanilla Pound Cake


My family was invited out to dinner tonight and I thought making a pound cake would be nice and light as our contribution. I also am bringing sliced strawberries as well as organic tart cherries sprinkled with some sugar so everyone can choose a topping for their cake!

Gluten Free Vanilla Pound Cake

  • 2 cups sugar
  • Eggs
  • 2 Tablespoons gluten-free vanilla
  • 1 cup milk
  • 1 cup butter, melted
  • 3 cups Gluten Free Flour
  • 1 tablespoon gluten-free baking powder
  • 1 tablespoon xanthan gum

Pound Cake BatterHeat oven to 350°F. Grease 12-cup Bundt®, 10-inch angel food cake (tube) pan or 2 bread loaf pans then set aside.

Beat sugar and eggs, scraping bowl often, until creamy. Add milk and vanilla; beat until well mixed, then add melted butter and beat until mixed thoroughly.

Stir together gluten-free flour, baking powder and xanthan gum in a medium bowl. Gradually add flour mixture to wet ingredients, beating at low speed until well mixed.

Pour batter into prepared pan. Bake 50-60 minutes or until toothpick inserted in center comes out clean. Cool 10 minutes; remove from pan.

Adapted from Land O Lakes

Gluten Free Mild Enchilada Sauce

Cheese and Onion Enchiladas | Small Town Living in Nevada

I love Mexican food just as much as I love Asian food. That means I like it A LOT!

I can’t even tell you the last time I bought store bought enchilada sauce. My husband doesn’t like the canned stuff at all so I started making my own years ago. Now I prefer Sour Cream Enchilada Sauce but I have to mix it up every once in awhile with a tomato sauce. And of course I try different versions every once in awhile as well.

Anyhow, you won’t want canned enchilada sauce again after making this easy homemade version!

INGREDIENTS

  • 1/4 cup vegetable oil
  • 1/4 cup gluten free flour
  • 2 (14.5 oz) cans diced tomatoes
  • 1-1/4 teaspoon chili powder
  • 1 teaspoons dried oregano
  • 1 teaspoon cumin
  • 1 teaspoon garlic powder
  • 1 teaspoon onion powder
  • 1 tablespoon dried chopped onions
  • 1 tablespoon brown sugar, packed
  • 1 teaspoon fine sea salt
  • Freshly ground black pepper, to taste

IMG_0659

INSTRUCTIONS

  1. Heat vegetable oil in a saucepan over medium high heat. Whisk in flour until well combined, about 1 minute.
  2. Stir in tomatoes, chili powder, oregano, cumin, garlic powder, onion powder, brown sugar, salt and pepper, to taste. Bring to a boil; reduce heat and simmer until thickened, about 10-15 minutes.
  3. Take a hand emulsifier to liquify the tomato chunks to make a smoother sauce otherwise you can leave as is.

Adapted from Damn Delicious

Homemade Applesauce

Homemade Applesauce | Small Town Living in Nevada

My kids love applesauce and eat it up as fast as I can make it. Two of my three kids devoured off what we had in the fridge and the third was quite put out.

I reminded him if he gave me 30 minutes I’d have some whipped up for him in no time.

Applesauce is probably one of the easiest foods to make at home. And usually it tastes way better than the commercial brands. But always remember you definitely want a great tasting apple to start with – the sweeter the apple, the sweeter your applesauce.

I leave the peels on since there isn’t any reason to peel the apples and lose the extra fiber goodness. I also use an apple corer/slicer so I am not in the kitchen cutting apples all day. I love kitchen gadgets when they help speed up prep-work and have many different ones in my cupboards!

Boiling Apples

I take the apple slices and place them in a pan and cover with water and boil for 30 minutes or until soft.

Next I place the apples and water into a blender on puree until smooth.

IMG_0543

Homemade Applesauce

Makes 3 servings

  • 6 medium apples, cored and sliced
  • 2 cups water

Core and cut each apple into 8 slices each. In a medium sized saucepan add apples and water and bring to a boil. Boil for 30 minutes or until soft.  Once apples are tender, place apples and water into a blender on puree and blend until smooth.

Once in a bowl you can sprinkle with cinnamon sugar or you can enjoy it as is!

Cinnamon-Sugar

I have always had a jar of Cinnamon-Sugar in my pantry. It is something that I have always had and like to have on hand. My kids like to sprinkle it on their oatmeal as well as on top of waffles. But you can use it for sprinkling on yogurt or even on top of an apple pie or anything your heart desires!

This morning the kids informed me that we were running low and that I needed to make more. So here is my recipe for perfect sweetness with just the right ratio of cinnamon.

Cinnamon-Sugar | Small Town Living in Nevada

Cinnamon-Sugar

1 cup granulated white sugar
1/4 cup cinnamon

Combine the sugar and cinnamon in a small bowl, using a fork or small whisk to thoroughly blend the two together. Store in an air-tight container or old spice jar.

Cinnamon-Sugar | Small Town Living in Nevada

I use an old cinnamon container – why try to reinvent the wheel? Might as well repurpose things you already have in your home. I use a funnel to pour my Cinnamon-Sugar blend into the container. It is that simple!!

Crockpot Turkey Tenderloin with a sweet red plum sauce

Crockpot Turkey Tenderloin with an sweet red plum sauce | Small Town Living in Nevada

This sauce is sweet and pairs well with the turkey! And of course I love capers so it is a win win kind of dinner for my family!

Crockpot Turkey Tenderloin with an sweet red plum sauce

Serves 5

1/2 cup Red Plum Jam
1/2 cup packed brown sugar
1/2 cup Marin Wine
1/3 Cup Olive Oil
1/3 cup red wine vinegar
1/4 cup capers with juice
2 tablespoons garlic, minced
1 pound Turkey Tenderloin


Cooked Rice
Cooked diced zucchini


Place first eight ingredients in a crockpot and cook 2.5 hours on high. Anything longer and it will dry out the turkey.

Once cooked cut turkey into cubes. Place a nice helping of rice topped with Turkey and Zucchini then ladle Plum sauce over top.

Gluten Free Zepploe (Italian Doughnuts)

I wanted to do something fun today when the kids got home from school. And how fun would it be making Zeppole (zə pōlā) which are a deep-fried pastry somewhat like doughnut holes. And taste just as divine.

Gluten Free Zepploe (Italian Doughnuts)  | Small Town Living in Nevada

The Zepploe came out nicely crisp and light and fluffier than expected. So win, win!

Gluten Free Zepploe (Italian Doughnuts) 

INGREDIENTS
  • 1 cup water
  • 1 stick (½ cup) butter
  • 3 Tablespoons sugar
  • ¼ teaspoon salt
  • 1¾ cup gluten free flour
  • ½ tablespoon xanthan gum
  • 4 eggs
  • oil, for frying
  • powdered sugar or a cinnamon-sugar, to dust the zeppole
DIRECTIONS:
  1. IMG_0527In a medium saucepan, combine the water, butter, sugar and salt. Cook until the butter is completely melted.
  2. Place the melted butter mix into the bowl of a standing mixer with flour and xanthan gum. Mix with a paddle attachment, until you don’t see any more steaming rising up from the bowl.
  3. Add the eggs, one at a time, until they are fully incorporated.
  4. Heat up your oil in a deep fryer to 375 degrees Fahrenheit.
  5. Using a small ice-cream scooper or 2 small spoons, carefully drop about a tablespoon of the dough into the hot oil, frying in batches. Turn the zeppole once or twice, cooking until golden and puffed up, about 3-5 minutes.
  6. Take them out of the oil using a slotted spoon and drain on paper towels.
  7. Toss with cinnamon-sugar or sprinkle with powdered sugar.

Arrange on a platter and serve immediately.

Adapted from: Giada De Laurentiis

Gluten Free Baked Fish Fillets

Gluten Free Baked Fish | Small Town Living in Nevada

My kids love fish. And even though my youngest isn’t feeling all that well he still asked me to make fish for dinner last night. If you are looking for a simple fish dinner, try this easy recipe for baked fish fillets. You can use any firm white fish for this dish and it will still come out really tasty.

I had Gluten Free Honey Nut Chex in the cupboard and not regular Rice or Corn Chex so my topping was a tad sweeter than normal but my husband and kids loved the flavor and said it was really good. And I measure everyones tastes by what is left on their plates. And lets just say plates were practically licked clean.

Gluten Free Baked Fish Fillets

Ingredients

  • 5 white fish fillets
  • Cooking spray
  • 1 tablespoon lime juice
  • 1 tablespoon mayonnaise
  • 1/4 teaspoon onion powder
  • cracked black pepper
  • 2 tablespoons butter, softened
  • 1 cup crushed gluten free Chex™ Cereal
  • Dried parsley to sprinkle
Directions:
  1. Preheat oven to 425°.
  2. Spray a large baking dish coated with cooking spray.
  3. Combine lime juice, mayonnaise, onion powder, softened butter and pepper in a large bowl.
  4. Dredge fillets through mayonnaise mixture and coat evenly.
  5. Place all fillets in baking dish.
  6. Then sprinkle each fillet with crushed cereal.
  7. Bake at 425° for 20 minutes or until fish flakes easily when tested with a fork.
  8. Sprinkle with dried parsley and serve immediately.

Gluten Free Corned Beef Reuben Sandwich

As long as I can remember my family has always celebrated St Patrick’s Day. How can you not when you have a  paternal grandmother who was a Red Headed Irish lady (1/2 Irish actually) with the last name of Duffy.

My mother being full blooded Italian had never had corned beef and cabbage until after my parents were married. My father said it was a must have for the holiday. And since then according to my mother she has been making Corned Beef every year for the last 43 St Patrick’s Days! True dedication if you ask me.

Nevertheless, the tradition has gone on with me as well for my family. However, instead of the traditional corned beef and cabbage, I make Corned Beef Reuben Sandwiches every year. Gasp, but oh so much more tantalizing on the tongue!

It definitely is a deli favorite, the best Reuben sandwiches always contain a good helping of corned beef or even pastrami, a bit of swiss cheese, heaps of sauerkraut, and gobs of Thousand Island Dressing.

We aren’t a huge sauerkraut kinda family so I am omitting that from my recipe, but you can definitely add it to yours!

You can serve a Reuben cold, but I love it toasted on the panini grill and served warm so that the cheese is nice and melted and the thousand island dressing oozes out as you take a bite!

Gluten Free Corned Beef Reuben Sandwich | Small Town Living in Nevada

Gluten Free Corned Beef Reuben Sandwich

  • ½ cup + 2 Tablespoons Butter, softened
  • 10 Slices gluten free Bread
  •  cups Thousand Island Dressing or more if needs
  • 2 lbs corned beef, sliced
  • 10 slices swiss cheese
  1. Butter one side of each slice of bread and place one slice of the bread buttered side down on a flat surface.
  2. Add ingredients in the following order: 2 tbsp of Thousand Island Dressing, corned beef, Swiss cheese, and an additional 2 tbsp of Thousand Island Dressing. Top the sandwich with the remaining slice of bread, buttered side up.
  3. Preheat a panini grill to 400º F. Place sandwich on the grill, and heat sandwich approximately 3 minutes or until the bread is golden brown and the cheese is melted.

IMG_0520

NOTE: You can add Sauerkraut to make it a Traditional Reuben.

Waffle it!! Waffle Maker Omelets…

Omelet made with a  waffle maker | Small Town Living in Nevada

Did you know you can make an omelet on a waffle maker?

Of course this isn’t my original idea, but I thought I would give it a whirl and see how the eggs come out.

I will tell you, the eggs were really good. You know how I know? My husband and three kids said so, LOL. And of course I ate it too and from first hand will verify they came out yummy!

I will be creating many, many more renditions of these wonderful egg waffles.

I didn’t want plain eggs, so I pulled some leftover cooked carrots, cauliflower, and broccoli out of the fridge. I proceeded to throw them in the food processor with some fresh spinach leaves as well. Then I took 10 fresh eggs from the coop and whisked the eggs and veggies together.

When the waffle maker was nice and hot I sprayed the top and bottom griddle with cooking spray and then ladled the egg mixture on to the greased iron making sure not o overfill.

It literally took about 2 minutes to cook the eggs!! I loved how fast making these were.

Since I like my omelets with cheese — I placed the omelet into the warm oven sprinkled with american and mozzarella cheese. Once the cheese was melted they were ready to eat!

Continue reading